surroundings
- windows 10 64bit
- mediapipe 0.8.11
Introduction
This article introduces another open source project for background removal of pictures, videos and camera images. This project is based on the mediapipe machine learning framework and mainly encapsulates FaceDetection and SelfieSegmentation . In addition, it also provides examples like face detection and image sketching , which is of great reference value.
Install
The first step is to pull the source code
git clone https://github.com/pythonlessons/background_removal.git cd background_removal
Install all dependencies
pip install -r requirements.txt
If the machine has nvidia gpu , install onnxruntime-gpu instead of onnxruntime
test
Three main functions, let’s look at them one by one
back to back
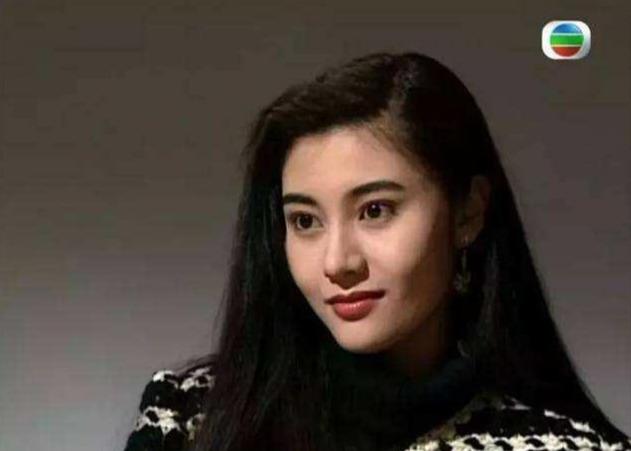
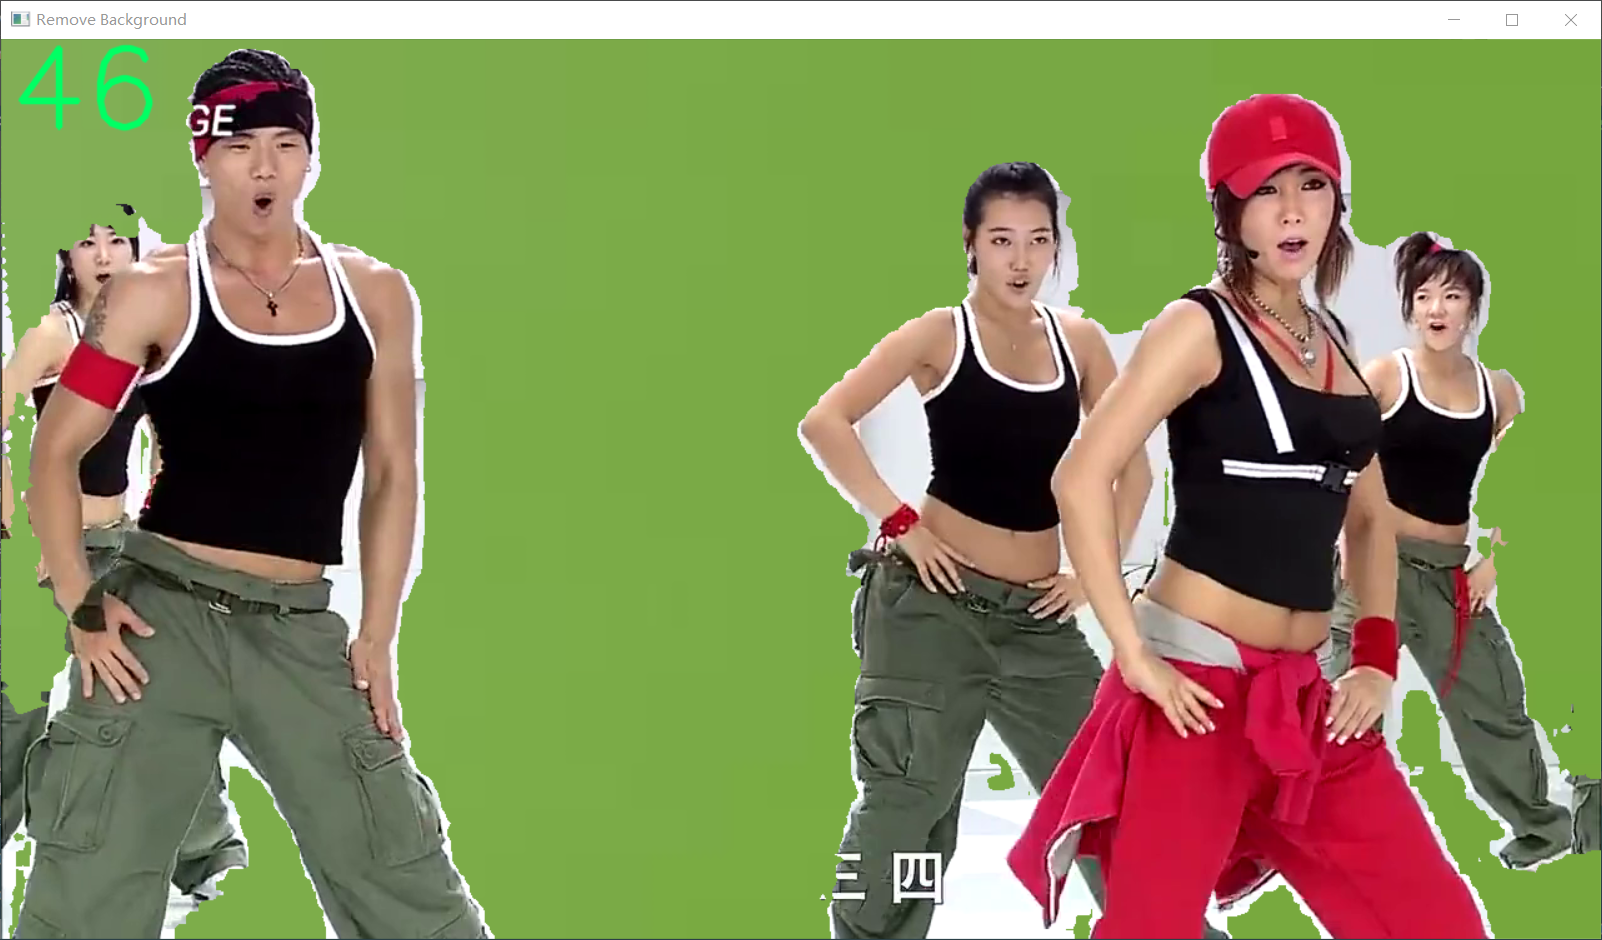
Prepare a picture to see the functions of removing background and replacing background
from utils import FPSmetric from selfieSegmentation import MPSegmentation from engine import Engine if __name__ == '__main__': fpsMetric = FPSmetric() segmentationModule = MPSegmentation(threshold=0.3, bg_images_path='', bg_blur_ratio=(45, 45)) selfieSegmentation = Engine(image_path='data/lijiaxin.jpg', show=True, custom_objects=[segmentationModule,]) selfieSegmentation.run()
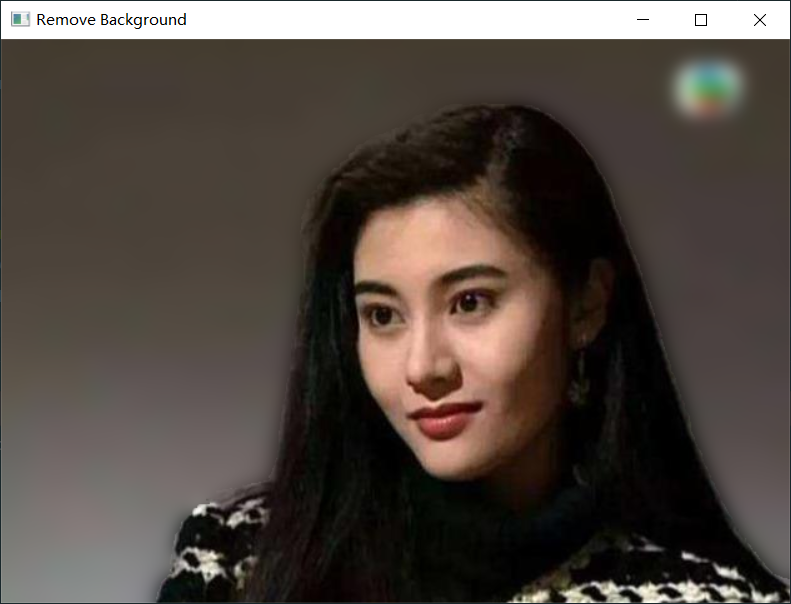
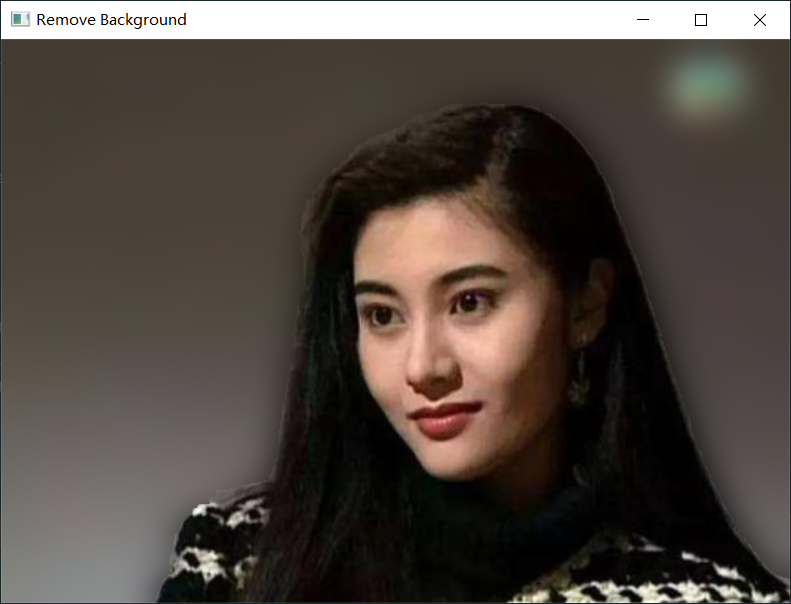
Among them, the parameter MPSegmentation in bg_blur_ratio corresponds to the cv2.GaussianBlur in ksize . The larger the value, the more blurred the image. The following figure shows the effect of bg_blur_ratio being (89,89), this value must be an odd number
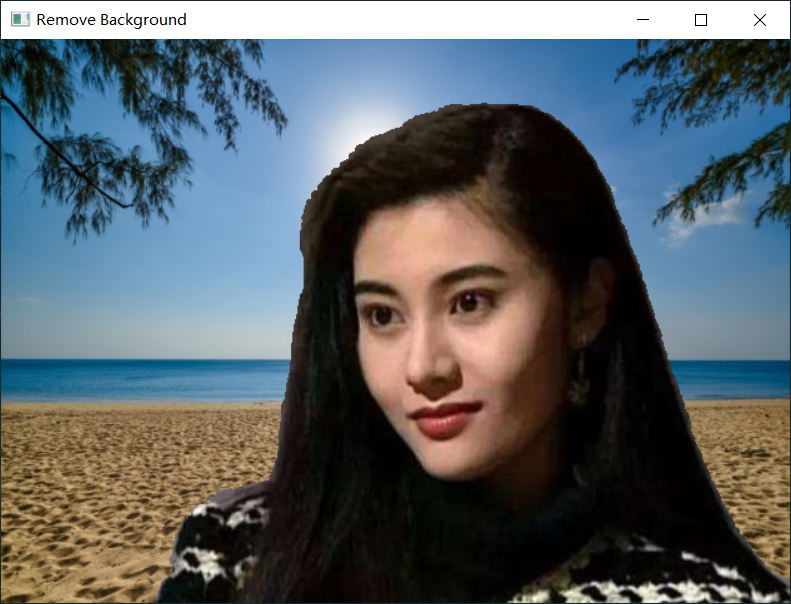
If you need to specify the background, you can specify the folder where the background is located in the parameter bg_images_path

Specify the video file to be processed by the parameter video_path
selfieSegmentation = Engine(video_path='data/test.mp4', show=True, custom_objects=[segmentationModule,]) selfieSegmentation.run()
Use a specific camera through the parameter webcam_id , multiple cameras are distinguished by different id
selfieSegmentation = Engine(webcam_id=0, show=True, custom_objects=[segmentationModule,]) selfieSegmentation.run()
The author encapsulates a fps related class FPSmetric , if you need to use it, add it to the custom_objects list
fpsMetric = FPSmetric() selfieSegmentation = Engine(video_path='test.mp4', show=True, custom_objects=[segmentationModule, fpsMetric])
Face Detection
MPFaceDetection encapsulates FaceDetection in mediapipe , which can be used for face detection
from utils import FPSmetric from faceDetection import MPFaceDetection from engine import Engine if __name__ == '__main__': fpsMetric = FPSmetric() mpFaceDetector = MPFaceDetection() selfieSegmentation = Engine(video_path='test.mp4', show=True, custom_objects=[mpFaceDetector, fpsMetric]) selfieSegmentation.run()
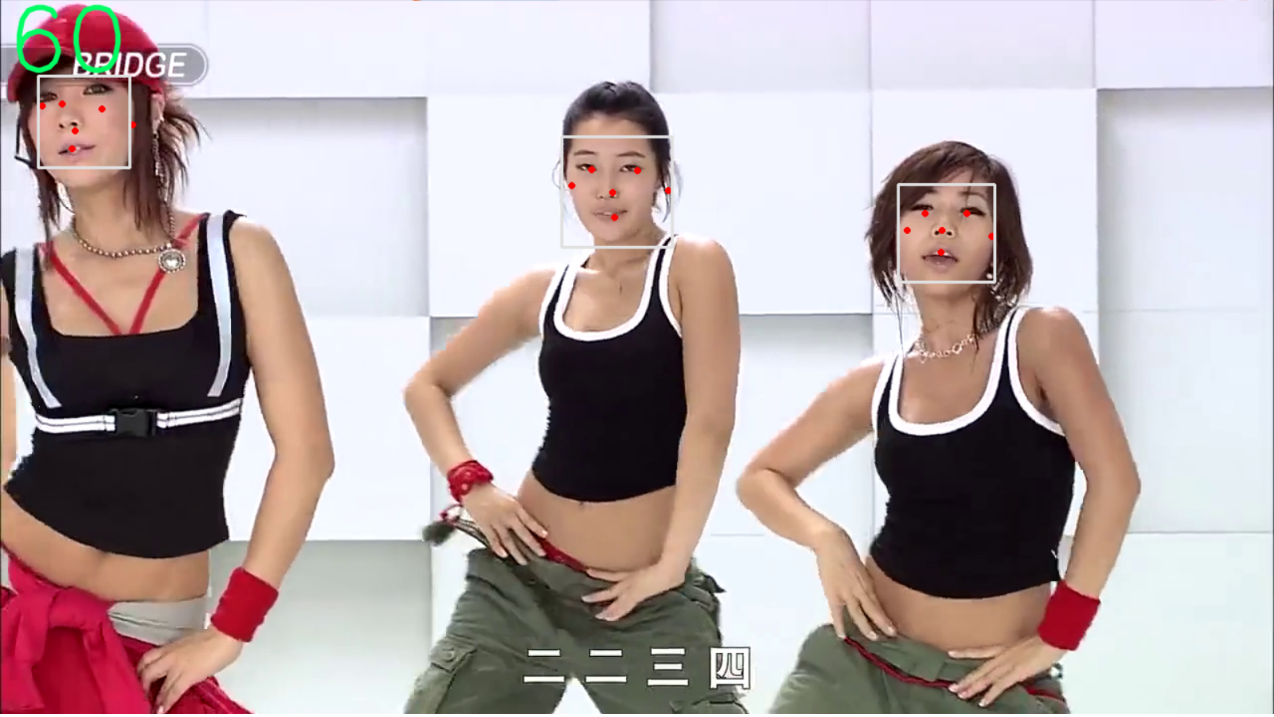
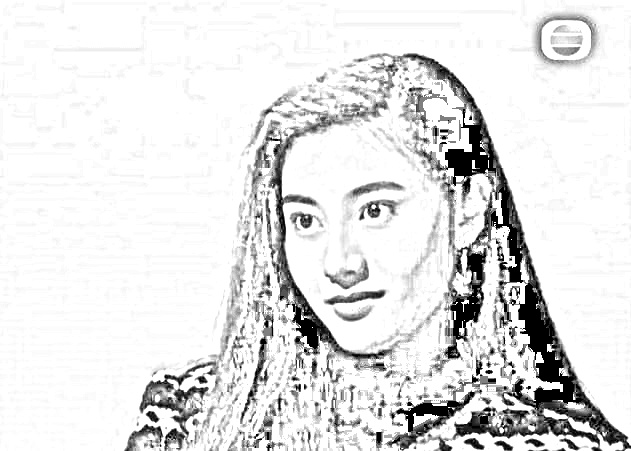
image sketching
The author uses opencv to achieve a simple image sketching effect. The corresponding class is PencilSketch . The general workflow is as follows
- Grayscale image
- Color inversion, i.e. 255 – grayscale value
- Blur with
cv2.GaussianBlur - Apply
Colour Dodge blending modeon blurred and grayscale images
The use of the PencilSketch class is similar to the FPSmetric mentioned above
from pencilSketch import PencilSketch from engine import Engine if __name__ == '__main__': pencilSketch = PencilSketch(blur_simga=5) selfieSegmentation = Engine(image_path='data/lijiaxin.jpg', show=True, custom_objects=[pencilSketch]) selfieSegmentation.run()
The processing of video files and camera data is the same as the usage of the above example, and will not be repeated here.
References
This article is reprinted from https://xugaoxiang.com/2022/10/16/mediapipe-background-removal/
This site is for inclusion only, and the copyright belongs to the original author.