Original link: https://editor.leonh.space/2023/caddy/
Introduction
![]()
Caddy is a young web server written in Go language, featuring:
- Supports automatically obtaining and updating TLS 1.3 encrypted certificates from Let’s Encrypt.
- Use HTTPS as the default communication protocol.
- HTTP/3 is supported.
- Support IPv6.
- It does not depend on other packages or runtimes and can be executed independently, so it is very suitable for running in containers.
- A production-targeted replacement for grandpa Apache or Nginx.
- Provide configuration setting API.
- Support virtual host.
- Support reverse proxy.
- Support rewrite.
- Compression is supported.
Of course, there are many other features, but the above points are worth mentioning.
Install
As mentioned earlier, Caddy itself does not need to rely on other packages, so the official release is just a single execution file, excluding the configuration files generated by ourselves later, this is the whole of Caddy!
Download caddy according to the path on the Caddy website. Here we directly capture the version of Caddy 2 (the following examples are also based on Caddy 2). The captured file name will be different due to different versions or platforms. First, rename it to a simple one. caddy , and add executable attributes to it:
> chmod a+x ./caddy
In addition to self-downloading, some Linux packages are also included in the Caddy package, taking Ubuntu as an example:
> sudo apt install caddy
Installing with a package will also automatically configure the system services, but this is a bit of a hindrance in the development environment. Often I will turn off the services:
> sudo systemctl disable caddy.service
In case it grabs the port with me.
static web server
Add an index.html in the location of Caddy, the content is as follows:
< h1 >Hello Caddy!</ h1 >
The simplest usage, this simple command embodies the simplicity of Caddy:
 > ./caddy file-server
2019/11/30 00:36:24.301 WARN admin admin endpoint disabled 2019/11/30 00:59:38.744 INFO tls cleaned up storage units 2019/11/30 08:36:24 [ INFO ] [cache:0xc0000d0140 Started certificate maintenance routine 2019/11/30 08:36:24 Caddy 2 serving static files on :2015
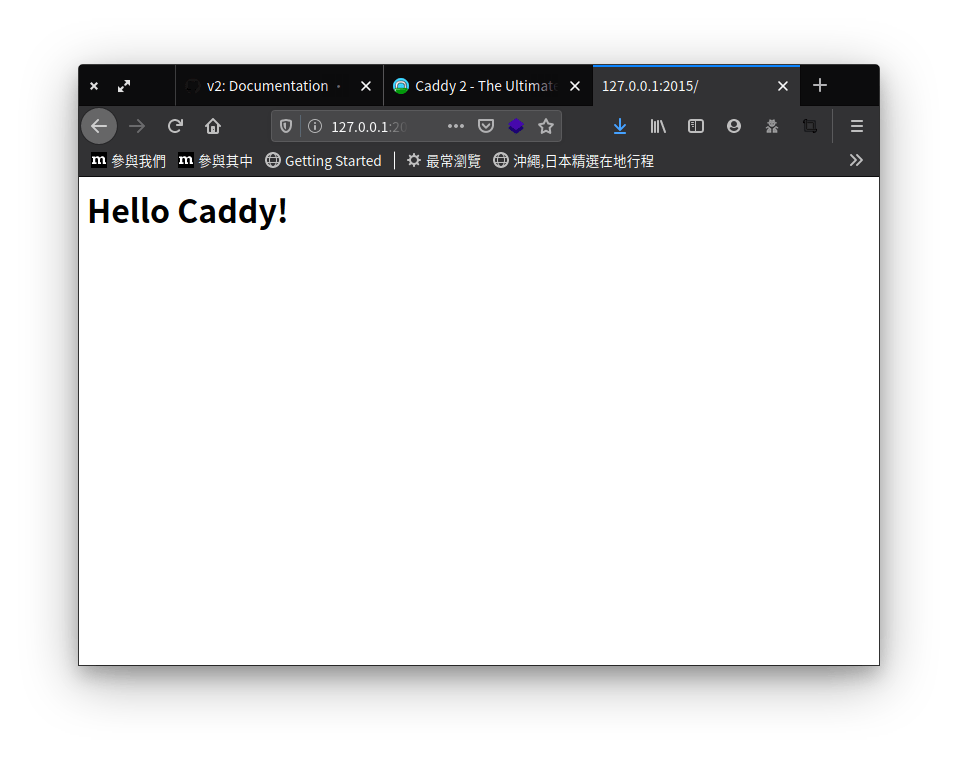
From the last line, we can know that the port number is 2015, and Caddy will find the index.html under the current location to display, so open 127.0.0.1:2015 with a browser and you should see the following screen:
file server
First rename or delete the index.html just now, and add --browse to run. --browse means that if index.html cannot be found, the files in the current location will be listed:
 > ./caddy file-server --browse
2019/11/30 00:36:24.301 WARN admin admin endpoint disabled 2019/11/30 08:36:24 [ INFO ] [cache:0xc0000d0140 Started certificate maintenance routine 2019/11/30 08:36:24 Caddy 2 serving static files on :2015
From the last line, we can know that the port number is 2015. Open 127.0.0.1:2015 and you should see a screen similar to the following:
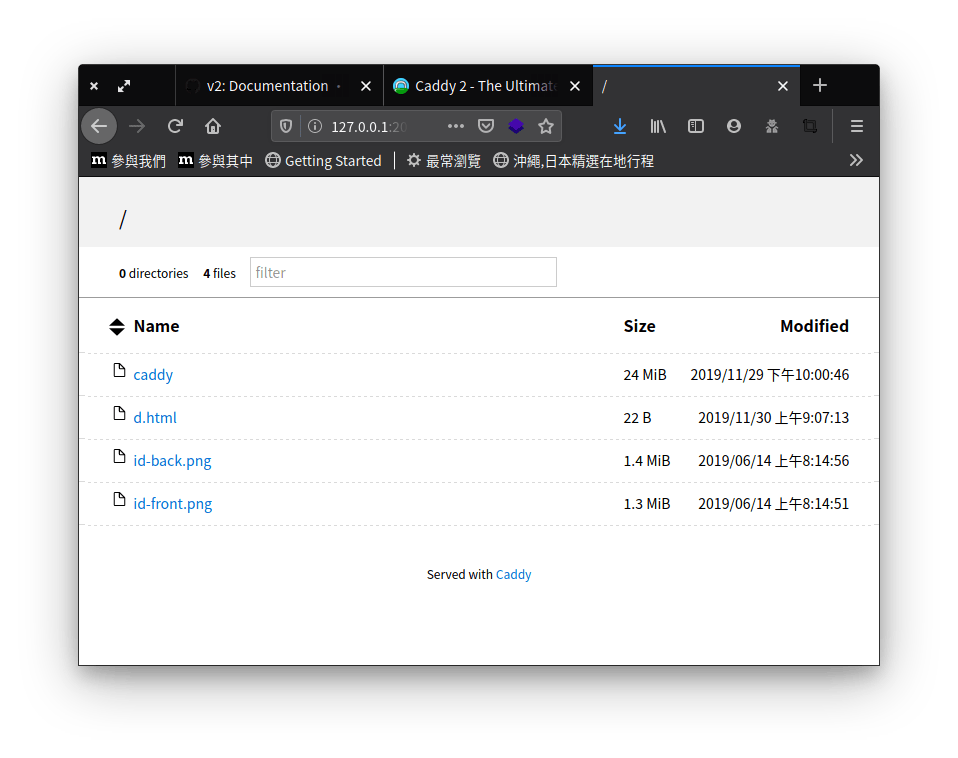
--browse in the previous command means to open the directory file list where Caddy is currently located, which is the screenshot content seen above.
Caddyfile
The above are simple examples. If you want to make a more formal application, you need some configuration settings. In the Caddy world, in addition to using the API, it also supports the Caddyfile configuration file. The difference between the API and Caddyfile is that the API must be The JSON format is used to communicate, and the syntax of Caddyfile is more like a traditional fixed-file format, which is easier for humans to read and write.
It must be mentioned here again that this article is about Caddy 2, because the Caddyfiles of Caddy 1 and Caddy 2 are different. Although they are different, only the keywords and formats of the configuration files are different. The overall Caddyfile syntax structure is still the same, so it is still You have to refer to The Caddyfile Syntax of Caddy 1 to understand the structure of Caddyfile.
Following the example just now, make a simple index.html and a Caddyfile with the following contents:
localhost:8080 { file_server }
It should be easy to understand, the first line means listening to localhost:8080, and the blocks enclosed in curly brackets are all the settings of this group of localhost:8080. (Linux has permission restrictions for common port numbers below port number 1024. If a user without permission wants to monitor port number 80, it will be blocked by the system. Therefore, to monitor port numbers below 1024, you must run Caddy with root privileges.)
The second line indicates that the static file server is started, and the index.html will be responded, and the directory browsing is not enabled.
Run it and see:
> ./caddy run
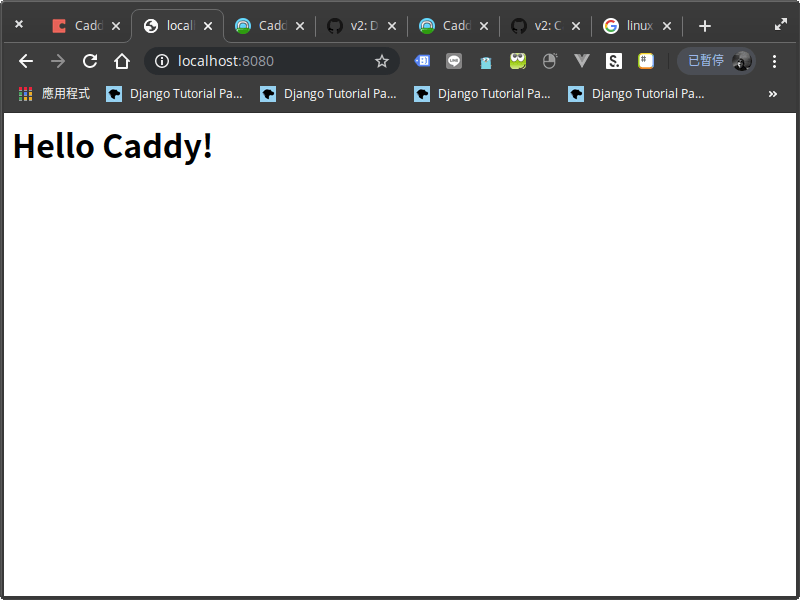
caddy run will find the Caddyfile in the same location by itself, so you should see the same Hello Caddy! web page:
Virtual Host
If you want to set two sets of URLs, take www1.example.com and www2.example.com as an example, the possible Caddyfile will look like this:
 www1.example.com:80 { root /www/www1.example.com file_server }
www2.example.com:80 { root /www/www2.example.com file_server }
In the above example, we use root to specify the real path corresponding to this group of URLs.
reverse proxy
Caddy can be used as a service that accepts traffic and forwards requests to the backend, and the configuration is super simple, making it very suitable for running modern frameworks and languages.
General services will be equipped with a so-called app server in a formal environment, which is responsible for allocating service resources, such as Python-based Gunicorn, Ruby Passenger , PHP-FPM, etc., no matter which one, Caddy can act as their reverse proxy , a typical Caddyfile configuration would look like this:
roysucks.com { encode zstd gzip reverse_proxy /* 127.0.0.1:8000 }
Nope, that’s really all there is, and there’s no less than one HTTP header that should be forwarded.
If it is PHP, then Caddy has php_fastcgi available for it, and the Caddyfile will probably look like this:
php_fastcgi /* 127.0.0.1:9000
Isn’t it super simple, sweet ~, of course, these are just the simplest usage, for more advanced configuration, please refer to the Caddy file!
practical example
There are many commands available in Caddyfile, and it is difficult to explain them one by one. The following is a more commonly used example:
Both front and back ends use reverse proxy
 { debug auto_https disable_redirects email [email protected] }
http:// { # Enable Zstandard and Gzip compression encode zstd gzip
 log { # output file /var/log/access.log }
 handle_path /api/* { reverse_proxy :8000 }
 handle { reverse_proxy :3000 } }
This is a typical front-end and back-end separation and development environment configuration, which is divided into two blocks. The top block with no address is Caddy’s global setting. The meaning is as follows:
-
debug: Set the log level to debug during development, which should be used together with the followinglog. -
auto_https disable_redirects: Turn off the mechanism that automatically redirects users from HTTP to HTTPS. Personally, I don’t like this kind of implicit redirection, and I usually turn it off. -
email: The email address used to apply for the TLS certificate. We only need to provide the email address, and Caddy will handle it.
The second block is the specific address setting, where the address is set to http:// , which means that there is no need to apply for TLS, because I want to make the development environment simpler.
Part of the block:
-
encode zstd gzip: Let the web page be compressed and transmitted, which is meaningless in the development environment, it can be enabled or not. -
log: Enable log output, the output purpose is stdout, if the comment is removed, it will be written to the file, and the log level will be the debug set in the previous global setting. -
handle_path /api/*: Forward all requests sent to /api/* to the backend service on port 8000. -
handle: Forward all requests (except /api/* above) to the front-end service on port 3000.
The difference between handle_path and handle is that handle_path will remove /api/ and then forward it to the backend, because my backend does not recognize the /api/ path, and handle will be forwarded as it is, which one to use depends on each environment situation!
The backend uses a reverse proxy and the frontend is a static SPA
Refer to the previous example for global setting and log setting, which are omitted here.
 http:// { # Set this path to your site's directory. root * /usr/share/caddy/
 # Enable the static file server. file_server
 # Enable Zstandard and Gzip compression encode zstd gzip
 handle_path /api/* { # Proxies requests to one or more backends reverse_proxy unix//run/gunicorn.sock }
 handle { try_files {path} / # For built static site } }
Similar to the previous example, only a few commands are missing:
-
rootspecifies the file path of the static web page, andfile_serverstarts the static resource server. - The last
try_filesdirect all pages (except /api/*) to the SPA’s homepage, since SPAs usually have their own routing logic.
The SPA here is an example of Vue, and all requests to the SPA are thrown to Vue Router for processing.
Finally, a reminder of the key points:
The file path must be set correctly , don’t check it for a long time like I did.
epilogue
This article introduces the features of Caddy 2 and the basic settings of Caddyfile. Caddy natively supports HTTPS, HTTP/3, virtual host, and reverse proxy, and the configuration is super simple and the performance is good. I really don’t want to go back to using the old Apache. reason.
The documentation of Caddy 2 is not yet complete, and those who want to use it must refer to the Caddy2 website or Caddy wiki for more documentation.
This article is transferred from: https://editor.leonh.space/2023/caddy/
This site is only for collection, and the copyright belongs to the original author.