Original link: https://juemuren4449.com/archives/vercel
Vercel: One-click deployment of front-end projects.
Front-end project deployment problems
First, let’s talk about the deployment of front-end projects. Generally speaking, there are the following steps:
- Project packaging
- upload to server
- DNS
- SSL certificate request
- Nginx configuration
- CDN acceleration
If it is a company’s project, the steps after packaging are generally handled by specialized operation and maintenance personnel, which is not a burden for front-end developers.
However, if it is a personal project, it will not only have a server, but also apply for SSL, configure Nginx and CDN acceleration, and the learning cost is very high. And even if it is configured, it is very troublesome to repackage and upload to the server after each modification of the code.
So, is there a simpler way to quickly deploy front-end projects and simplify some configuration issues?
Vercel
This has to mention the protagonist this time: Vercel .
Vercel supports more than 30 front-end frameworks, developers can quickly deploy their own projects, and support custom domain names, code submission trigger deployment. By handing over complex compilation and deployment tasks to Vercel, developers can focus on code and feature development.
The use of Vercel is still very simple, mainly divided into the following steps:
- register log in
- Deploy the project
- custom domain name
Do the following preparations, and the tutorial officially begins.
- GitHub/GitLab/Bitbucket account
- Frontend project (uploaded to Git repository above)
- domain name
register log in
Visit Vercel Sign Up to sign up.
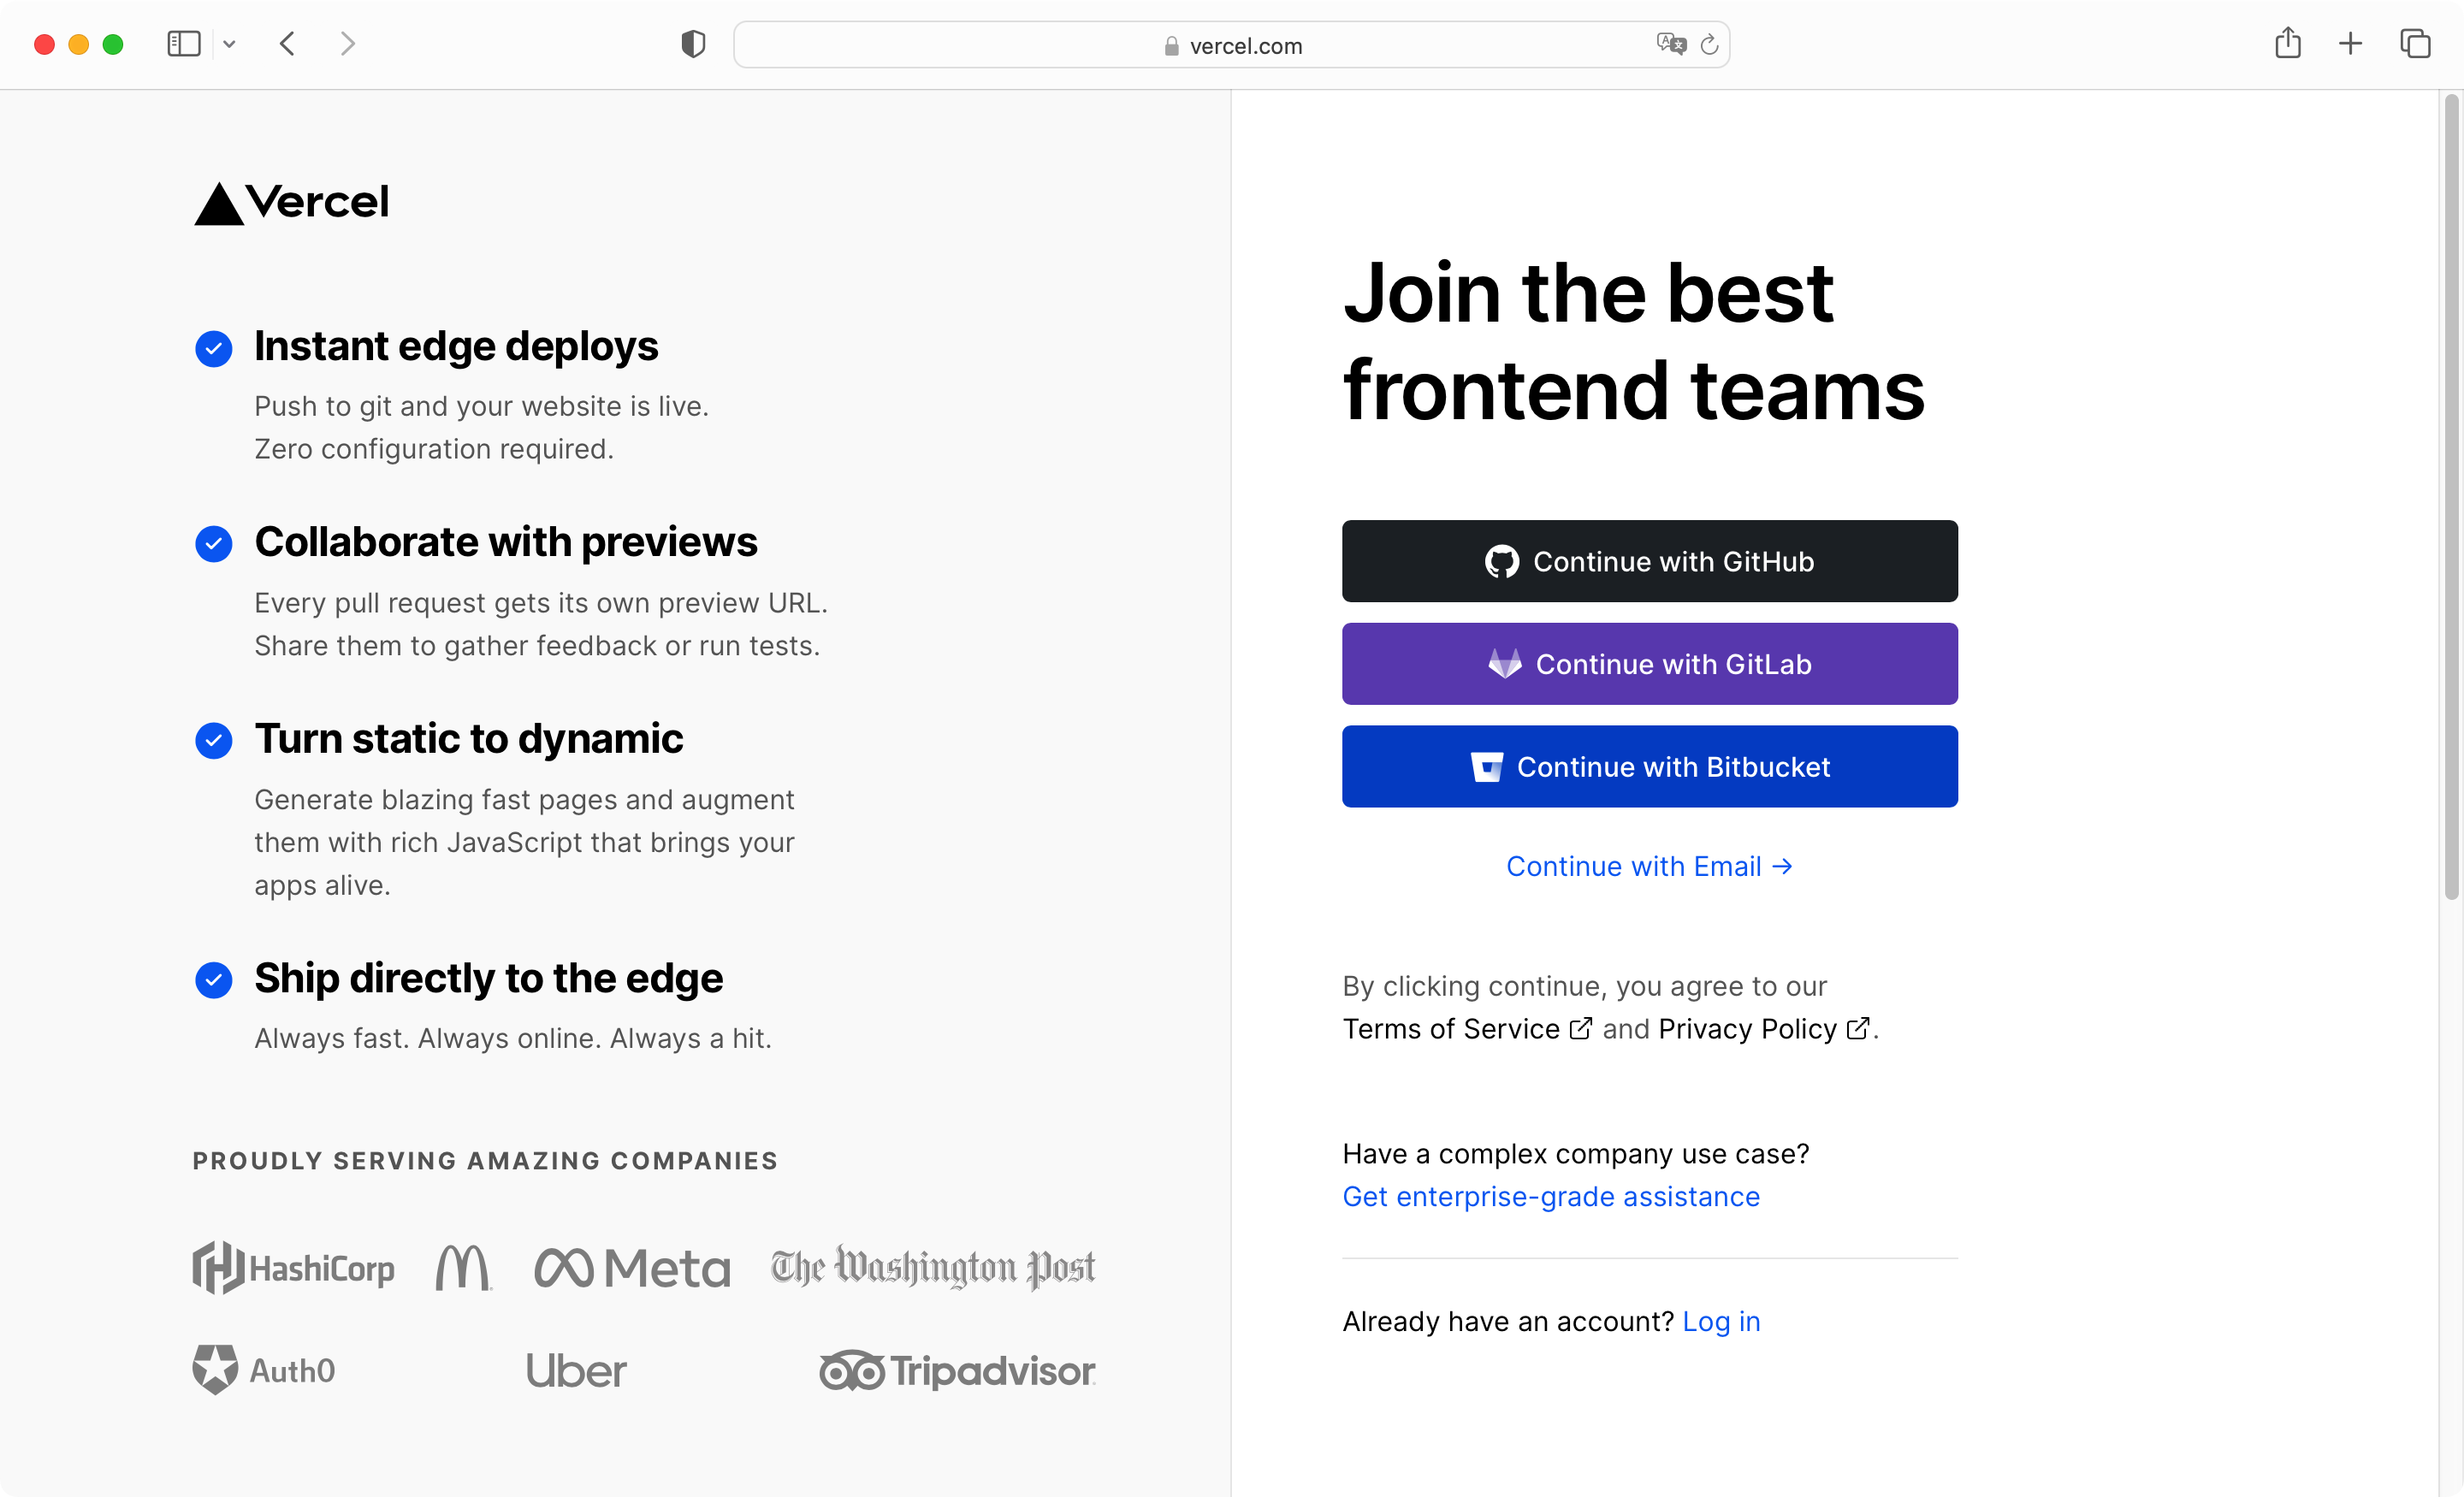
Here I take GitHub as an example, click the “Continue to Dashboard” button in the picture above, log in to the GitHub account in the pop-up window and authorize it. After authorization, you may need to enter the mobile phone number and verify the SMS verification code. After the verification, you can register Success, as shown in the following figure.
Deploy the project
My GitHub account has prepared a project, which I forked from ” md “. md is a highly concise WeChat Markdown editor. My official account articles are all typeset with it. You can also fork this project at Deploy on Vercel.
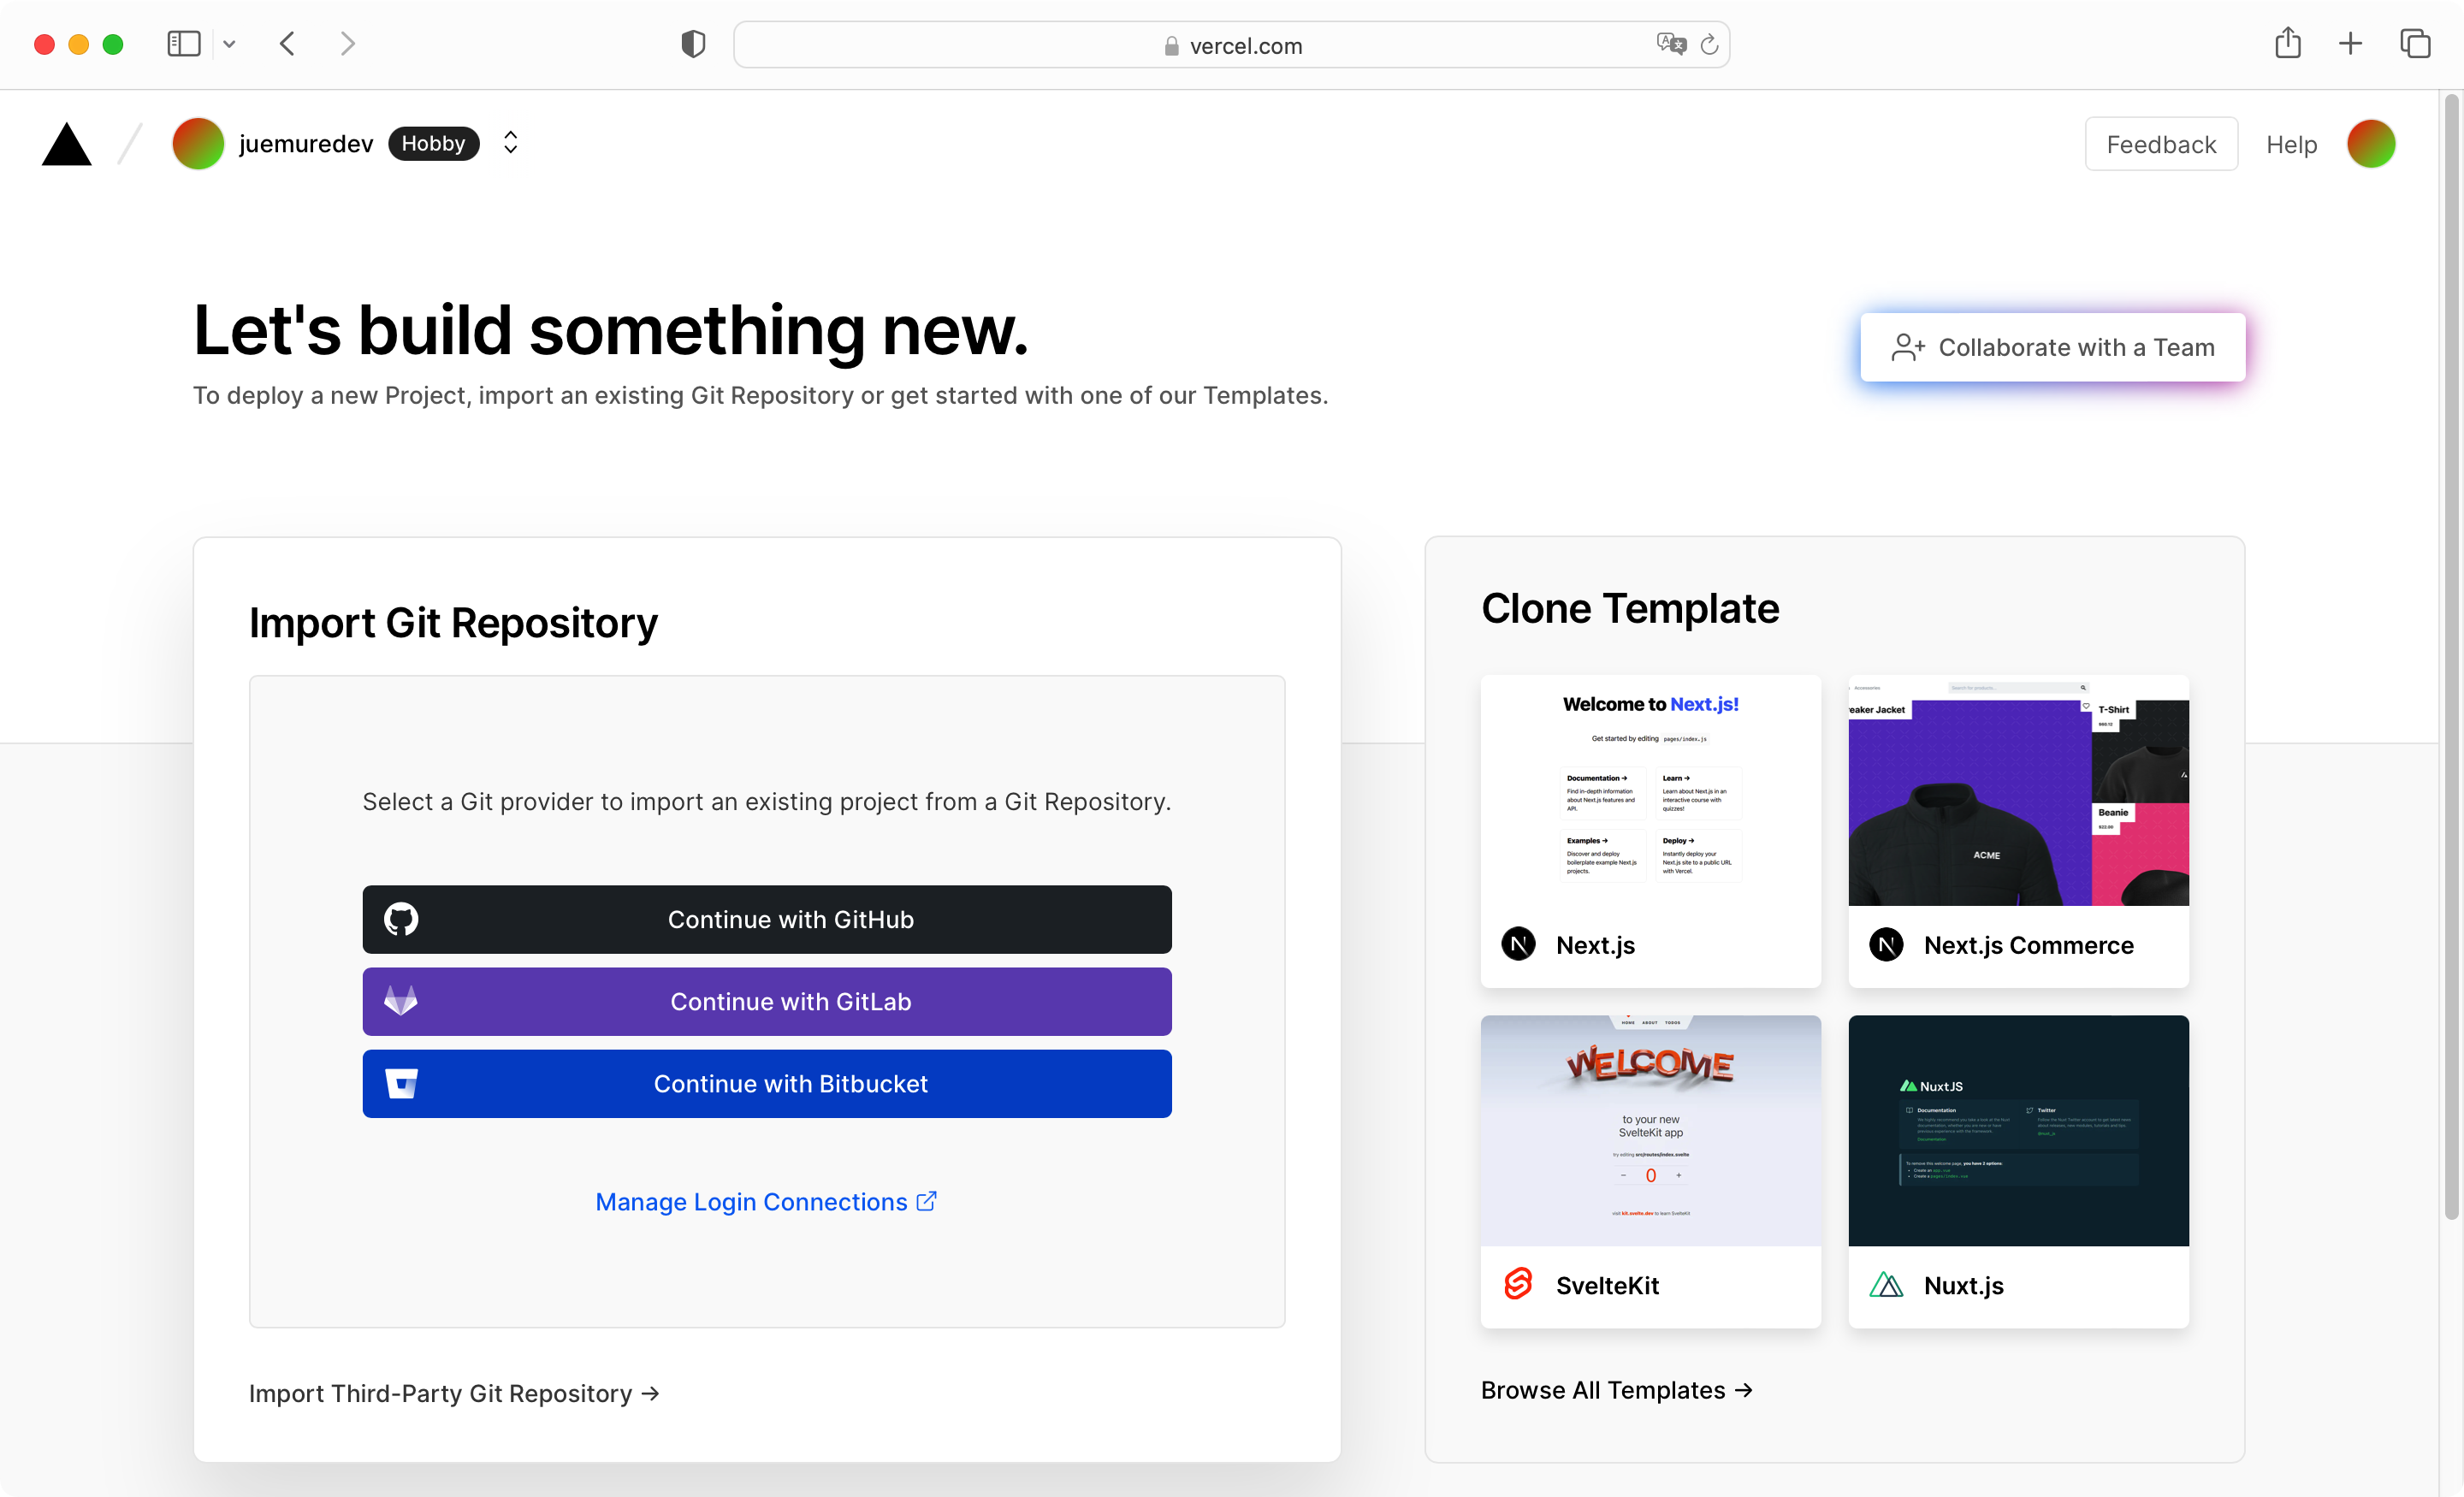
Taking GitHub as an example here, click “Continue with GitHub” in the above figure, and the authorization window for installing Vercel will pop up, and you can select all warehouses or specified warehouses.

I have selected all the repositories here. After clicking the “Install” button, the authorization window will be automatically closed, and the page will display the GitHub project list.
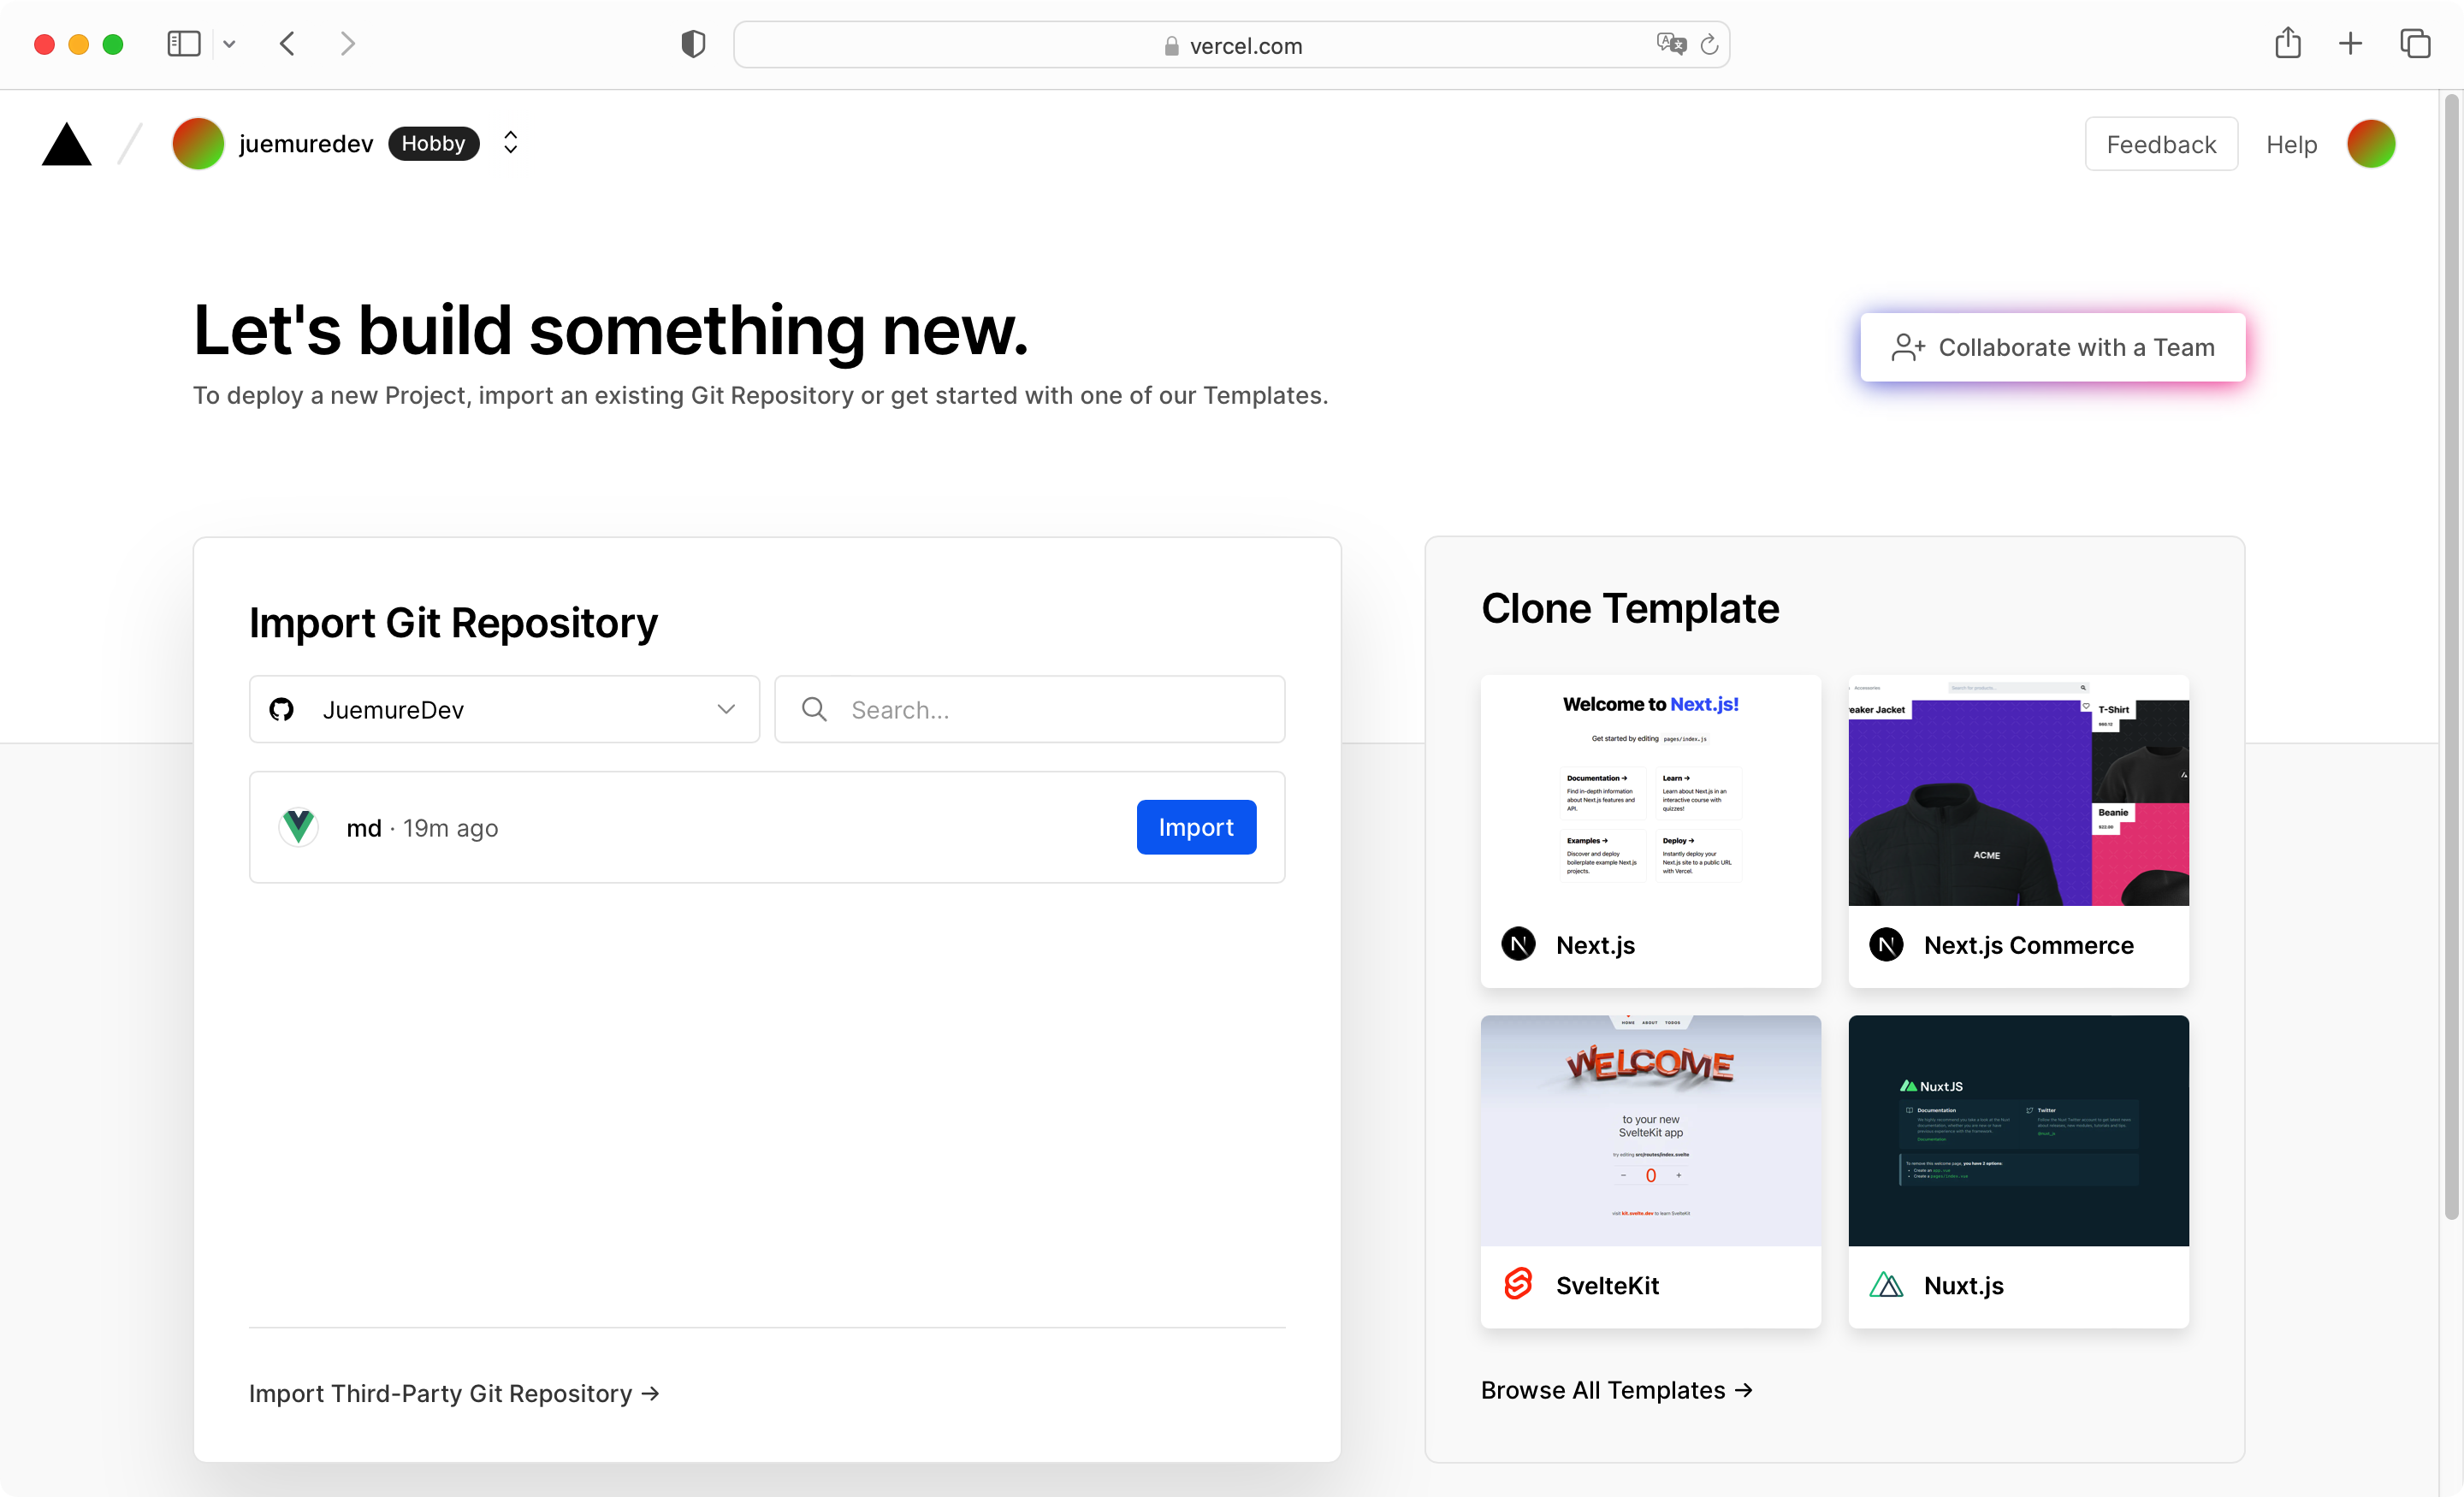
Click the “Import” button after the project to jump to the configuration interface of project information.
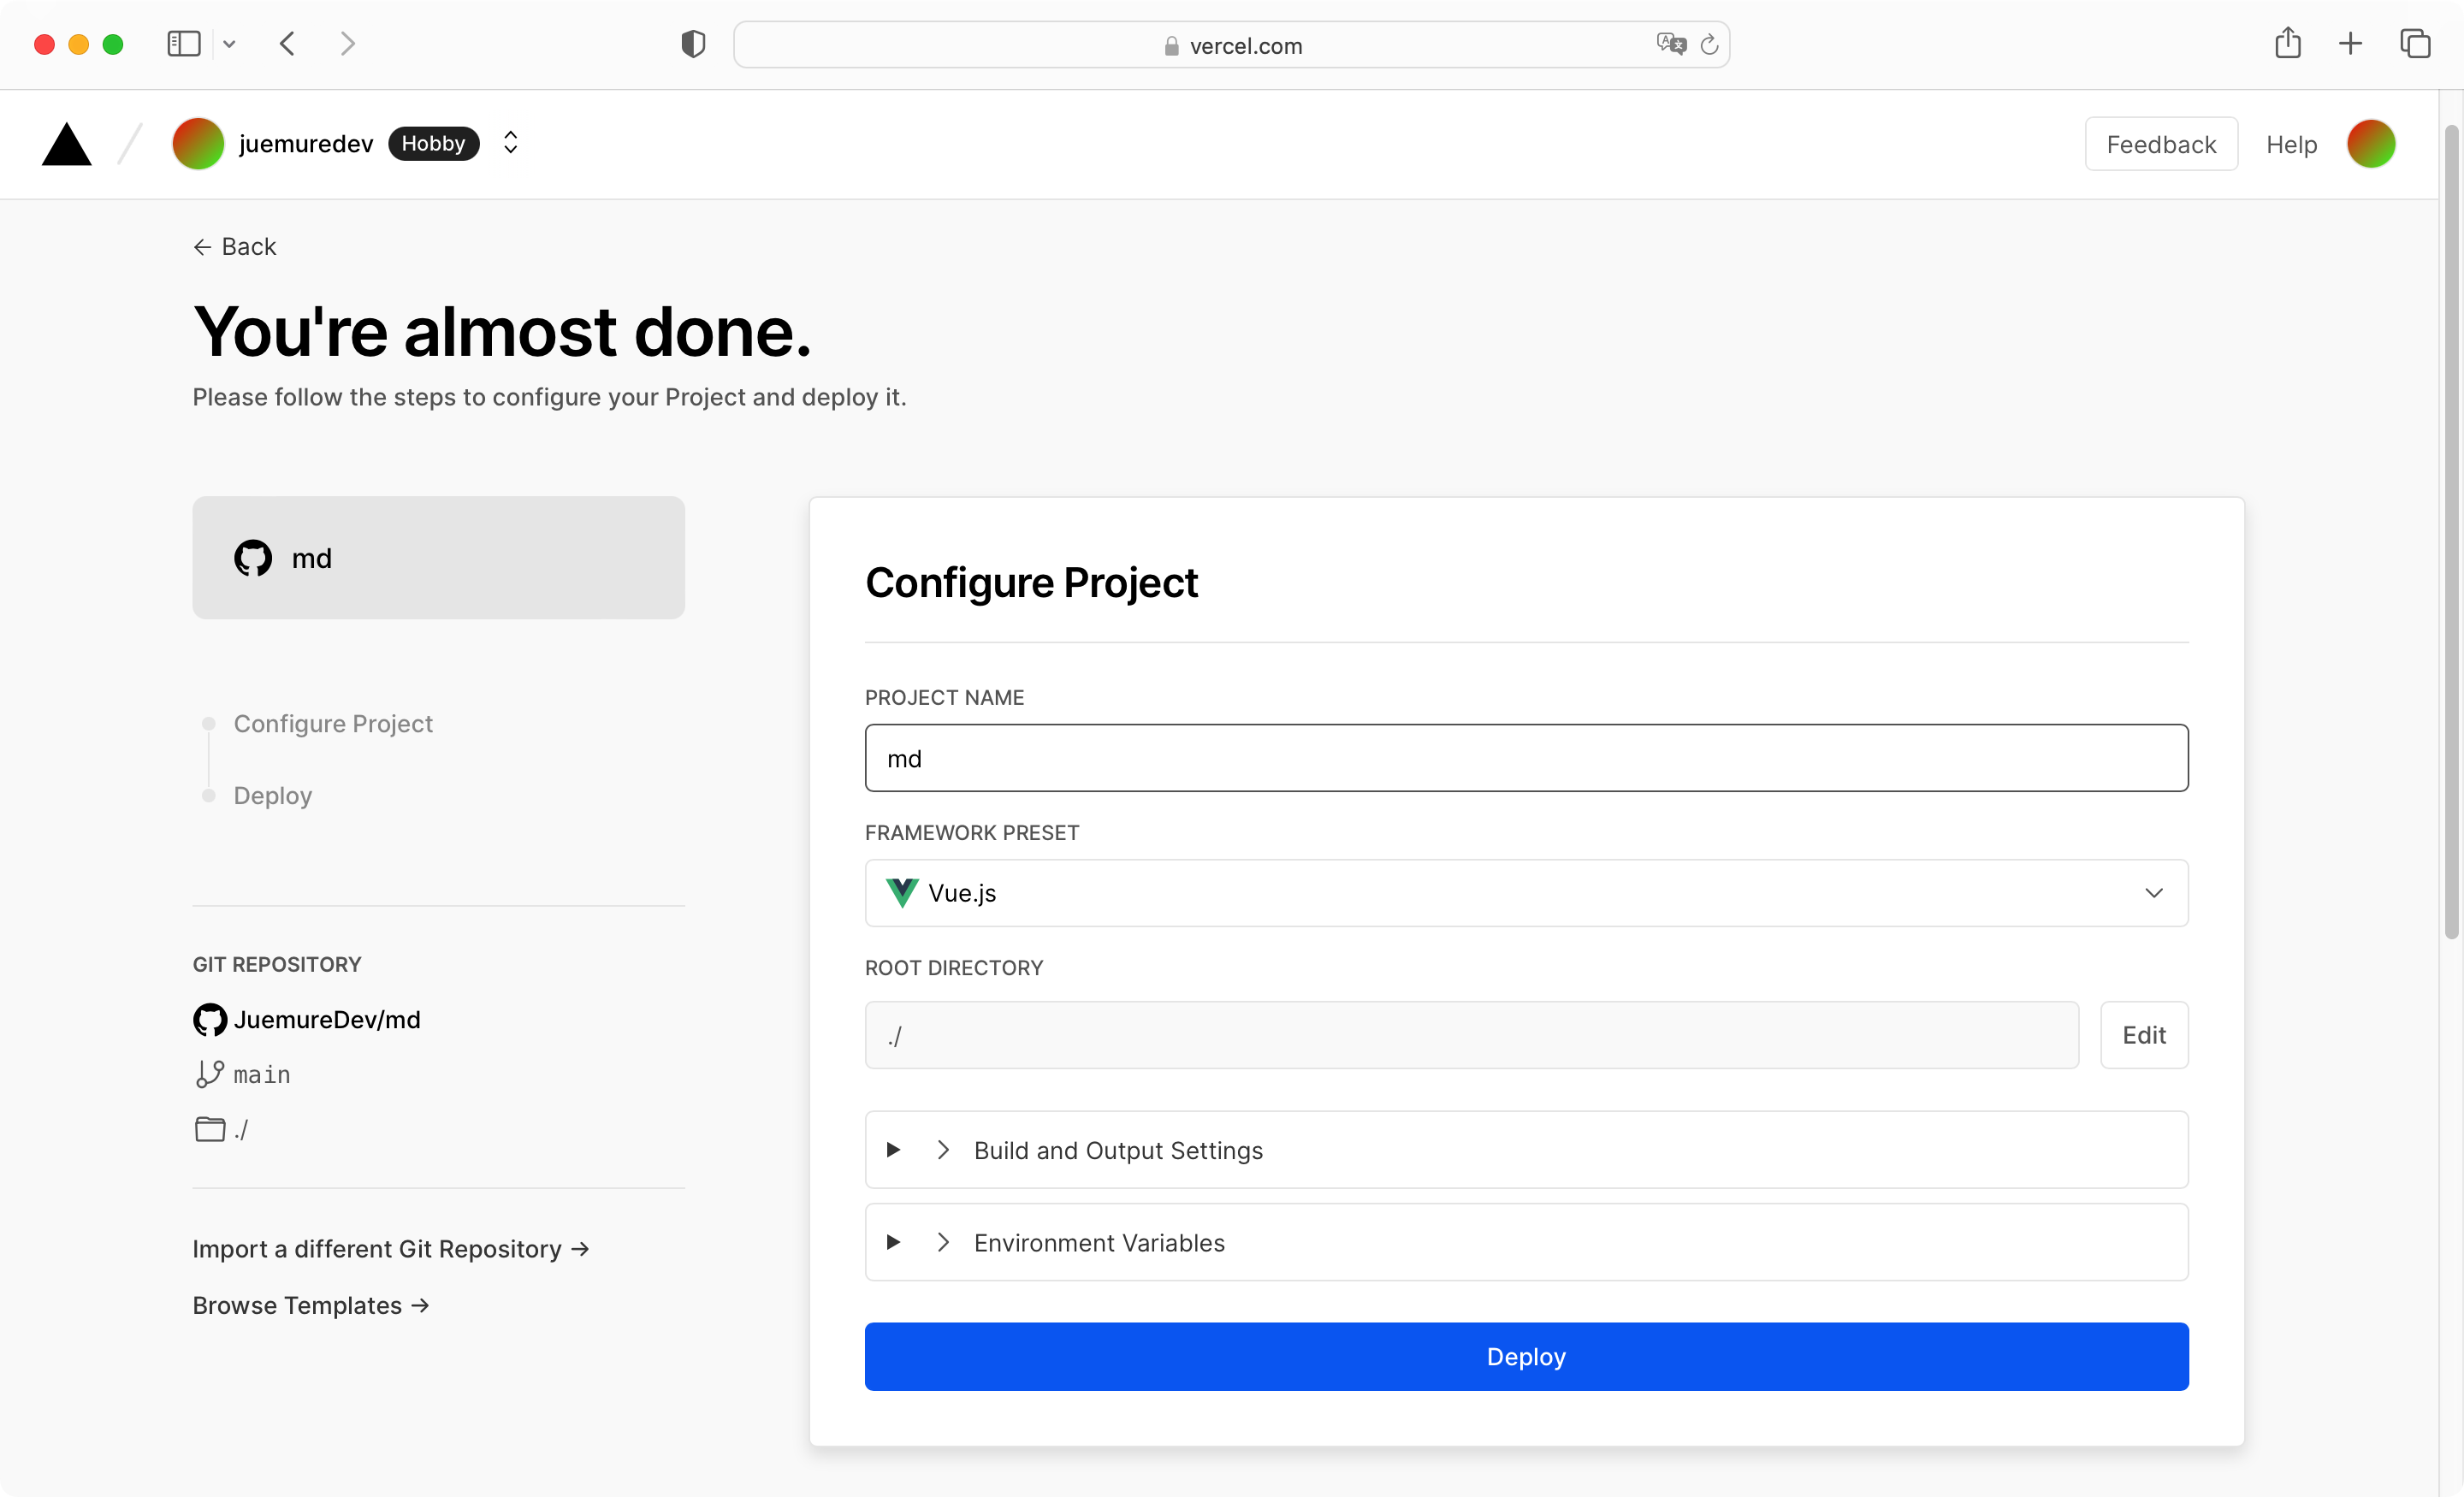
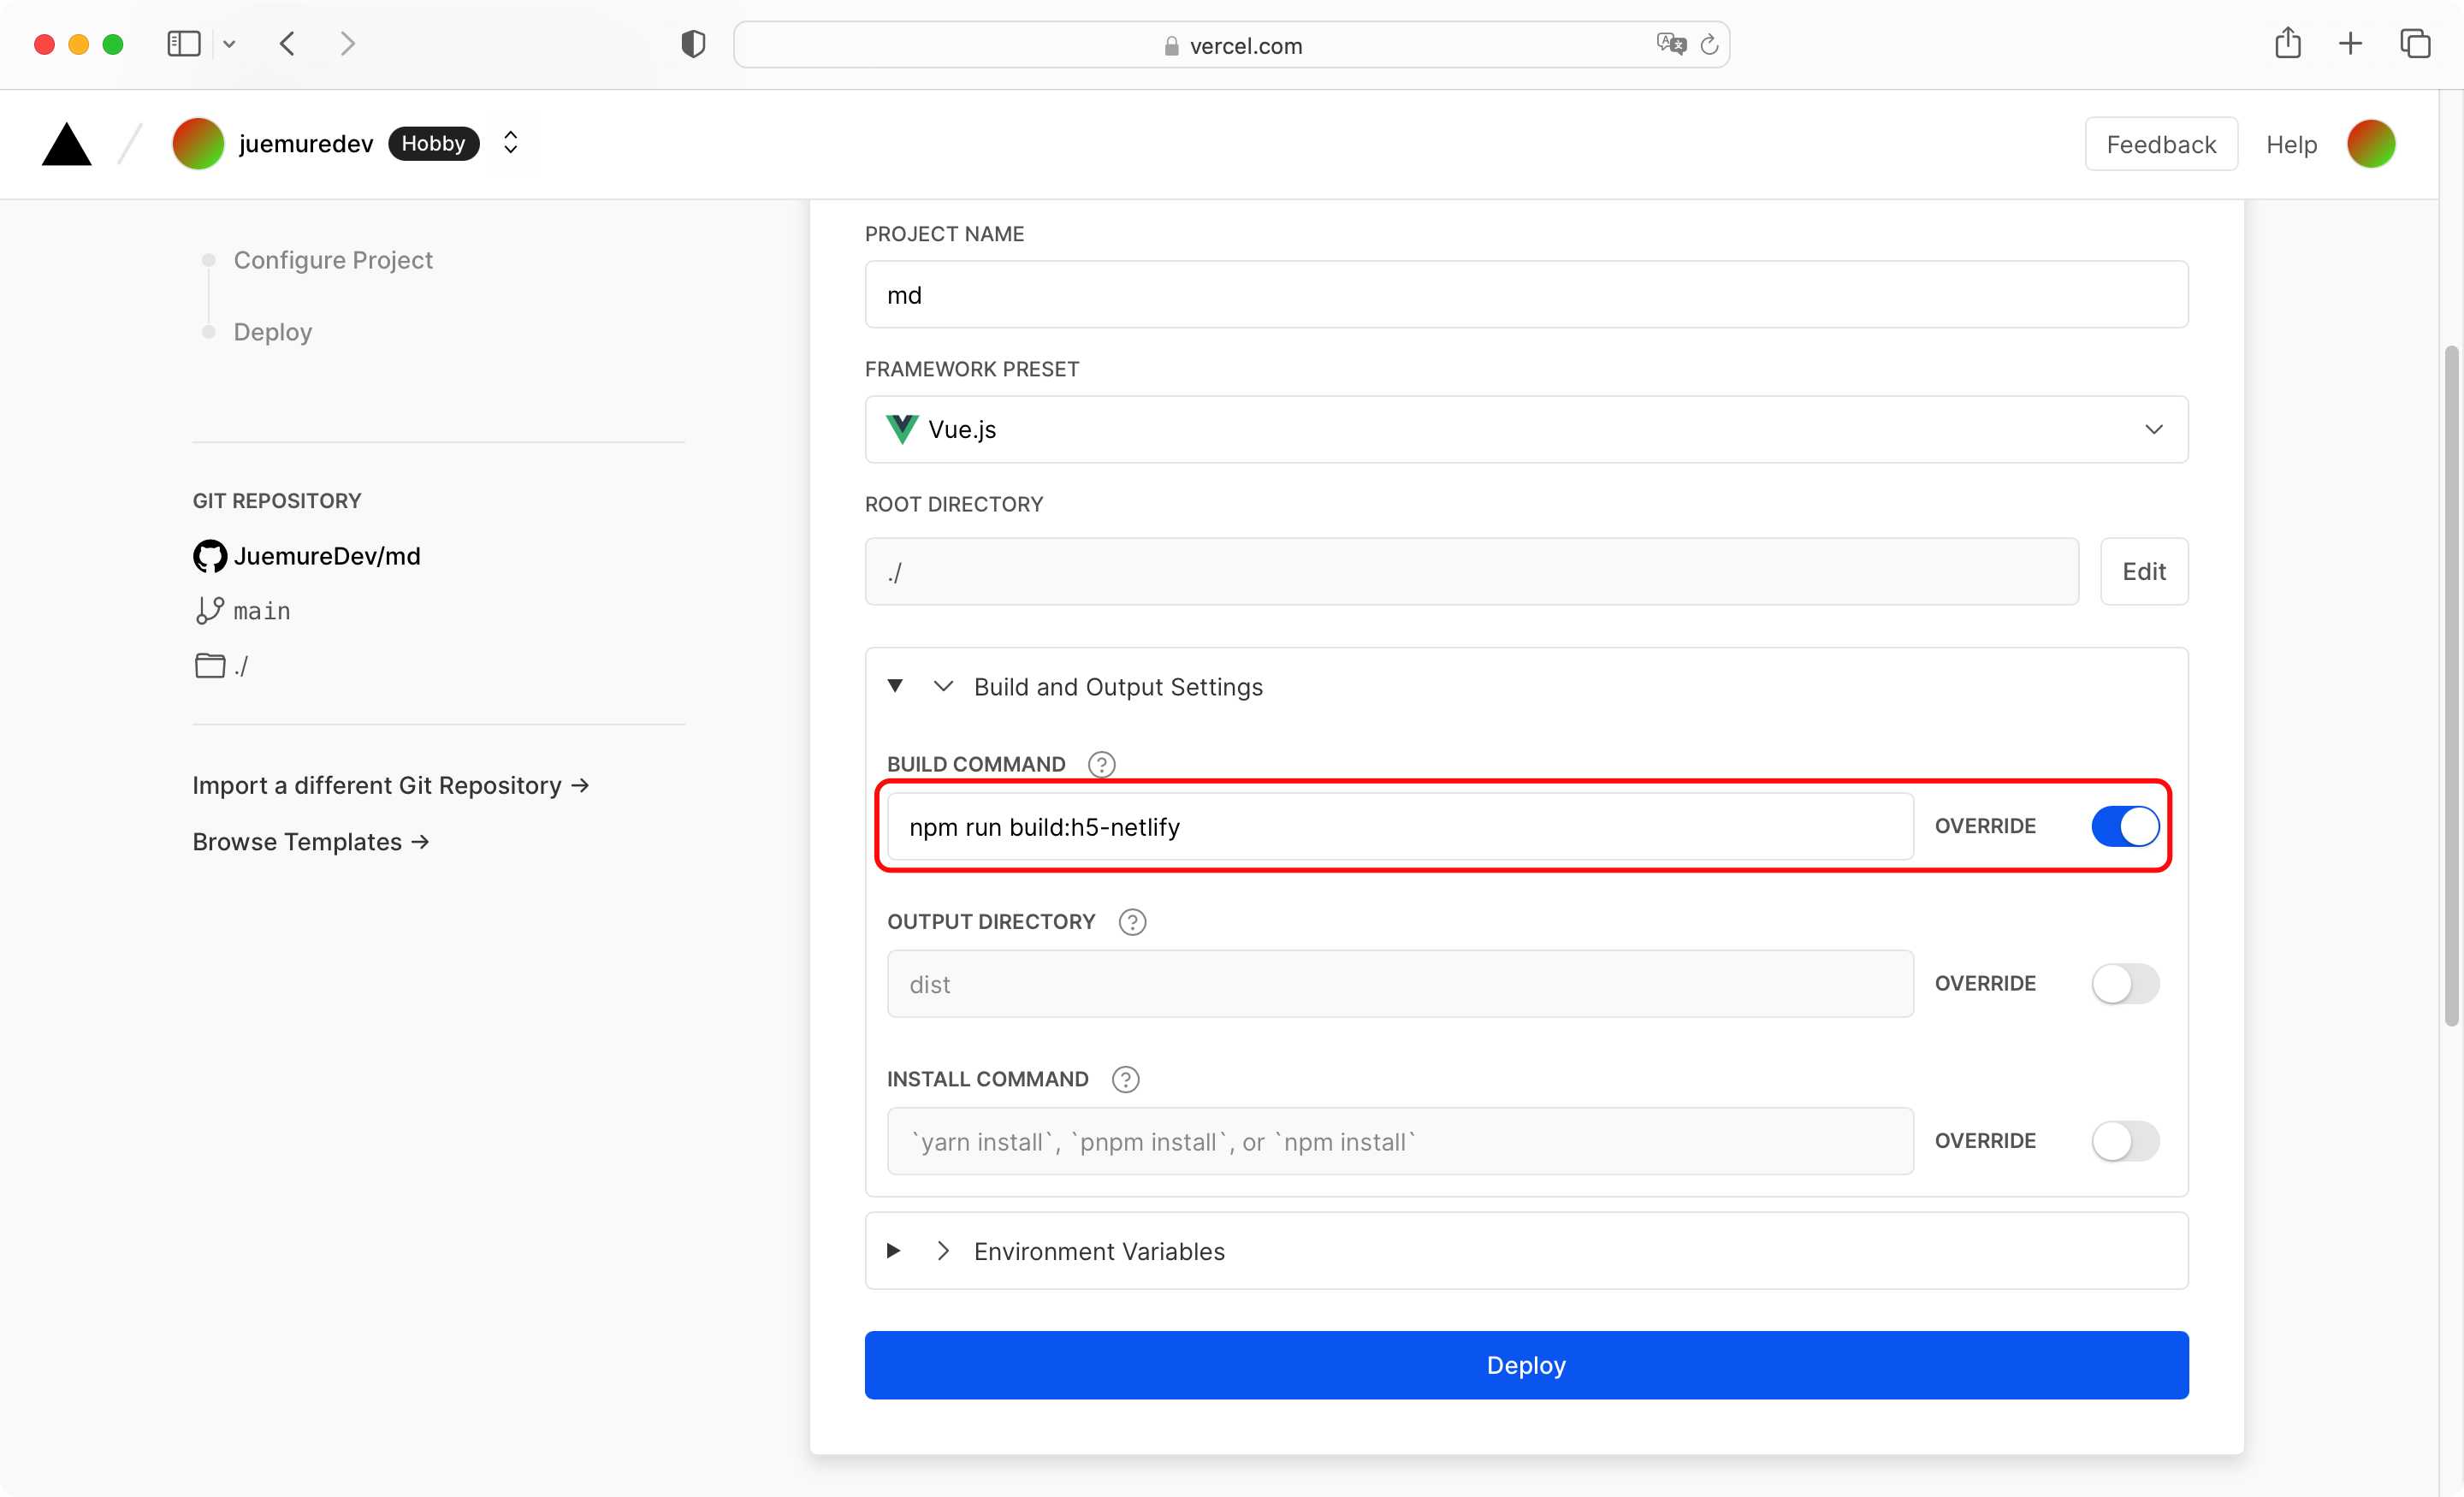
The project information can be edited here:
- Project name (PROJECT NAME)
- FRAMEWORK PRESET
- root directory (ROOT DIRECTORY)
- Build and Output Settings
- Environment Variables
It should be noted that the documentation of the md project mentioned that if you want to deploy the project in the root directory, you need to execute npm run build\:h5-netlify , so you need to open the OVERRIDE button of BUILD COMMAND and paste the command in the previous input box to override the default packaging command.
After the configuration is complete, click “Deploy” to start deploying the project. After less than two minutes, you can see the successful deployment prompt, and then automatically jump to the page shown in the figure below.
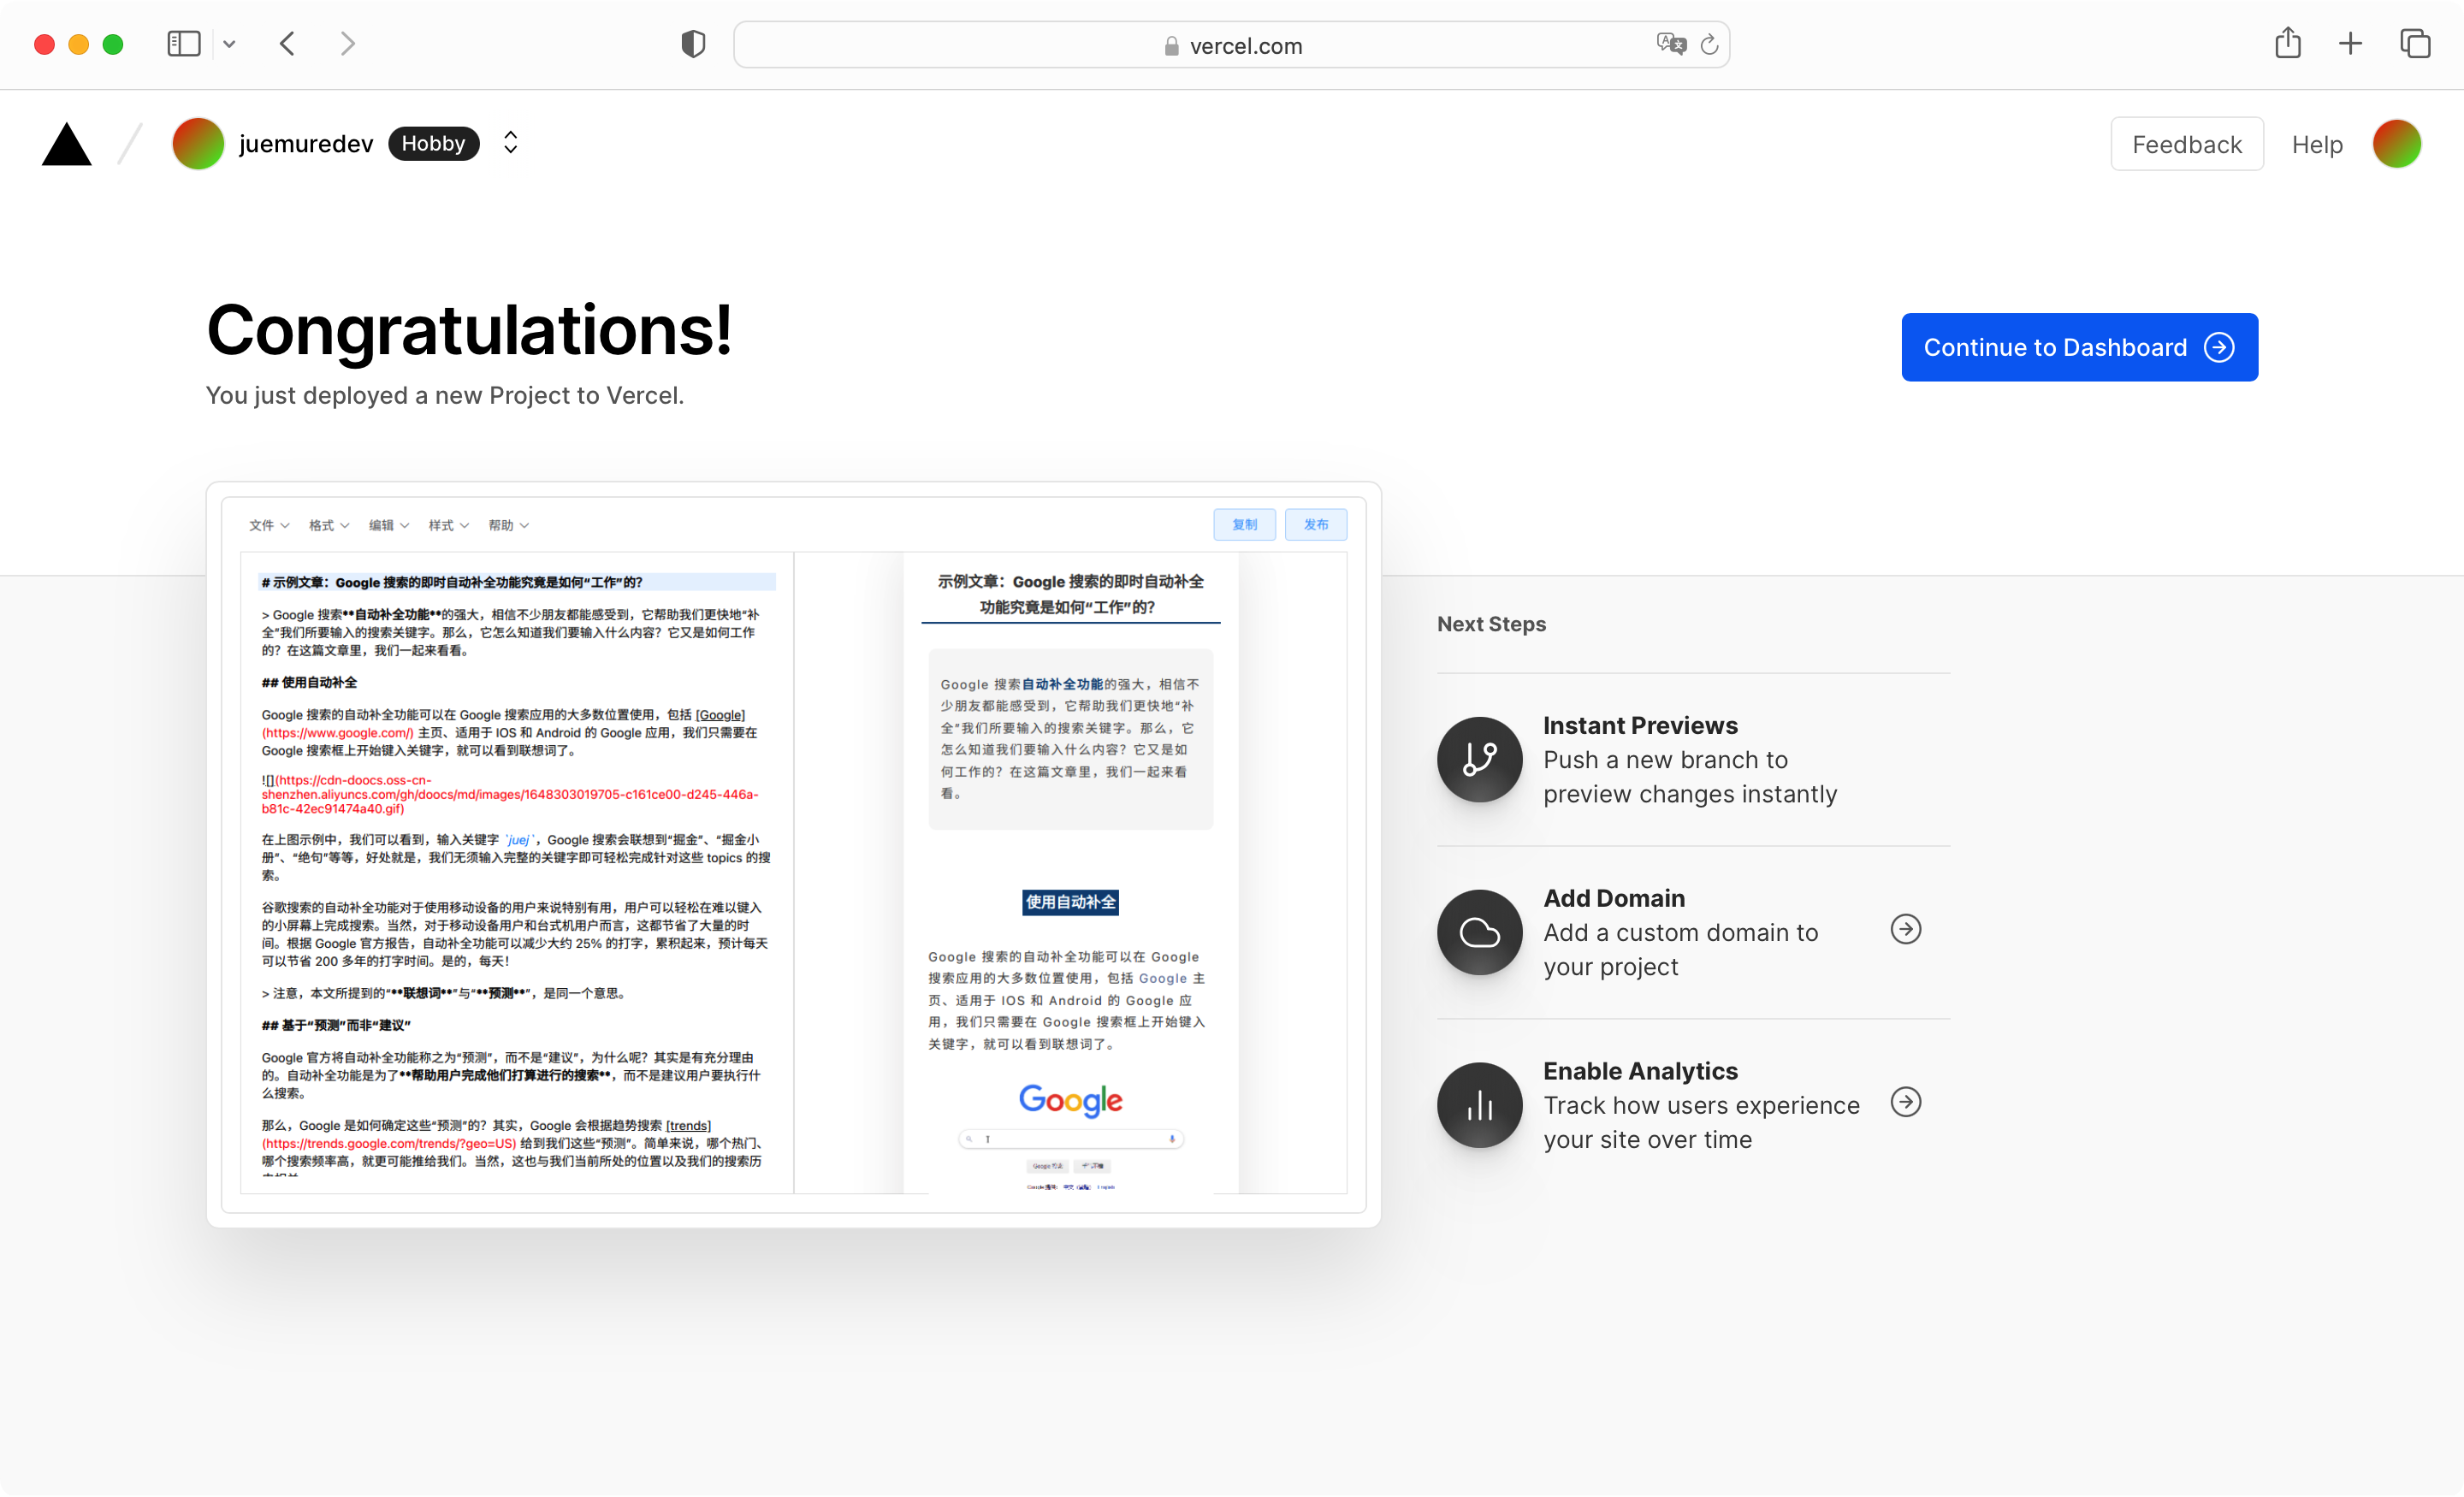
Click the “Continue to Dashboard” button to jump to the page below. Originally, clicking “Visit” or two domain names under DOMAINS can access the deployed project page, but currently vercel.app domain name cannot be accessed in China, so you need to go to the next step to configure a custom domain name.

custom domain name
Click Settings->Domains in turn, enter your domain name in the input box and click the Add button.
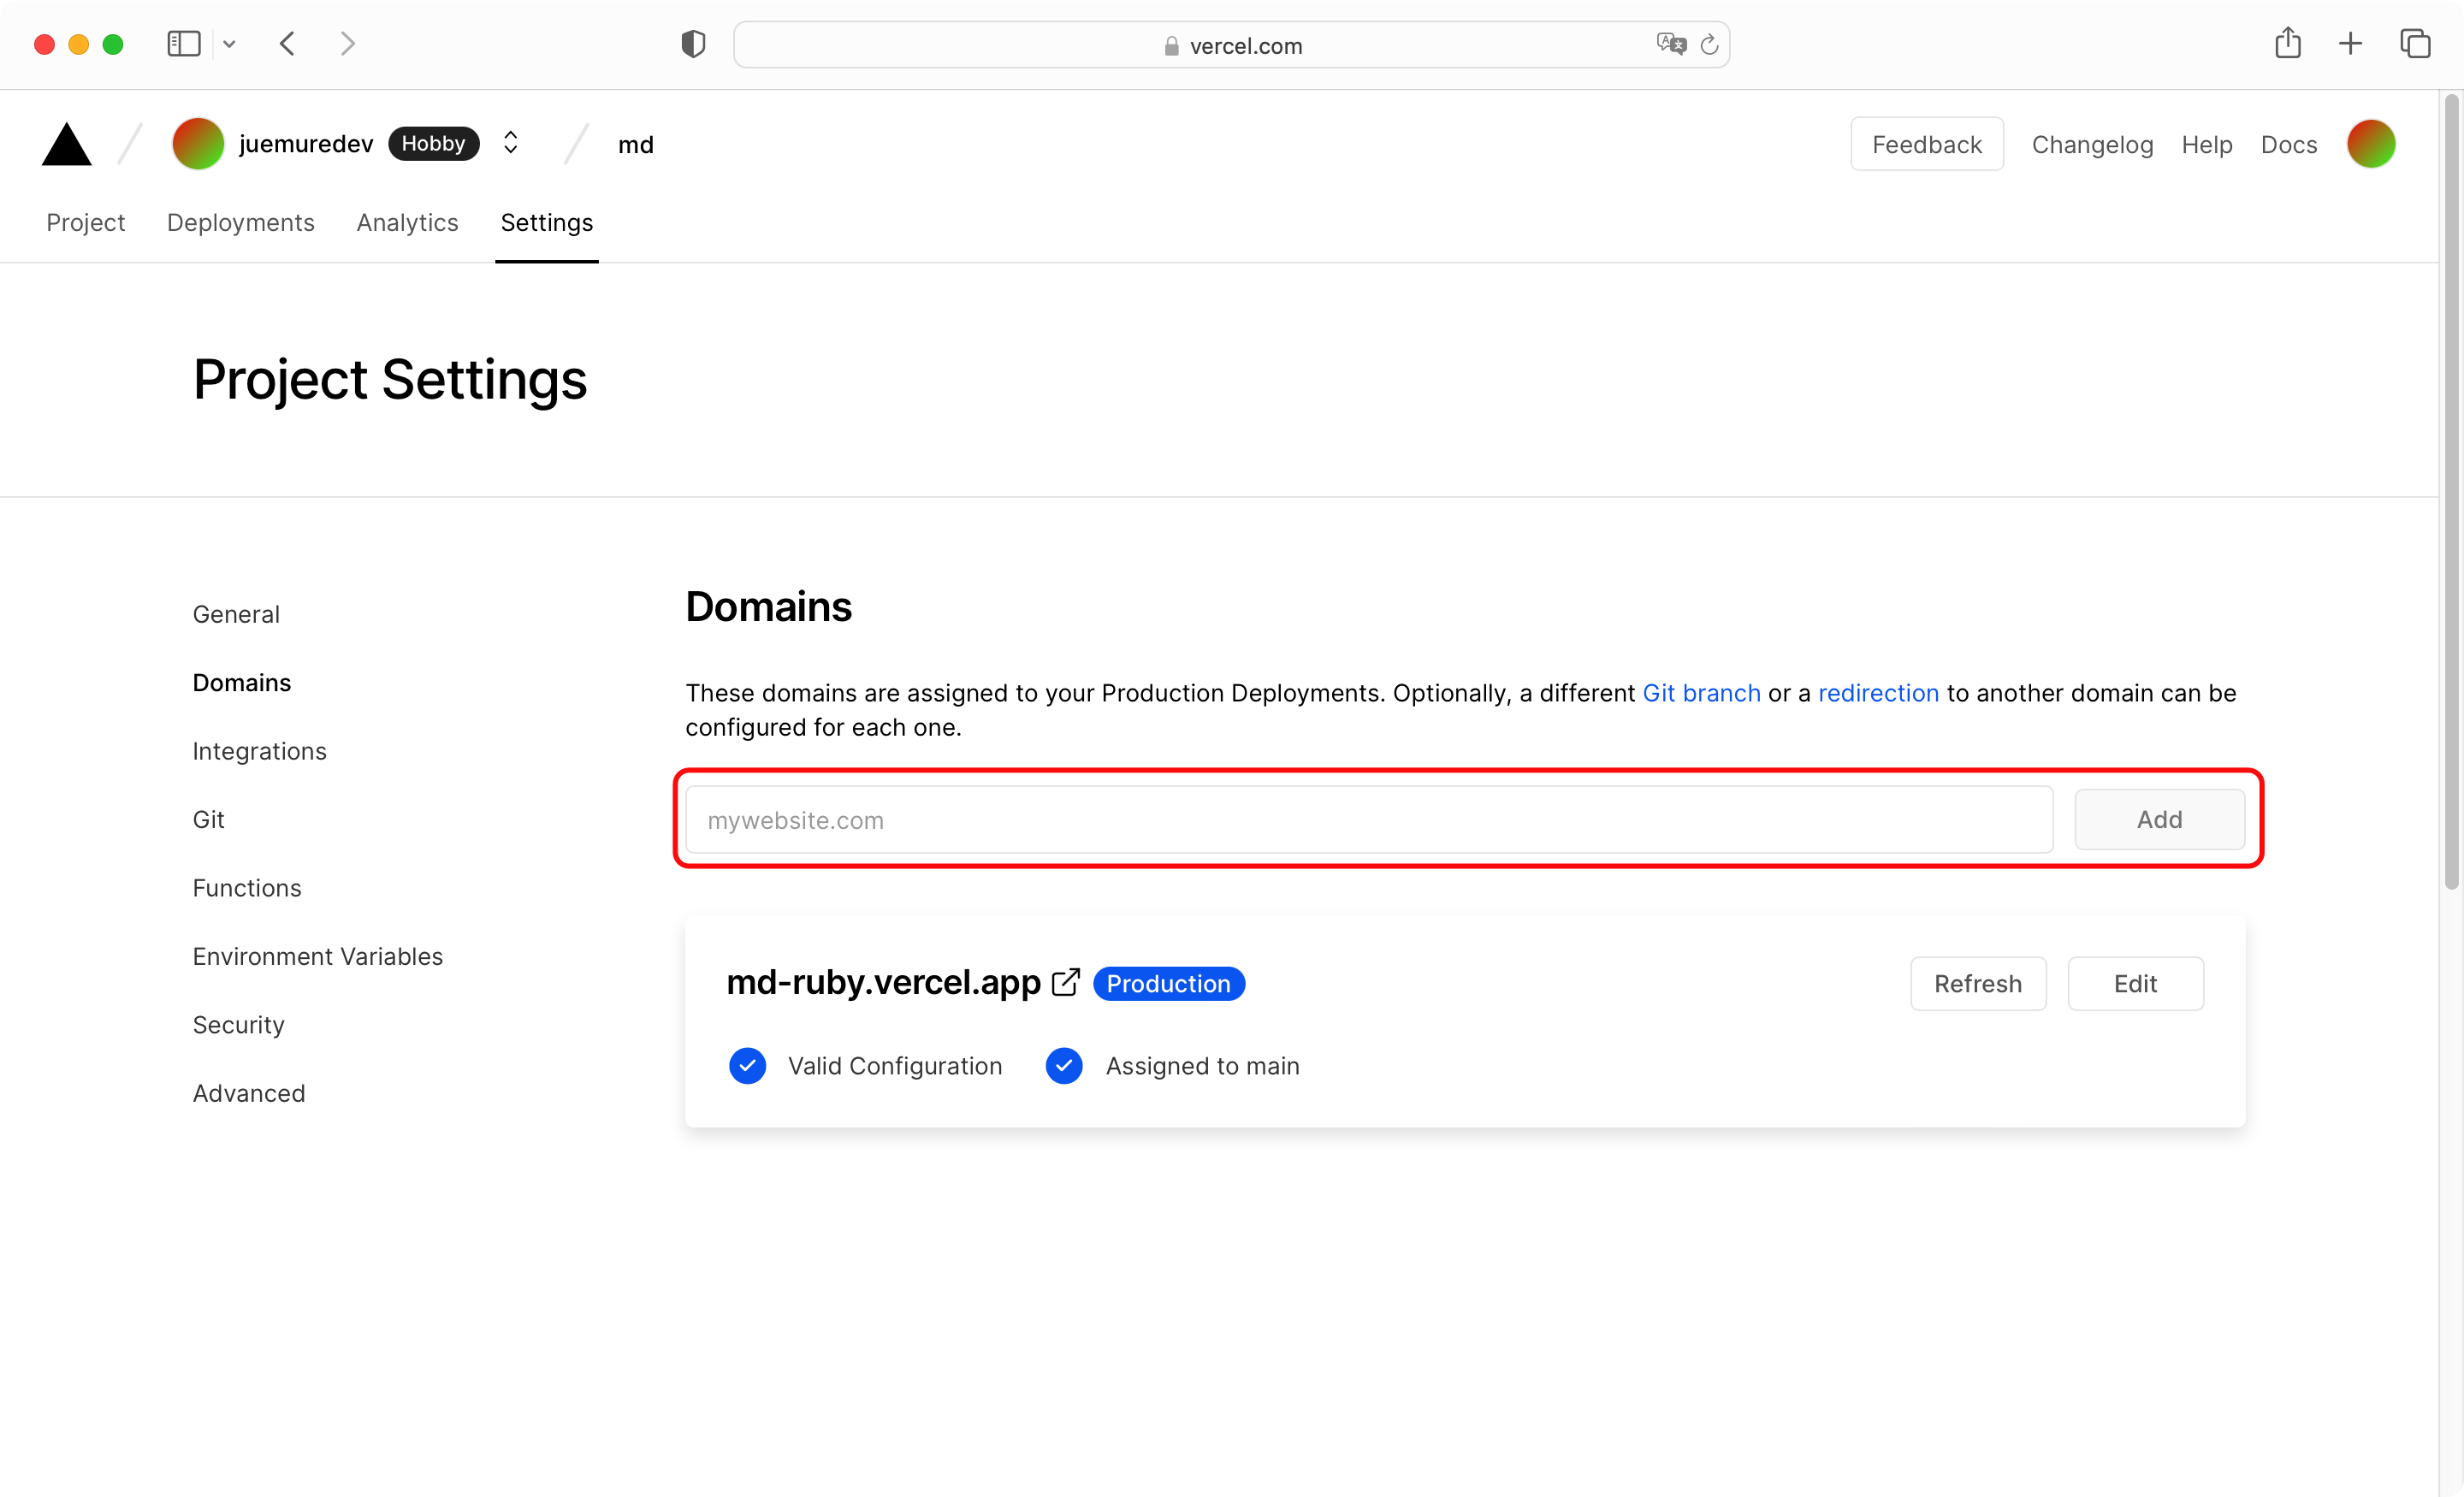
Here I take my own domain name as an example and enter markdown.juemuren4449.com . Regardless of the prompts given on the page, go directly to the place where the domain name is resolved to configure NS resolution. For the specific configuration, refer to the following figure.

This configuration is to resolve the domain name of markdown.juemuren4449.com to ns1.vercel-dns.com through NS. Add another analysis, other information is consistent with the above figure, the record value is changed to ns2.vercel-dns.com .
After configuration, return to Vercel, the page shows that the domain name has been configured, and the SSL certificate is being generated (Generating SSL Certificate).

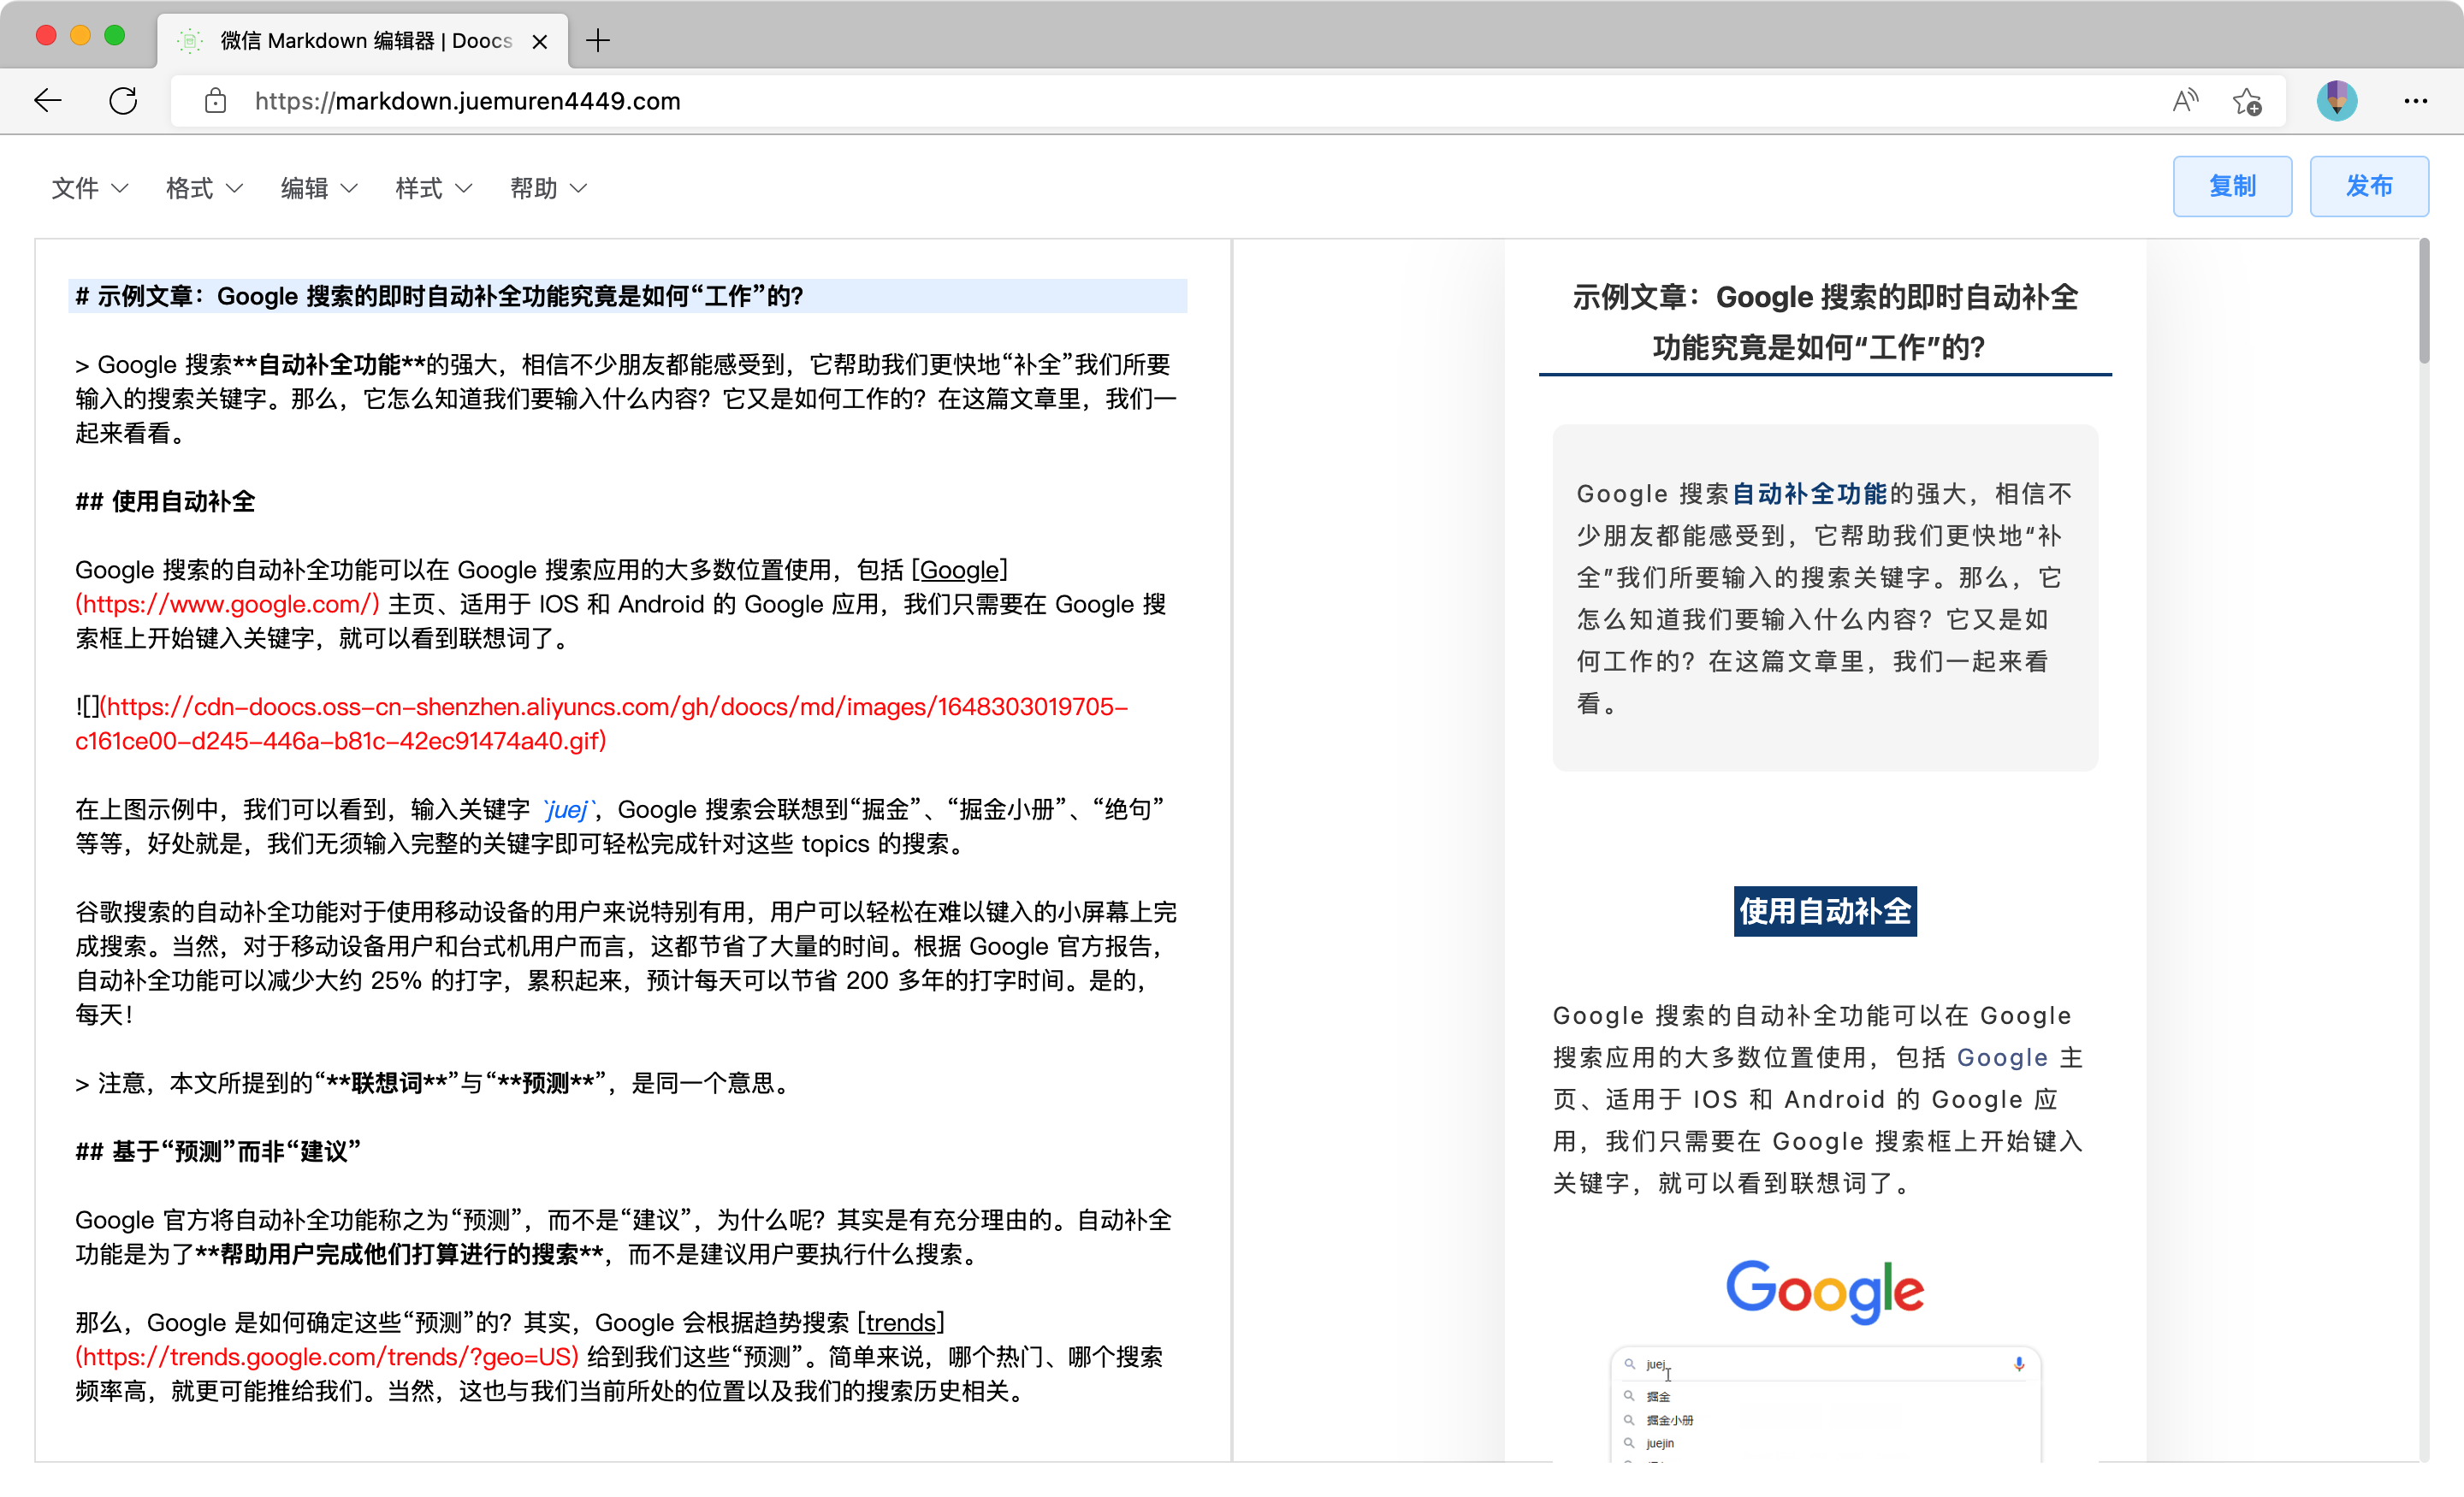
After the SSL certificate is generated, you can use the custom domain name ” https://markdown.juemuren4449.com ” to access (Note: There is a problem with accessing this project with Safari, you can use Chrome or Edge to access it).
Submit code to trigger deployment
Through the above configuration and deployment, it should be seen that Vercel is convenient and fast, and the next step is another big trick of Vercel, which automatically triggers the deployment after submitting the code.
Edit the project code just now locally, delete the “Publish” button in the upper right corner, and then submit the code. After a few seconds, Vercel’s Deployments page will start to automatically deploy, and an email notification will be sent to your mailbox after the deployment is complete.
Visit https://markdown.juemuren4449.com again, there is no publish button in the upper right corner

If you are doing some small projects by yourself, you no longer need to package and upload the code to the server every time you modify the code. You only need to submit the code to the warehouse, and Vercel will automatically trigger the deployment. After the deployment is complete, you will be notified. This experience is really Incredibly smooth.
Summarize
From the previous deployment steps, deploying a project with Vercel has the following advantages:
- Provide free static server
- Quickly import projects and deploy
- Automatically generate SSL certificates
- Submitting code automatically triggers deployment
Moreover, the free package provided by Vercel is enough for personal use (the contents of different packages can be viewed by visiting ” Plan Compare “), and the access speed in China with the custom domain name is also good.
Just simply click a few buttons, you can import and deploy the project, and then cooperate with the custom domain name to achieve project access. The whole process is much simpler for conventional project deployment, which greatly reduces the difficulty of deployment for developers, allowing developers to focus more on code and function development.
However, Vercel is a foreign service after all, and there is uncertainty in access, so it is okay to deploy it for personal projects, but not for company projects.
The same type of service as Vercel also has ” Netlify “, you can learn about it yourself if you are interested.
This article is reproduced from: https://juemuren4449.com/archives/vercel
This site is for inclusion only, and the copyright belongs to the original author.