Original link: https://www.xujiahua.com/10052.html
Step 1: Install memcached:
In your pagoda, find the php version you are currently using, open php management, diary brother uses php7.4 here:
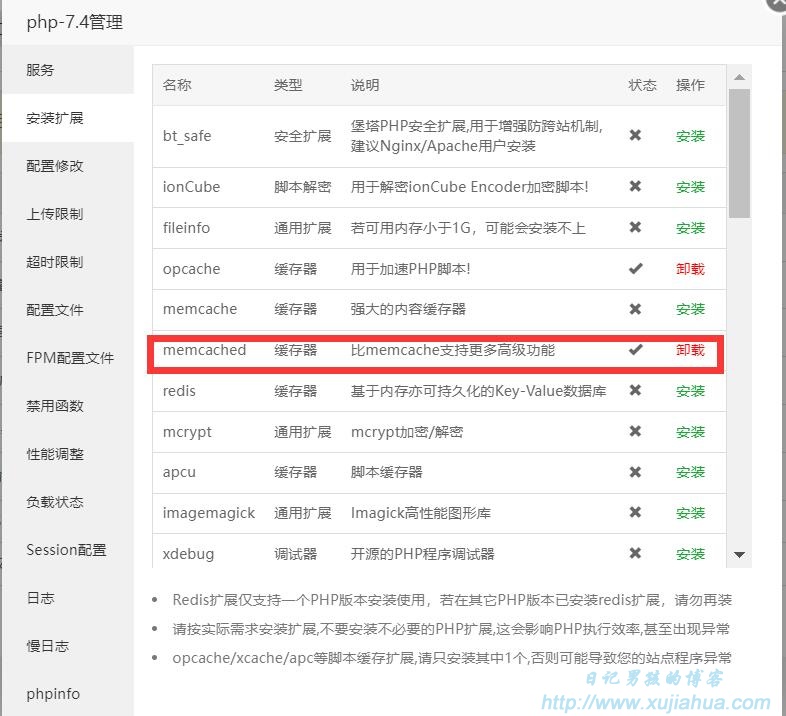
As you can see, there is a memcache on top of memcached. Note : don’t install it wrong.
What we want to install is memcached, which will be more powerful than memcache.
memcache is the version of the pecl extension library, natively supports php, appeared earlier, and is an old predecessor;
memcached is the version of libmemcached, which appeared later and is a new generation, so it is more complete and recommended.
In addition, if you use a PHP version greater than or equal to 7.0, it is recommended to open the opcache cache, which can greatly improve the efficiency of the website operation.
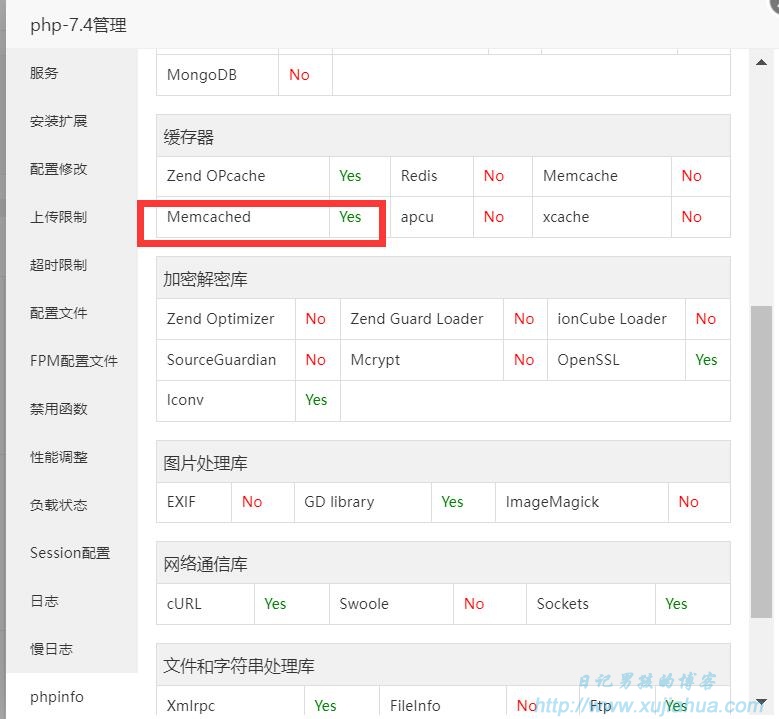
After the installation is complete, you can check whether the installation is successful in phpinfo. If the installation is successful, as shown in the figure:
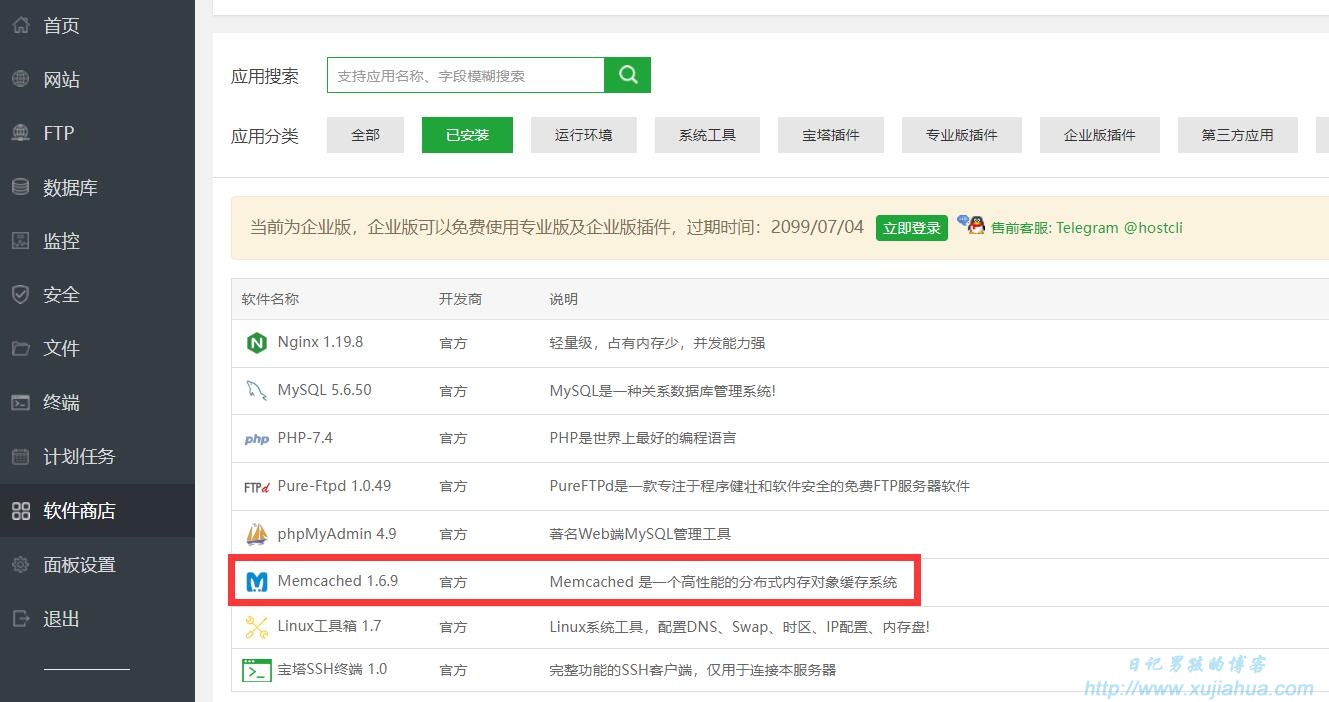
Then we will find that the memcached management software in the pagoda (this is used to check the running status of your memcached) will also automatically install it for us:
Step 2: We need to download the memcached plug-in, which can be downloaded here:
https://ift.tt/jKuSMeJ
GitHub is blocked by the domestic wall. If you can’t open it, you should know how to solve it. Not much to say here.
Click on object-cache:
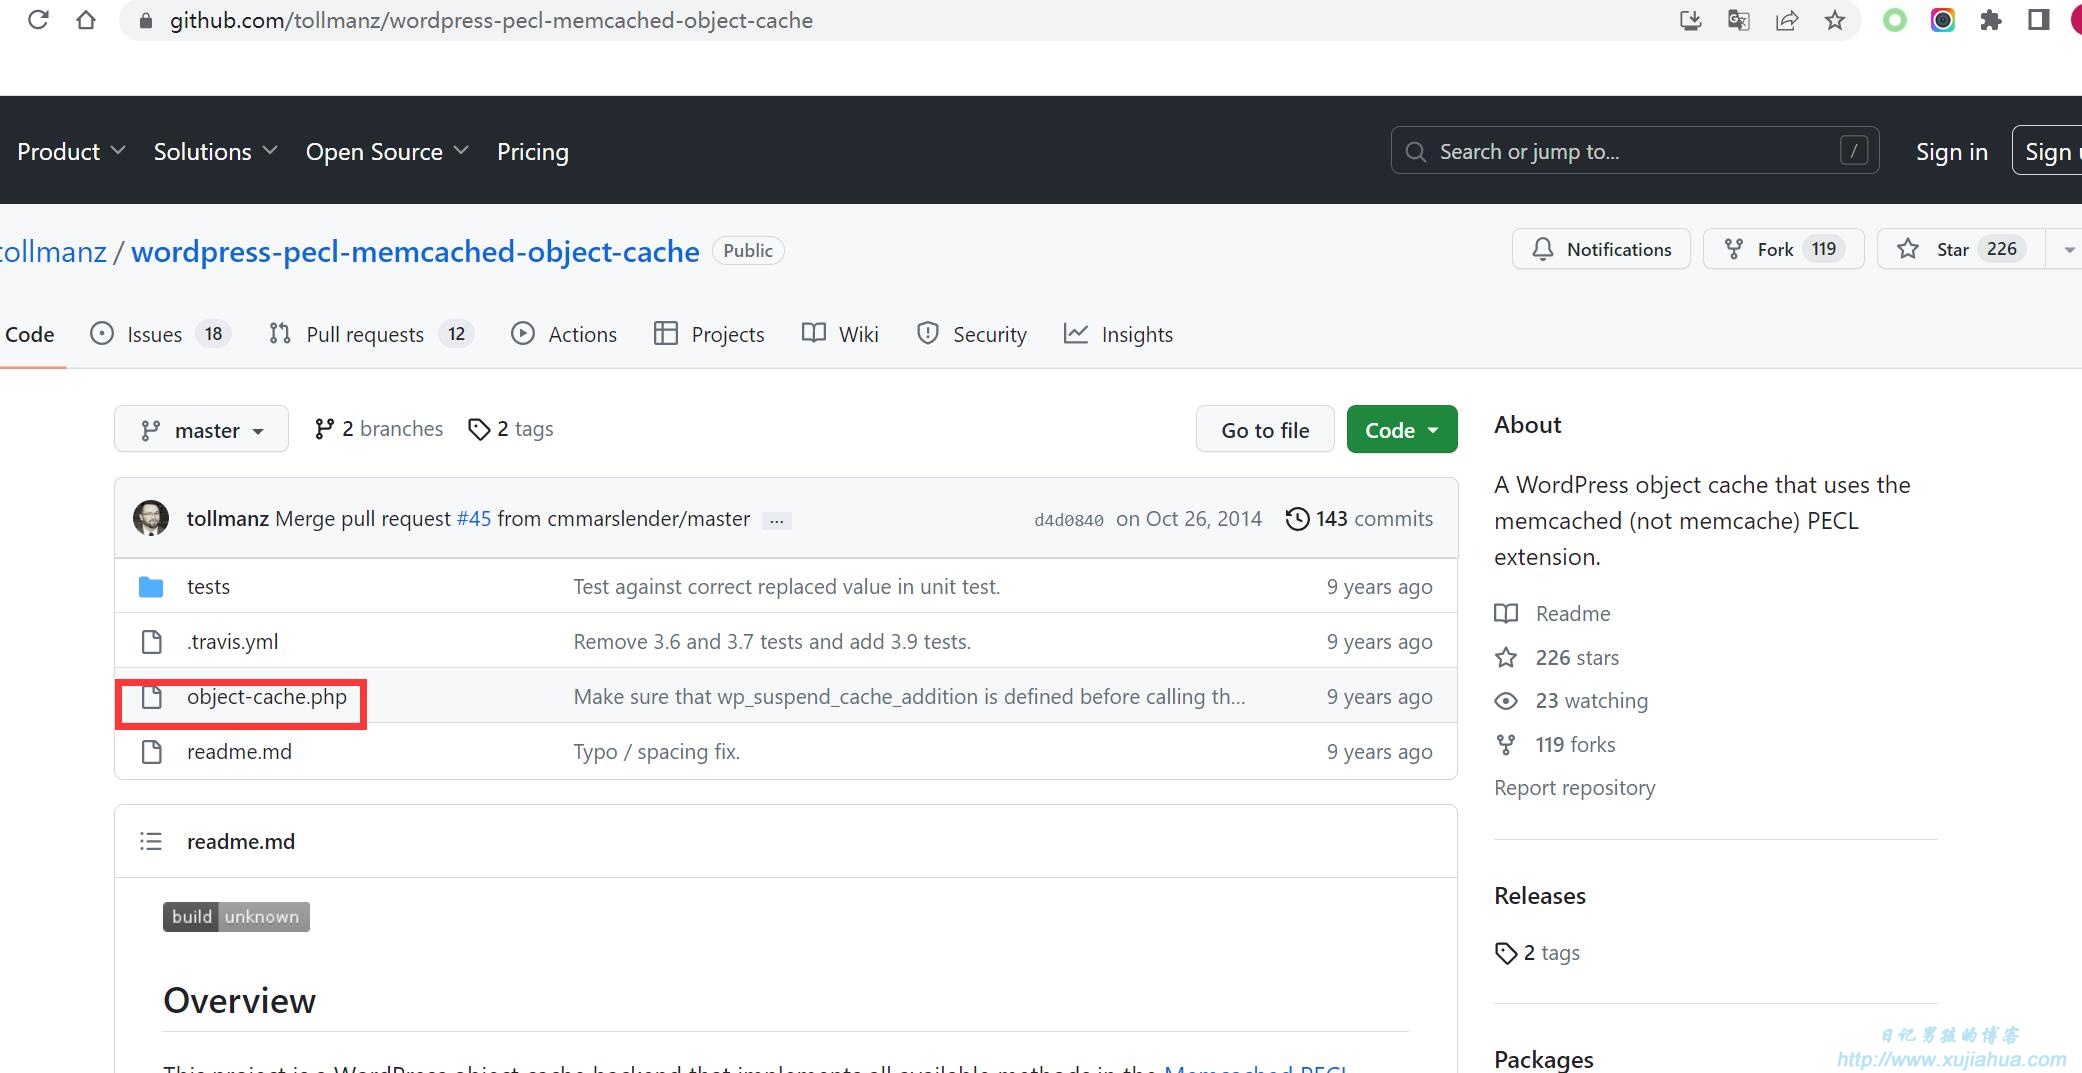
Then click download to download the object-cache.php file:
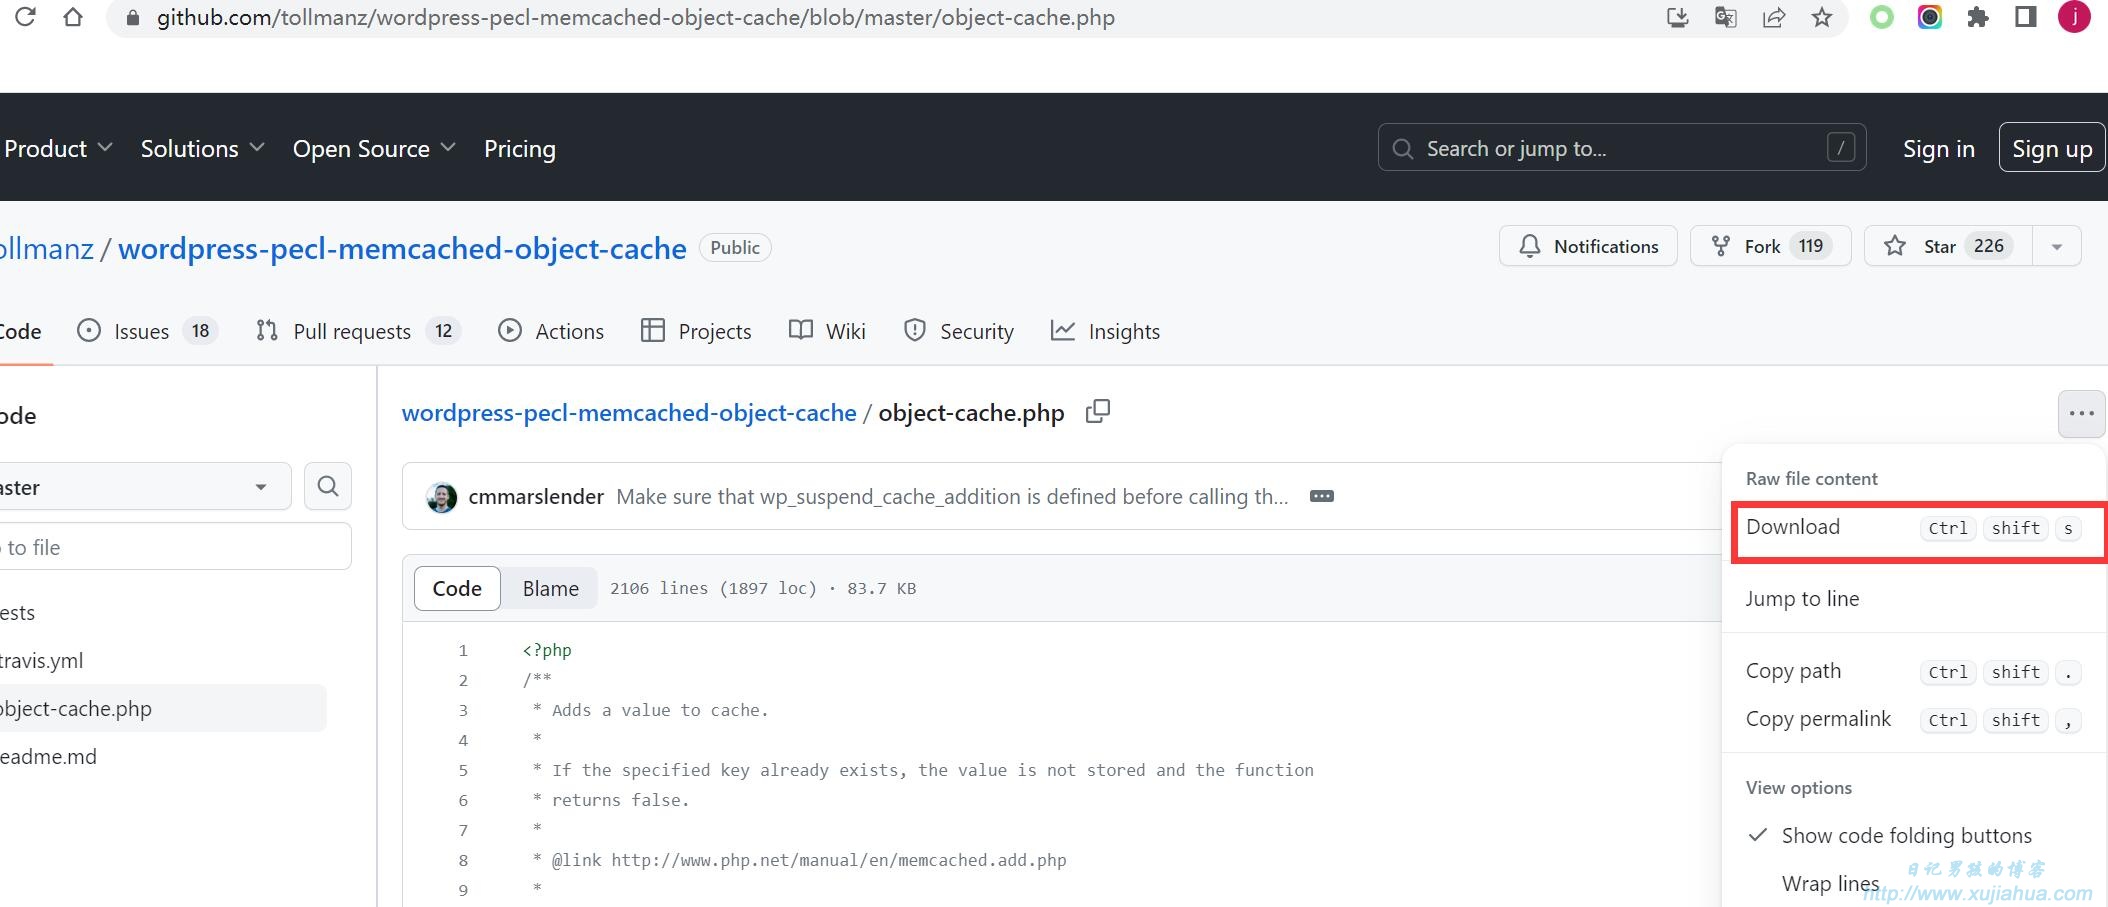
Step 3: Download the obtained object-cache.php and upload it to the wp-content directory to enable memcached caching. Note: not the plugin directory! It’s in the wp-content directory, don’t upload the wrong location.

Now, the enabling of memcached is basically complete. You can see if the speed of opening your website has become faster.
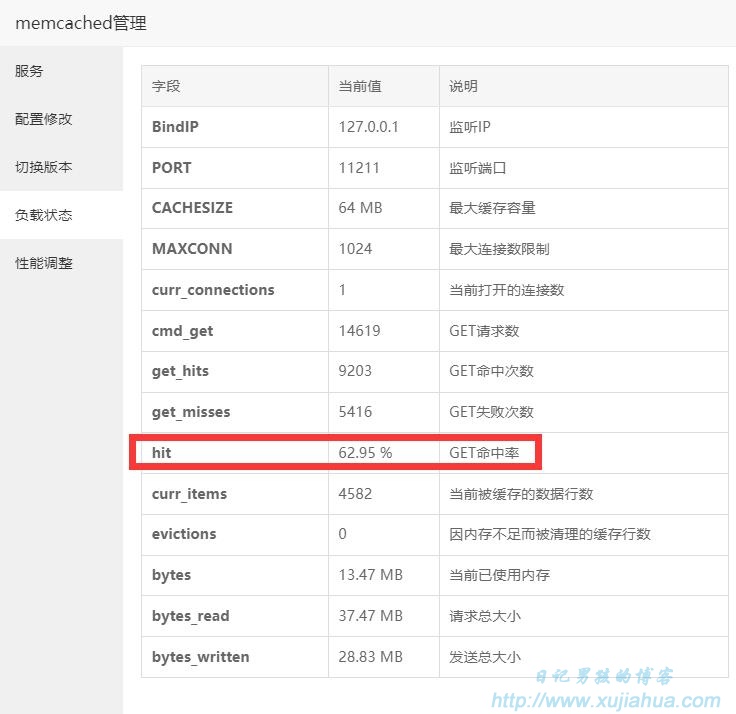
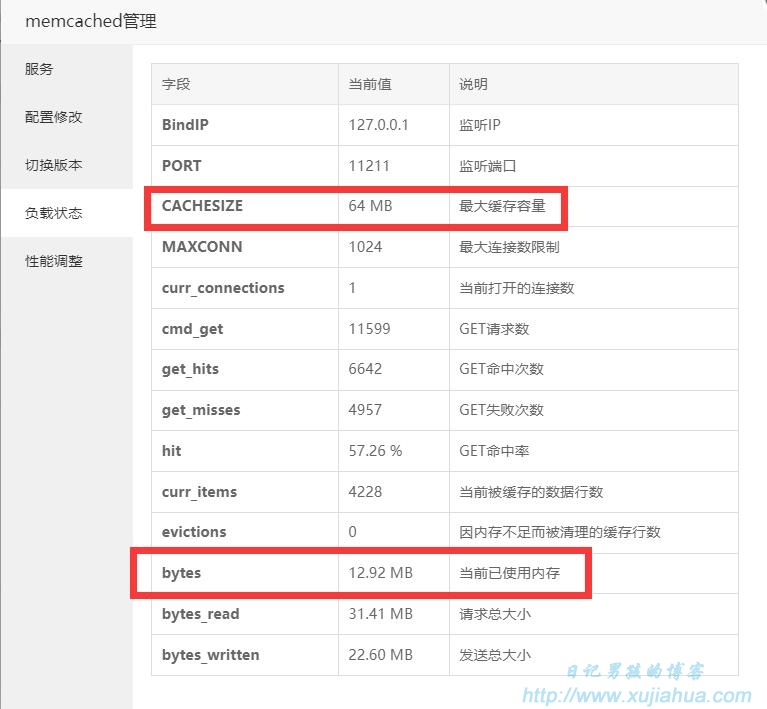
You can check it in the memcached management of the pagoda. As long as the hit value is not the original 1%, it means that your memcached has been successfully opened:
In addition, add some knowledge.
Most people should have more than one wordpress website on their server. It is estimated that many old irons have put four, five, six, seven or eight wordpress websites.
Memcached supports multiple wordpress website cache setting methods:
If you use the same operation above for the second website on the VPS, you will find that the site is crossed . If you open the domain name of site2, you will find that it jumps to site1.
The reason for this is that your multiple wordpress data table prefixes use the default WP_. When accessing the website to call the Memcached cache, there is a confusion of adjustments. Therefore, it is necessary to distinguish the cache areas of multiple wordpress websites.
Many online tutorials teach you how to modify the wp_ data table prefix. Brother Diary doesn’t like this method. If you accidentally modify the database, the website will go wrong.
Here is a way to solve this conflict that Diary Brother himself is using:
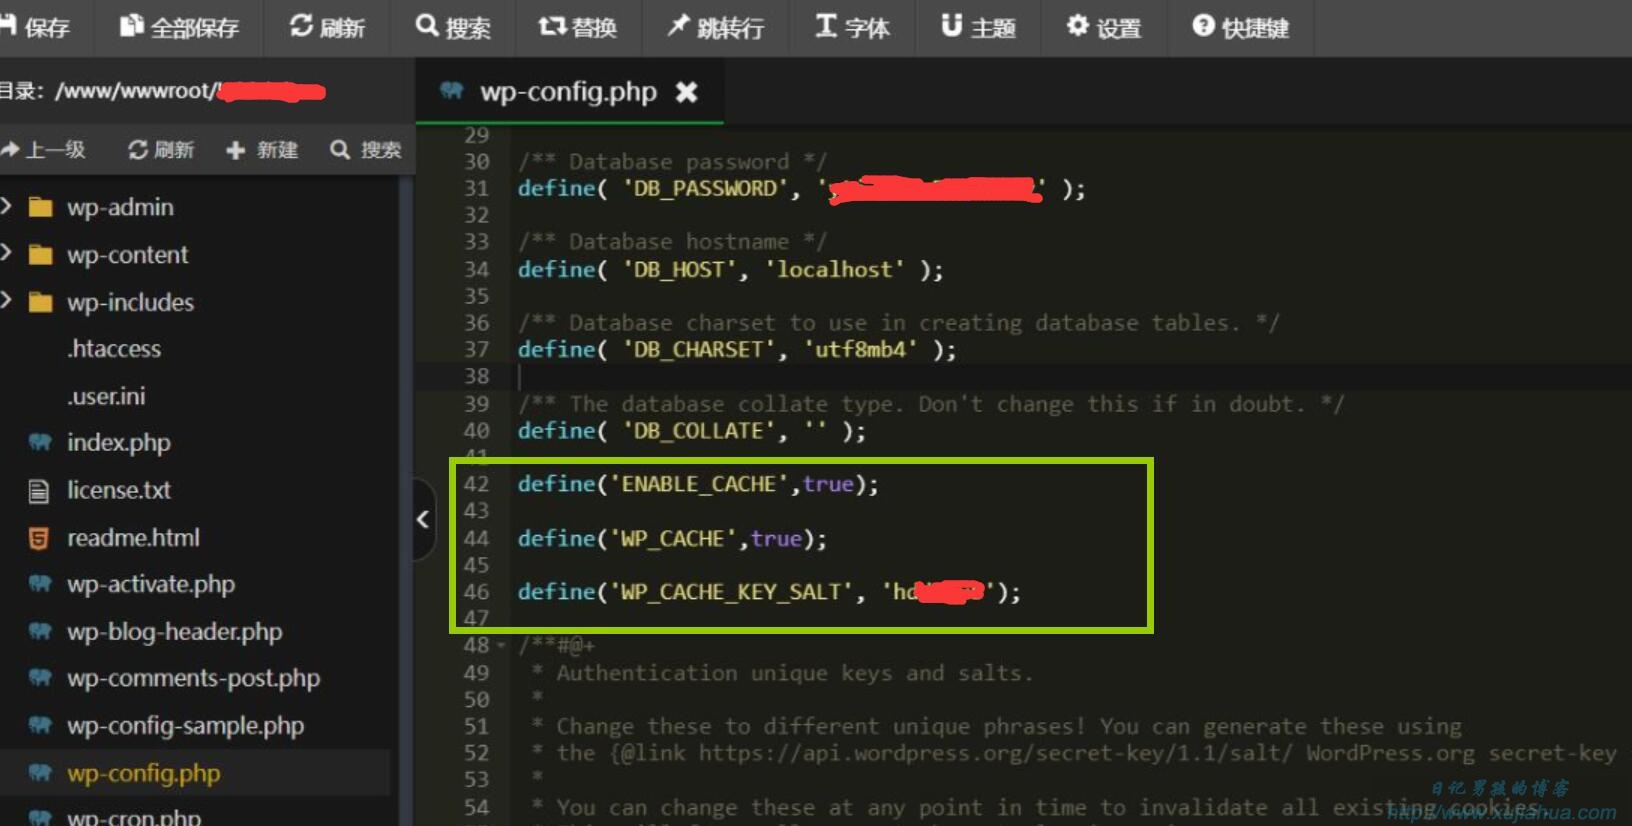
Then modify wp-config.php in the root directory and add the following 3 lines of code:
define(‘ENABLE_CACHE’,true);
define(‘WP_CACHE’,true);
define(‘WP_CACHE_KEY_SALT’, ‘site1’);
The first 2 lines mean to activate memcached.
Later define(‘WP_CACHE_KEY_SALT’, ‘site1’); This line is used to distinguish your website.
Change the domain name to your own, or enter a string of random strings. As long as the WP_CACHE_KEY_SALT of each site under the same server is different, the Memcached cache conflict can be resolved.
For example, you can enter the value site1 for the first website, site2 for the second website, and so on. Diary brother is used to directly filling in the domain name of the website, just do whatever you want, as long as the values are different:
In this way, each website is set up. There will be no more conflicts.
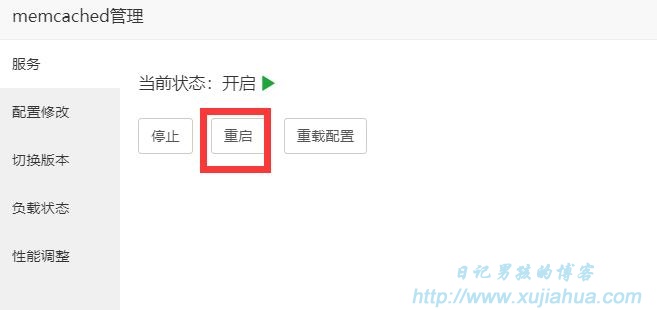
After setting, it is best to restart Memcached, and all website speeds have been improved:
How to set up memcached correctly?
Performance adjustment: The cache size is adjusted according to the actual situation. Adjust what? Go back to the load status bar, there is a “currently used memory”, adjust according to this number. For example, the default configuration of memcached has a total of 64M memory (maximum cache capacity), but if the used memory is 62M, it means that the available memory of memcached is almost full. At this time, manually change it to a larger point, such as 128M. This setting value can be tested by yourself according to the traffic situation of your own VPS. :
Please indicate when reprinting: Diary Boy’s Blog » Pagoda panel opens memcached tutorial, which greatly improves your wordpress access speed
This article is transferred from: https://www.xujiahua.com/10052.html
This site is only for collection, and the copyright belongs to the original author.