Software and hardware environment
- Windows 10 64bit
- Anaconda3 with python 3.8
- PyQt5 5.15
- qt-material 3.0.1
foreword
Think the UI interface you draw is too ugly? Is it too troublesome to adjust the style sheet individually for each control? Then try this style tool introduced in this article, qt-material It looks similar to Material Design , in addition to supporting PyQt5 , it also supports GUI frameworks such as PyQt6 , PySide6 , PySide2 .
Install
Install with pip
pip install qt-material
Practical
The use of the library is still very simple
# 导入模块from qt_material import apply_stylesheet # 在app实例化之后,应用样式apply_stylesheet(app, theme='default_dark.xml')
Let’s take a look at the difference before and after a simple UI interface
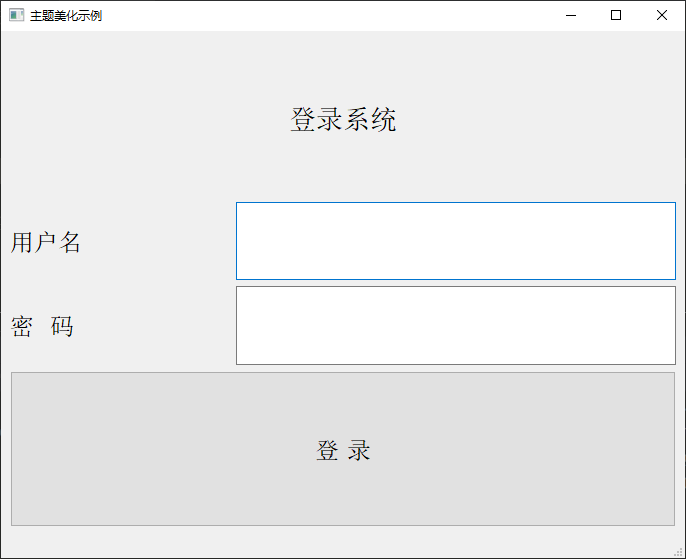
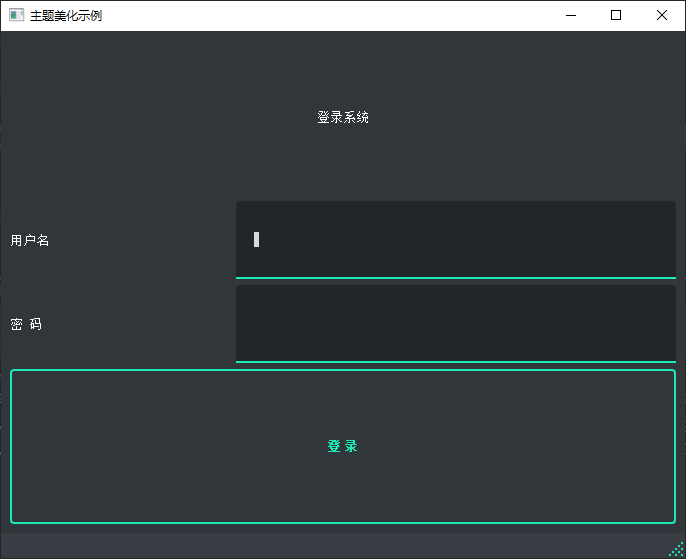
qt-material comes with a lot of themes, which can be viewed through the method list_themes
'dark_amber.xml', 'dark_blue.xml', 'dark_cyan.xml', 'dark_lightgreen.xml', 'dark_pink.xml', 'dark_purple.xml', 'dark_red.xml', 'dark_teal.xml', 'dark_yellow.xml', 'light_amber.xml', 'light_blue.xml', 'light_blue_500.xml', 'light_cyan.xml', 'light_cyan_500.xml', 'light_lightgreen.xml', 'light_lightgreen_500.xml', 'light_orange.xml', 'light_pink.xml', 'light_pink_500.xml', 'light_purple.xml', 'light_purple_500.xml', 'light_red.xml', 'light_red_500.xml', 'light_teal.xml', 'light_teal_500.xml', 'light_yellow.xml'
If you are using a light type theme, you need to use the parameter invert_secondary in apply_stylesheet and set it to True (the default value is False )
apply_stylesheet(app, theme='light_blue.xml', invert_secondary=True)
In addition, there is a very useful parameter extra , which is generally used to customize colors and fonts
extra = { # Button colors 'danger': '#dc3545', 'warning': '#ffc107', 'success': '#17a2b8', # Font 'font_family': 'Roboto', } apply_stylesheet(app, 'light_cyan.xml', invert_secondary=True, extra=extra)
Then it can be used in PyQt5 controls, such as
# 登录按钮使用danger 的红色self.pushButton_login.setProperty('class', 'danger')
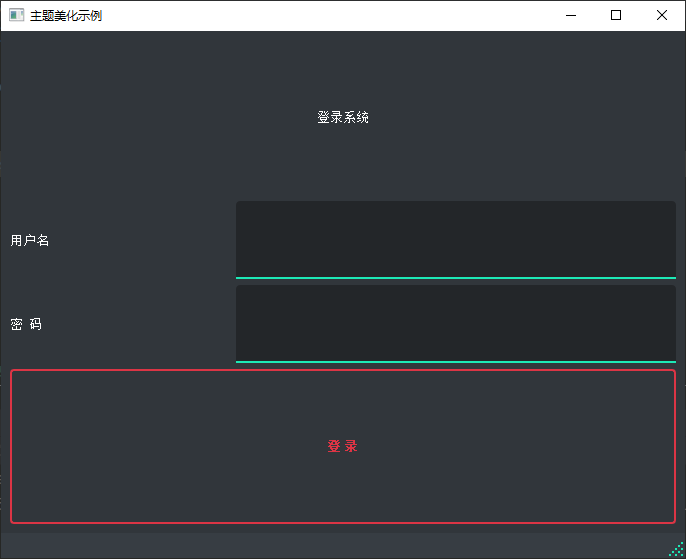
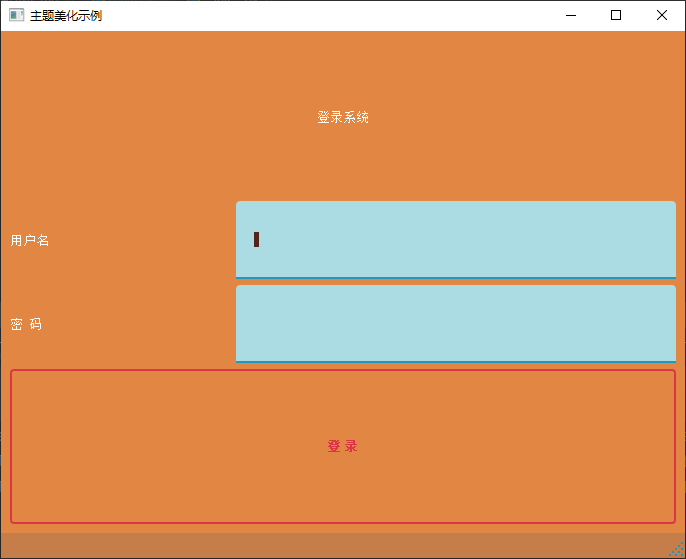
Finally, let’s see how to create your own theme. First go to the directory where the theme file is located in the local environment, that is, the directory where the xml file is located
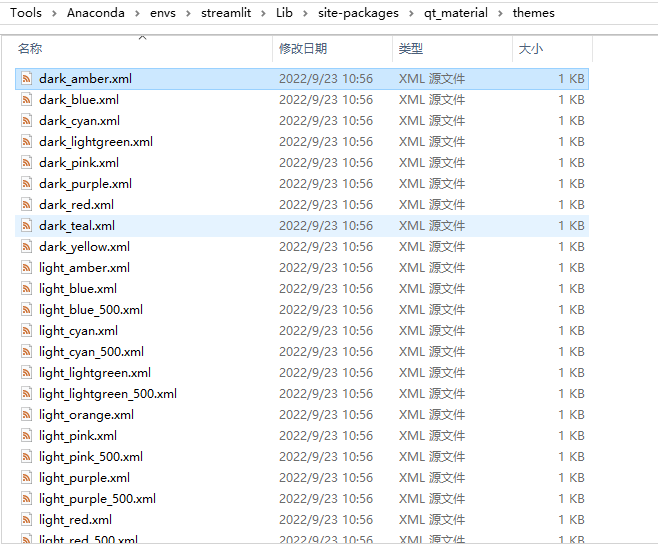
Just copy an xml and rename it, such as dark_custom_theme.xml

Next, let’s modify the content of the file, the color value in hexadecimal, you can go to this site to choose https://imagecolorpicker.com/ , more worry-free
<!--?xml version="1.0" encoding="UTF-8"?--> <resources> <color name="primaryColor">#2596be</color> <color name="primaryLightColor">#ffff74</color> <color name="secondaryColor">#abdbe3</color> <color name="secondaryLightColor">#4f5b62</color> <color name="secondaryDarkColor">#e28743</color> <color name="primaryTextColor">#000000</color> <color name="secondaryTextColor">#ffffff</color> </resources>
After the xml is modified, it can be used in the code
apply_stylesheet(app, 'dark_custom_theme.xml')
For more information, please refer to the official website https://github.com/UN-GCPDS/qt-material
Source code download
https://github.com/xugaoxiang/learningPyQt5
PyQt5 series of tutorials
For more PyQt5 tutorials, please move
https://xugaoxiang.com/category/python/pyqt5/
This article is reprinted from https://xugaoxiang.com/2022/09/23/pyqt5-32-qt-material/
This site is for inclusion only, and the copyright belongs to the original author.