surroundings
Introduction
Visual Studio 2019 Configuring the OpenCV Development Environment introduces how to use OpenCV in the Visual Studio integrated development environment. This article uses another integrated development environment, CLion , which is also very popular with programmers, to see how OpenCV is used in CLion .
One more word here, many beginners are easily confused. The integrated development environment is also the IDE , which is different from the compiler.
A compiler is a set of tools, which is responsible for compiling a source program written in a high-level programming language into a binary file that the computer can recognize and run, and has nothing to do with the tools used to write the code. Such as gcc , it is the compiler.
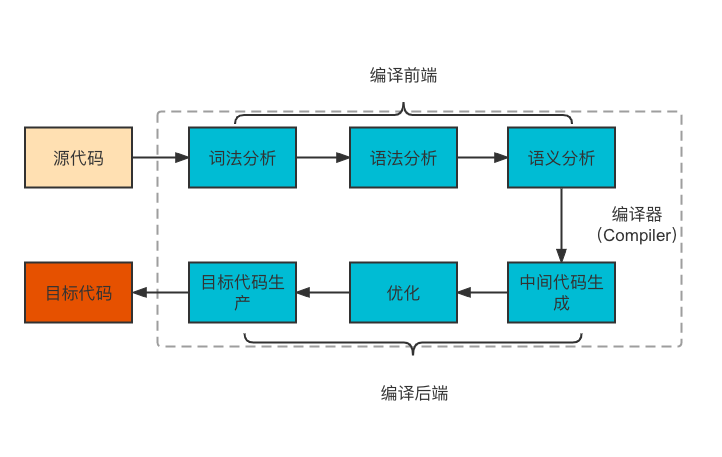
IDE is an application that provides a program development environment, generally including code editors, compilers, debuggers and graphical user interface tools, which basically cover all the tools needed for software code writing. For example, visual studio and CLion are IDE . In IDE , you can generally choose the compiler you want to use.
CLion
Go to the official download page jetbrains
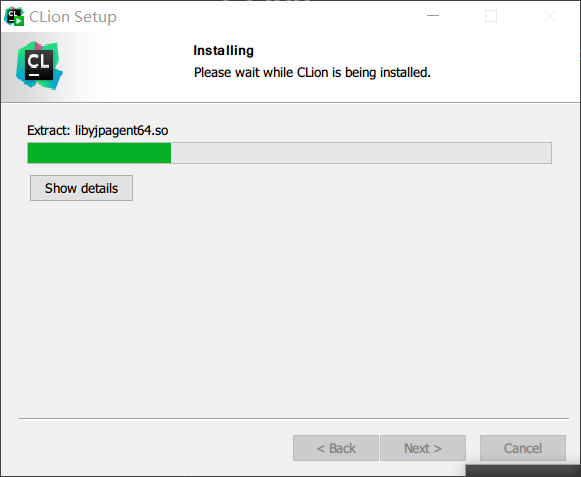
https://www.jetbrains.com/clion/download/#section=windows , after downloading the exe installation file, fool installation
MinGW
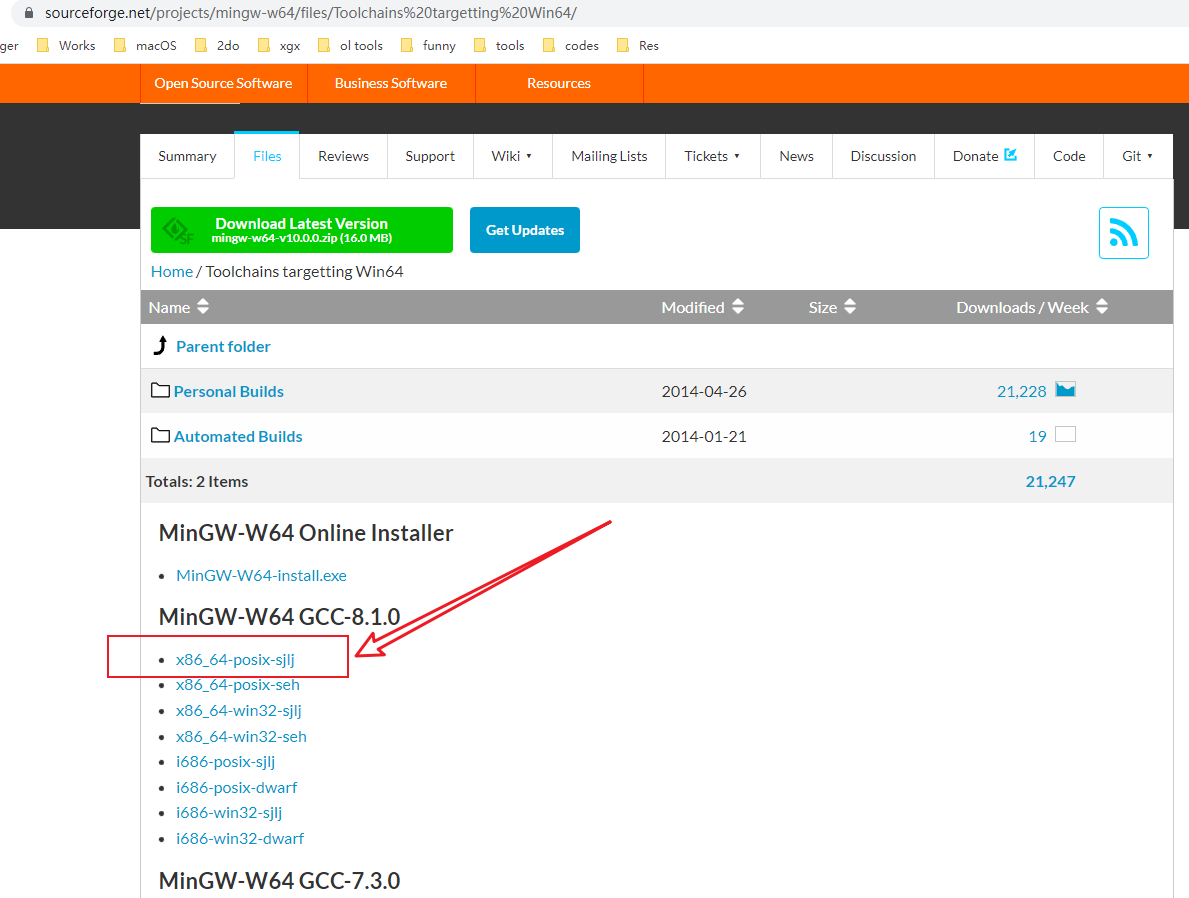
MinGW is the compiler we will use in this article, it integrates gcc , first come to the official download page
https://sourceforge.net/projects/mingw-w64/files/Toolchains%20targetting%20Win64/
Here select the latest version 8.1.0
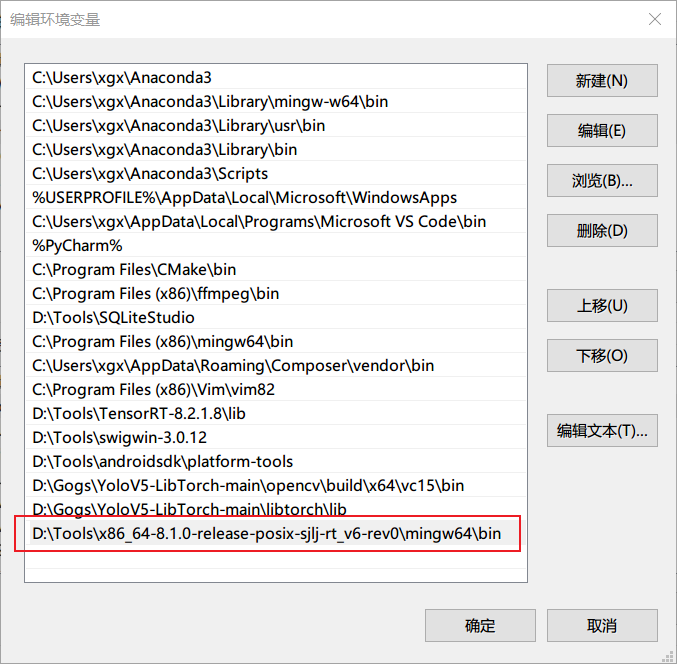
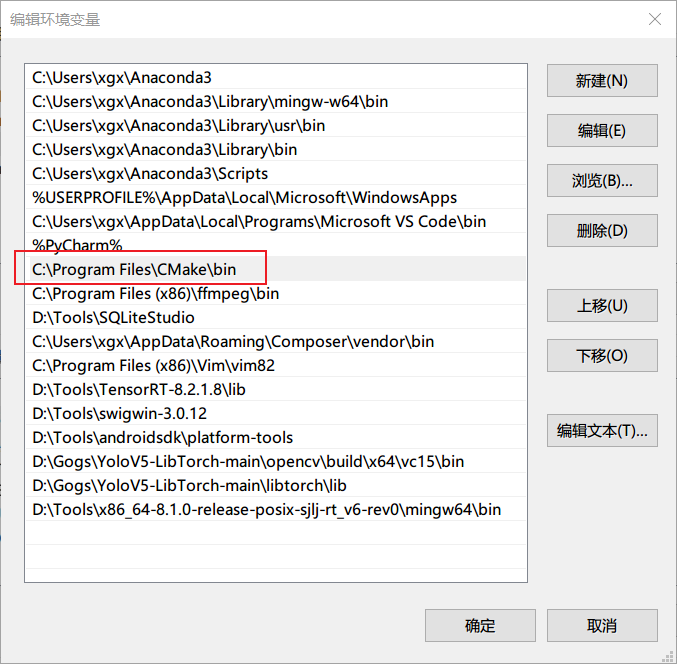
After the download is complete, unzip it, and then add the bin directory to the system environment variable
Then, open a new command line and enter the command gcc -v to verify
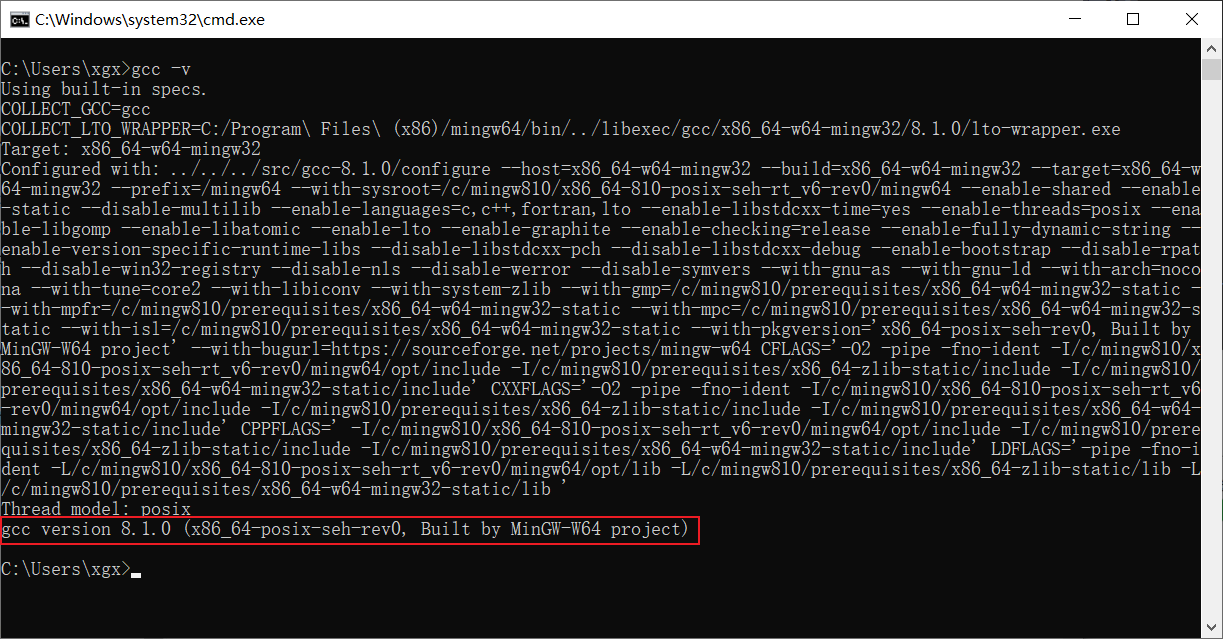
The command has output, and the version number is the same as the installed version, indicating that the installation is successful
cmake
I also came to the official website, https://cmake.org/download/ , after downloading, install it foolishly, and then add it to the system environment variables
opencv
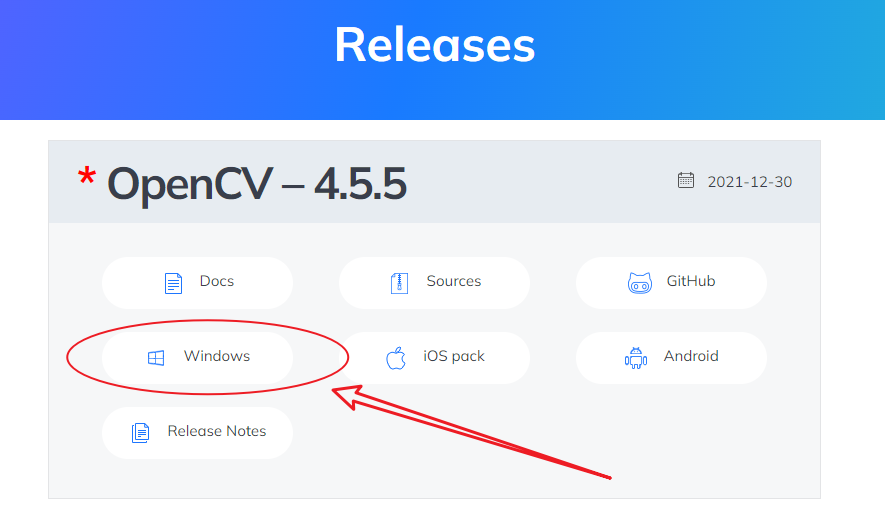
Go to the official website https://opencv.org/releases/ and download the version corresponding to windows . Now the latest version is 4.5.5
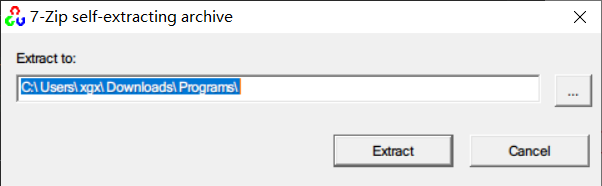
Unzip after download is complete
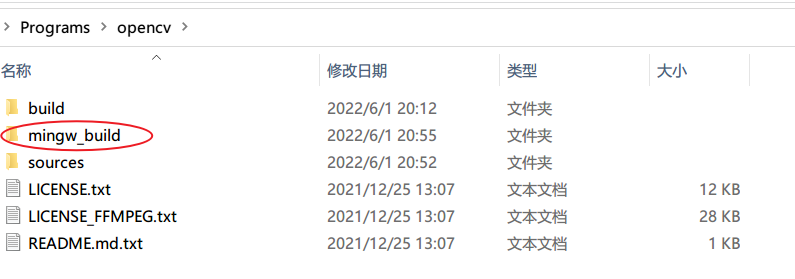
opencv only provides the version compiled by msvc by default. In the build directory, the source code files are in sources . Therefore, next, we need to use mingw to compile opencv . First, create a new folder mingw _build in the decompression directory of opencv to store the files generated by the compilation.
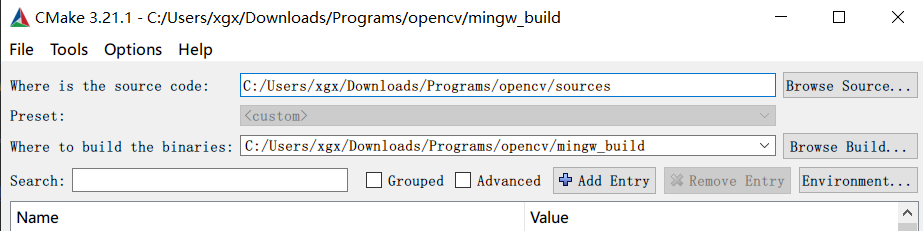
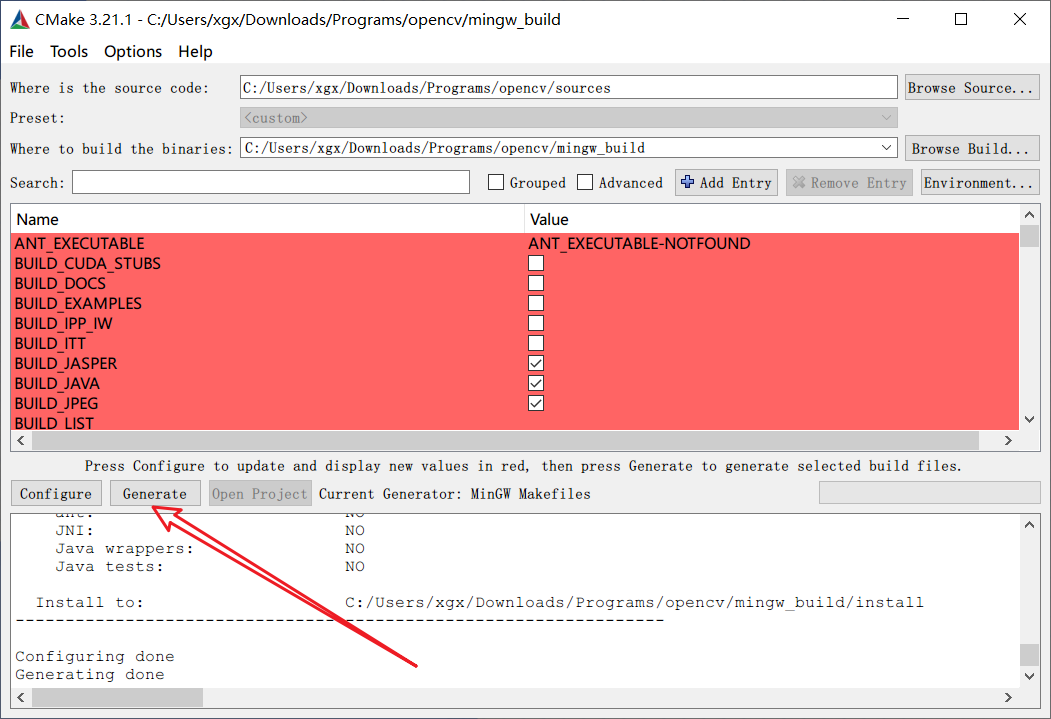
Then open cmake-gui.exe , in Where is the source code: select the sources folder under opencv , and Where to build the binaries: select the mingw_build folder created earlier
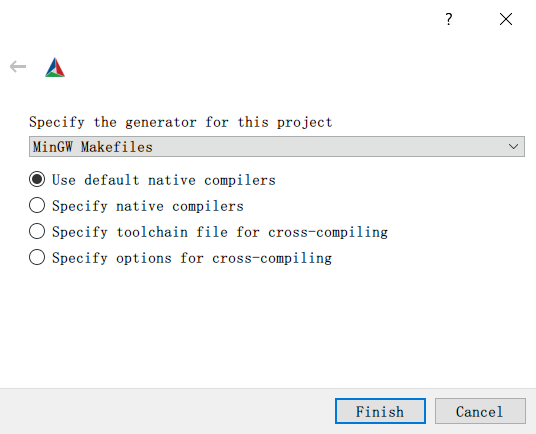
Then click Configure and select MinGW Makefiles in Specify the generator for this project
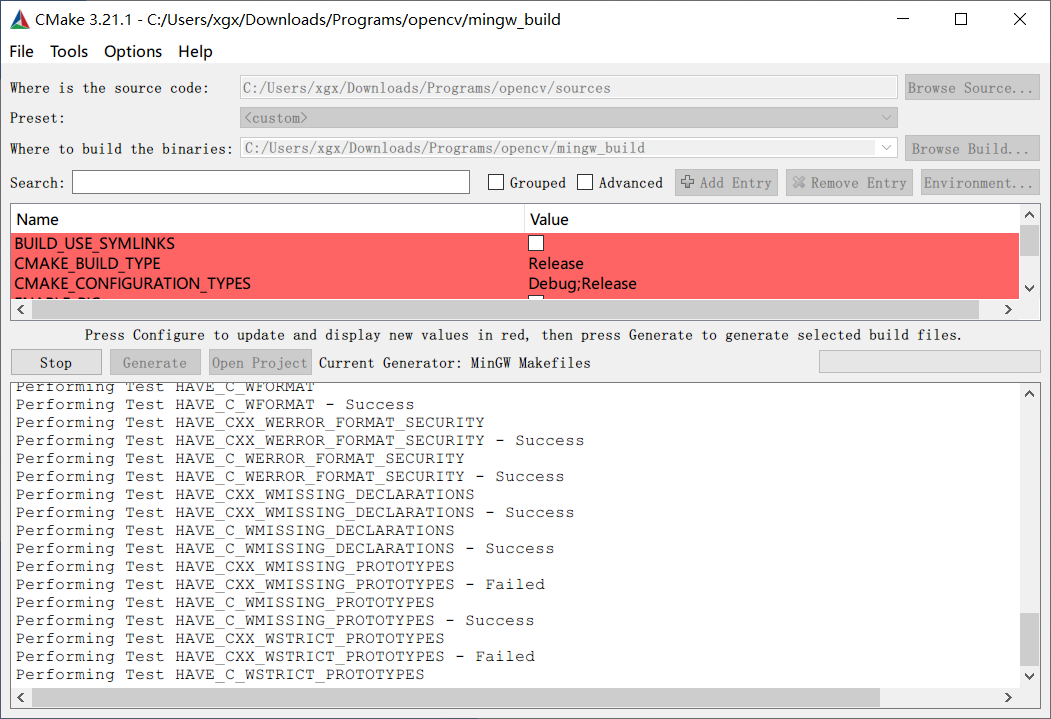
After Configure is complete, click Generate
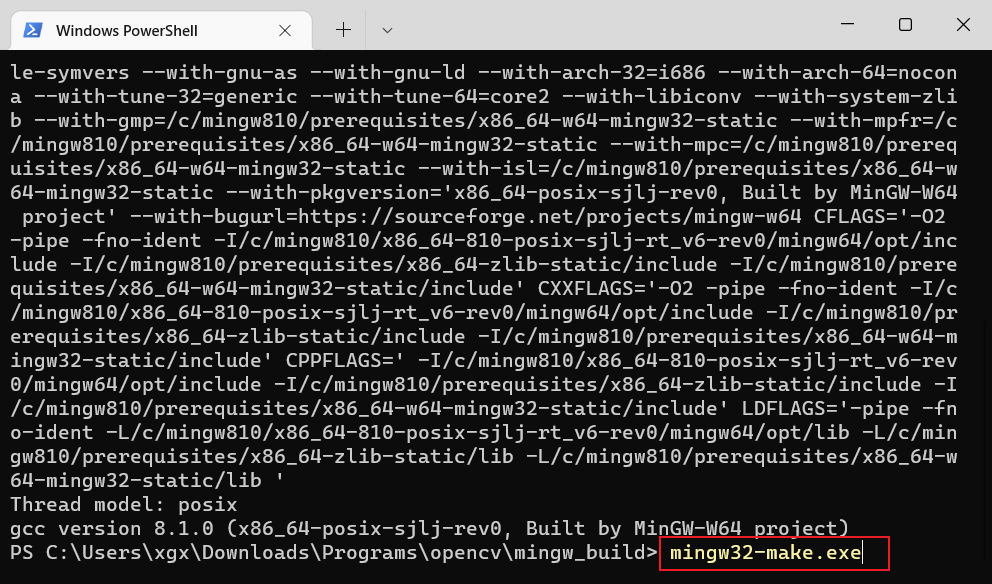
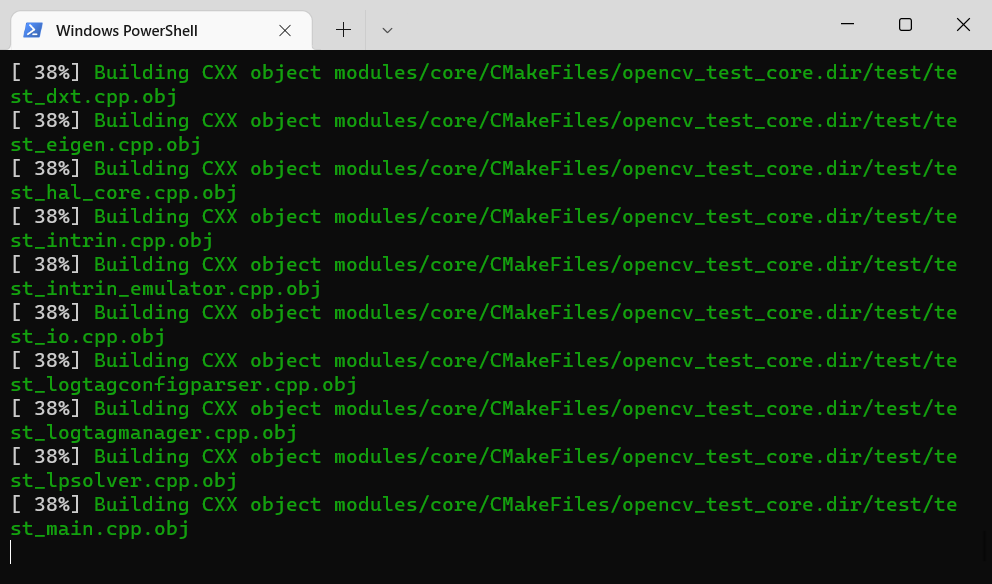
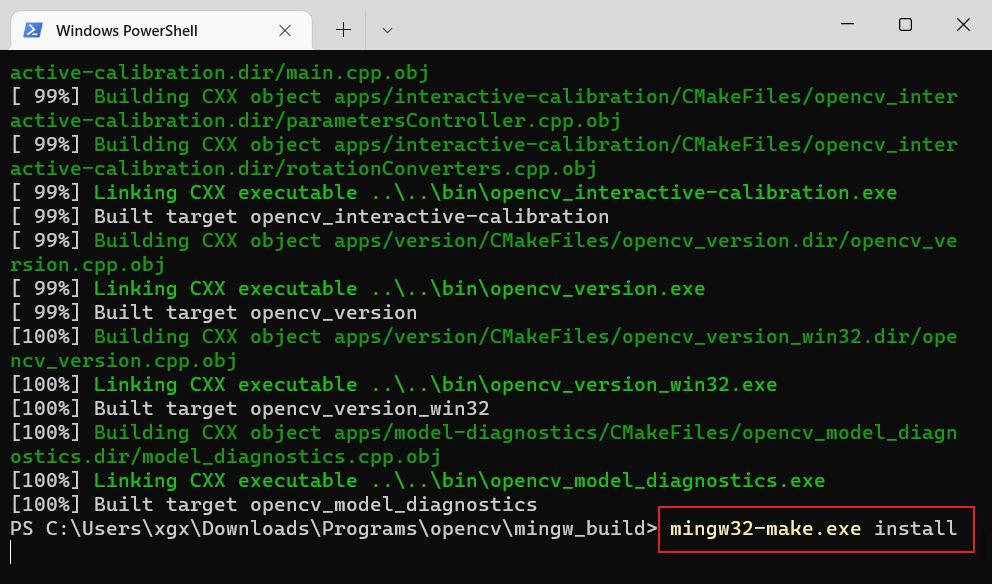
After Generate is completed, we enter the mingw_build folder, open the terminal tool, and execute the command mingw32-make.exe to start compiling
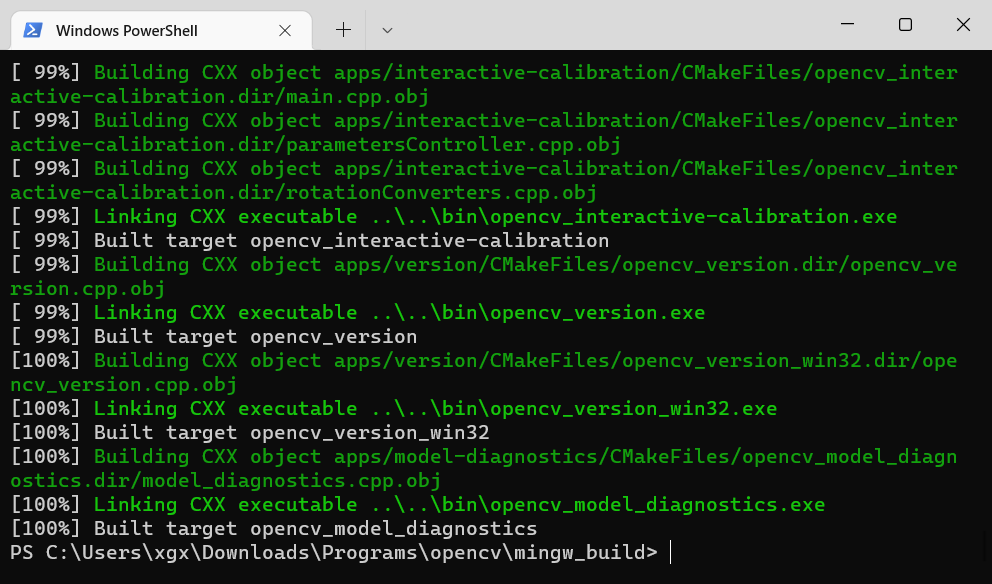
Then execute the installation, mingw32-make.exe install
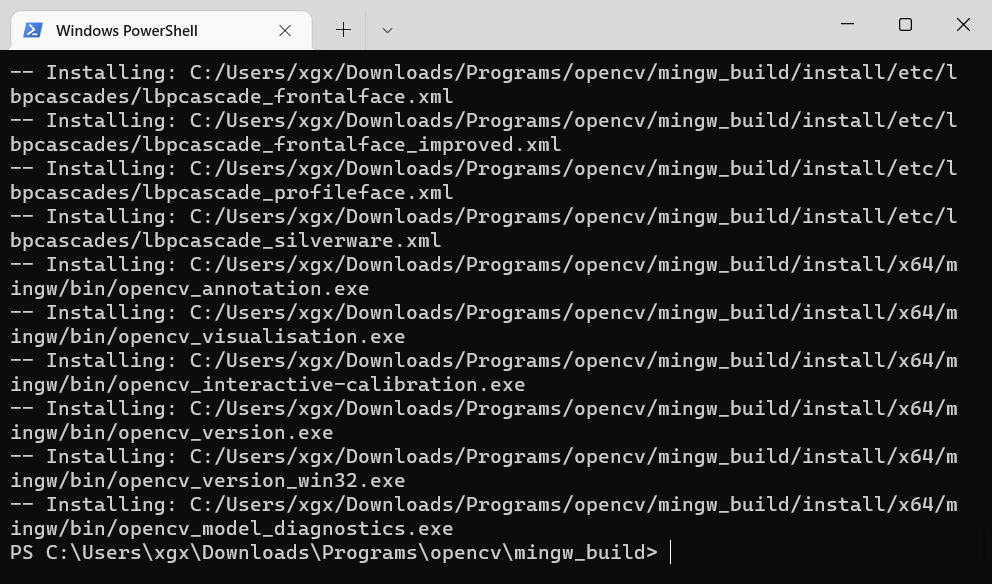
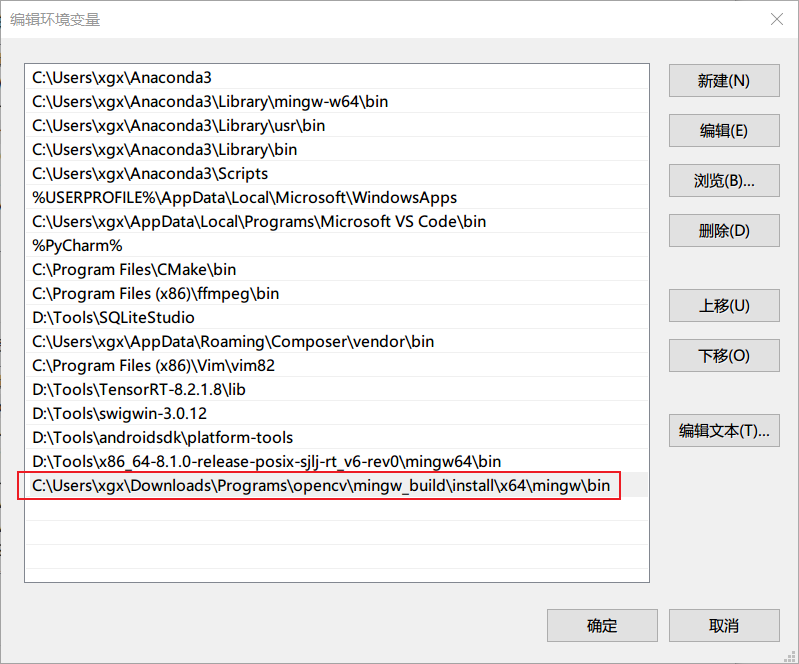
It can be seen that the relevant files are copied to the mingw_build\install directory, and then the directory mingw_build\install\x64\mingw\bin is added to the system environment variable
Overall environment test
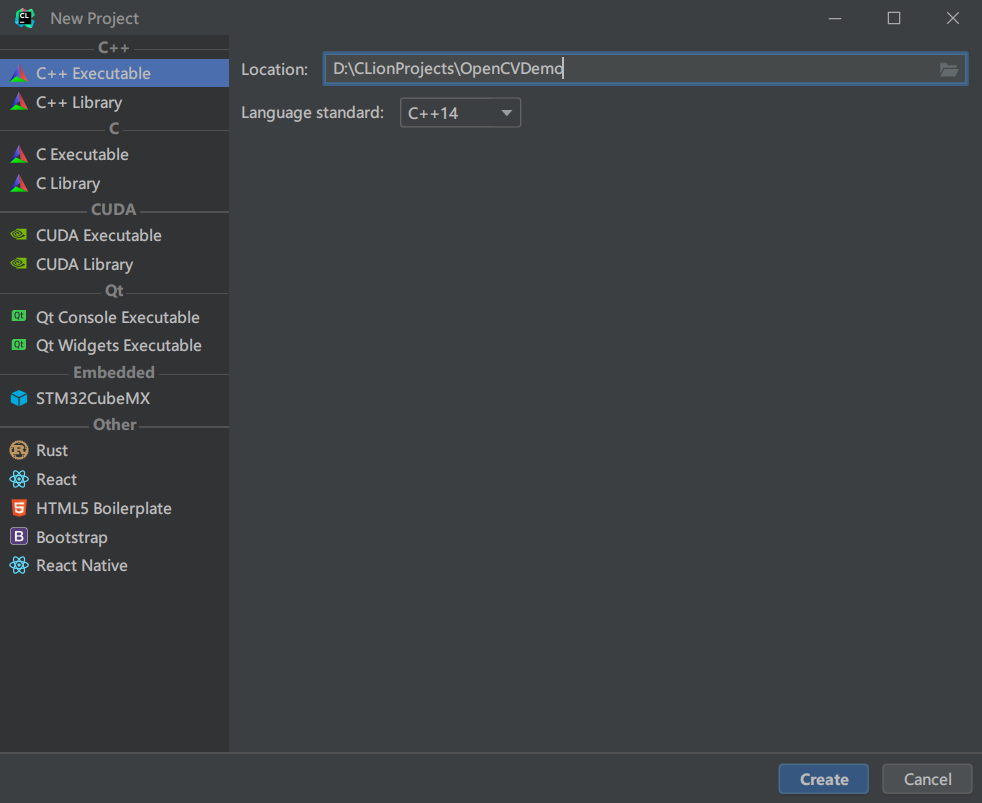
Open clion and create a new project
Go to File –> Settings –> Build, Execution, Deployment –> Toolchains , in Toolset , select the mingw version we installed earlier

By default, clion can only run programs in Debug mode, so let’s add Release mode, this step is not necessary.
Go to File –> Settings –> Build, Execution, Deployment –> CMake
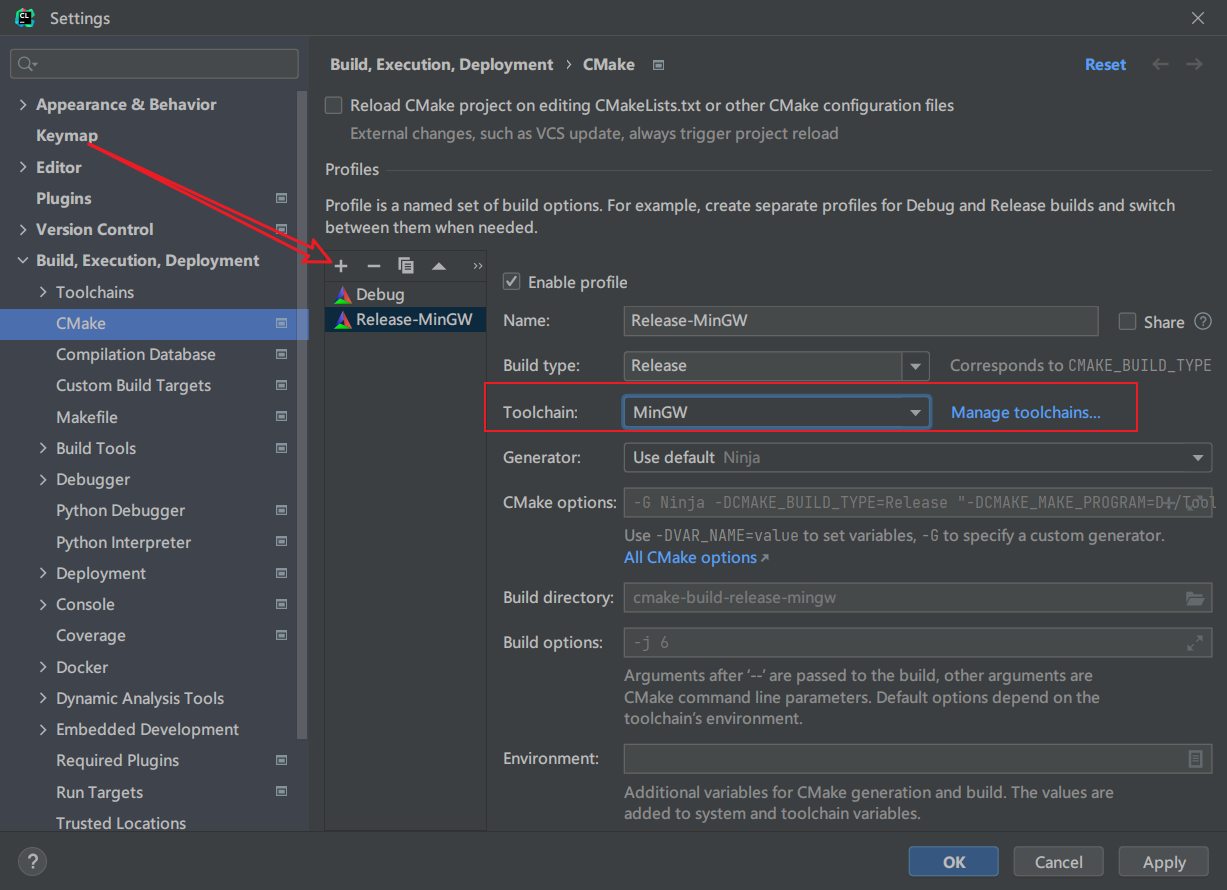
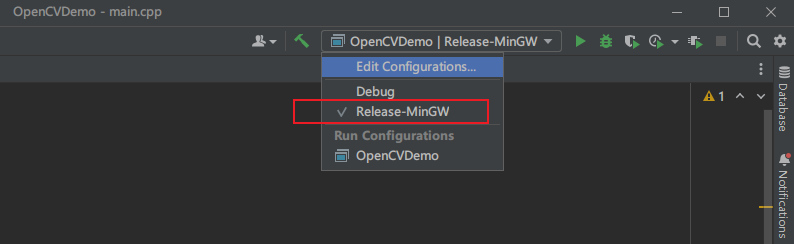
After the setting is completed, you can choose Debug or Release when the program is running.
Next, modify the CMakeLists.txt , the content is as follows
cmake_minimum_required(VERSION 3.21) project(OpenCVDemo) set(CMAKE_CXX_STANDARD 11) set(OpenCV_DIR "C:\\Users\\xgx\\Downloads\\Programs\\opencv\\mingw_build\\install") find_package(OpenCV REQUIRED) include_directories(${OpenCV_INCLUDE_DIRS}) add_executable(OpenCVDemo main.cpp) target_link_libraries(OpenCVDemo ${OpenCV_LIBS})
Then modify the source file main.cpp , write a simple program to read the picture and display it, the content is as follows
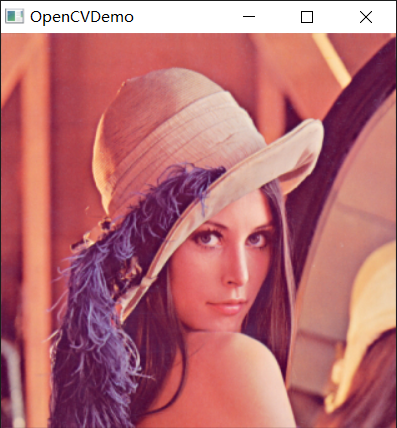
#include <iostream> #include <opencv2/opencv.hpp> using namespace std; using namespace cv; int main() { Mat srcImage = imread("D:\\CLionProjects\\OpenCVDemo\\Lenna.jpg"); if (!srcImage.data) { std::cout << "Image not loaded"; return -1; } imshow("image", srcImage); waitKey(0); return 0; }
After the compilation is successful, the executable file OpenCVDemo.exe will be generated in the directory cmake-build-release-mingw , we will also copy the test image file Lenna.jpg here, and then execute
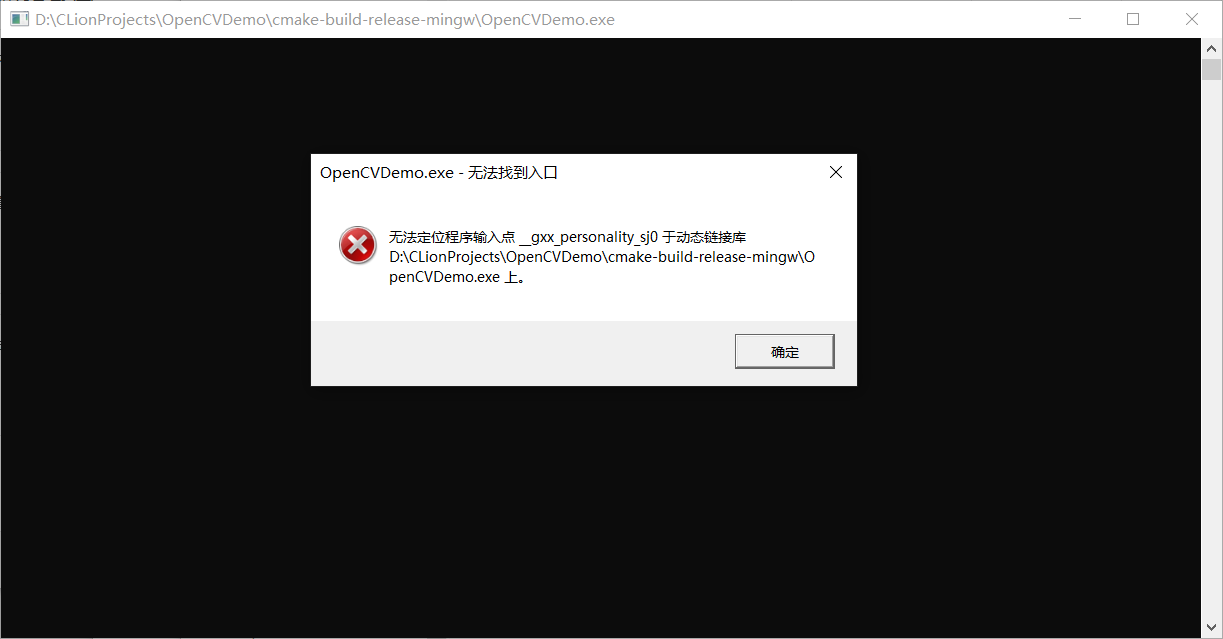
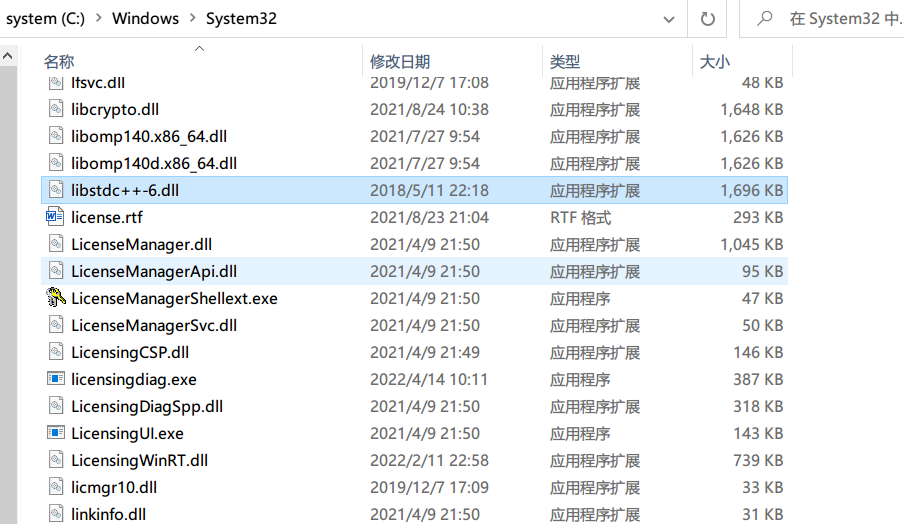
The error is reported directly here. The solution is to find the library file libstdc++-6.dll in the mingw decompression directory.
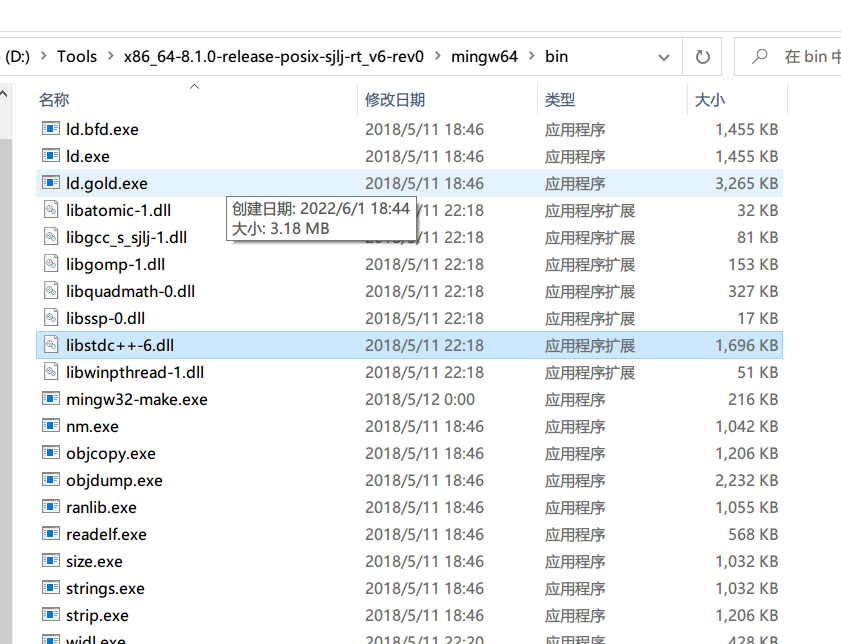
Copy it to C:\Windows\System32
Finally, execute the executable program again, and you can get the result
At this point, the whole process is over.
This article is reprinted from https://xugaoxiang.com/2022/06/02/windows-clion-mingw-opencv/
This site is for inclusion only, and the copyright belongs to the original author.