Original link:https://uefeng.com/the-road-of-tossing-based-on-pve-1.html
foreword
The GEN 8 at home has always been running Windows systems with Hyper-v virtualization openwrt and CentOS turned on. When I was testing some things recently, I felt that the 8G memory was not enough, and the 8G*2 on Taobao had also dropped to 320, so I bought it back and replaced it.
Recently, I found that Nextcloud backup photos cannot be done in the background, and it is inconvenient to look at photos, so I simply push it all to re-planning, change the host system, virtual Black Synology 7.0 and openwrt, just do it if you want, after all, life is about tossing.
After a few days of initial learning from Google data, I finally decided to use Proxmox VE.
introduce
Proxmox VE is an open source server virtualization environment Linux distribution. Users can manage virtual machines running on the server using kvm and lxc technologies through web pages. At the same time, it provides support for some advanced functions, such as clustering, HA, etc. For ordinary users, PVE can be used for free
Install
The installed Windows system is installed on the solid state drive with SATA 5 interface in the optical drive, and then uses B120i RAID to do RAID 0 for each disk, so there is no problem with booting. This time, the installation of PVE will be changed to AHCI mode, but one problem is that it cannot boot from the SATA 5 interface in AHCI mode.
Common coping methods:
- Abandon AHCI, continue to use B120i to configure RAID, and boot from the RAID array where SATA 5 is located as before;
- The system is installed on a SATA 5 hard disk and booted with GRUB.
- Install the system in a U disk or TF card (there is a USB and a TF card interface on the motherboard), and then choose to boot from USB in the BIOS.
Method 1 gave up directly, because it was found that even if B120i was used as RAID, there would still be a problem that the boot could not be successfully booted, and the fan was also maintained at 20%~25% in AHCI mode (if there is a solution, please advise me );
Method 2 starts normally, but because I was familiar with PVE, I accidentally crashed the system and tried a variety of methods to fix it. Finally, I reinstalled PVE and formatted the entire disk, resulting in all the previously configured virtual machines having to be reinstalled and installed. configuration.
Method 3 is the installation method I use now. PVE is installed on the TF card, and all virtual machines are thrown to the SATA 5 solid-state hard disk. The files in the qemu-server directory are backed up in advance, even if the system crashes and reinstalls directly, then put the qemu Put the files in the -server directory back, and the virtual machine can be used directly.
First go to Proxmox official website to download the installation package, the latest version is 7.2. The installation process of PVE is similar to Esxi or Windows. GEN 8 can be installed remotely through the iLo mount image, which saves the trouble of burning the ISO file into the U disk and then installing it, but the speed will be a bit slow.
The installation process is too lazy to take screenshots or something. Many great gods have shared it on the Internet. This article is not a tutorial. It mainly records some basic configuration information of individuals. It is recommended to go to Xiaopo Station or YouTube to see the series of PVE tutorials by Spot, which is still very valuable for getting started.
Initial configuration
change source
# 删掉企业源rm -rf /etc/apt/sources.list.d/pve-install-repo.list echo "#deb https://enterprise.proxmox.com/debian/pve Bullseye pve-enterprise" > /etc/apt/sources.list.d/pve-enterprise.list
# 换源(中国科学技术大学) wget https://mirrors.ustc.edu.cn/proxmox/debian/proxmox-release-bullseye.gpg -O /etc/apt/trusted.gpg.d/proxmox-release-bullseye.gpg echo "deb https://mirrors.ustc.edu.cn/proxmox/debian/pve bullseye pve-no-subscription" > /etc/apt/sources.list.d/pve-no-subscription.list echo "deb https://mirrors.ustc.edu.cn/proxmox/debian/ceph-pacific bullseye main" > /etc/apt/sources.list.d/ceph.list sed -i.bak "s#http://download.proxmox.com/debian#https://mirrors.ustc.edu.cn/proxmox/debian#g" /usr/share/perl5/PVE/CLI/pveceph.pm sed -i.bak "s#ftp.debian.org/debian#mirrors.aliyun.com/debian#g" /etc/apt/sources.list sed -i "s#security.debian.org#mirrors.aliyun.com/debian-security#g" /etc/apt/sources.list echo "deb http://download.proxmox.com/debian/pve bullseye pve-no-subscription" >> /etc/apt/sources.list
# 更新系统apt update && apt dist-upgrade -y
Local, Local-LVM merge
After installing PVE, the system divides the TF card space into two parts, Local and Local-LVM by default.
# 删除local-lvm lvremove pve/data # 把删除的Local-LVM 给Local lvextend -l +100%FREE -r pve/root
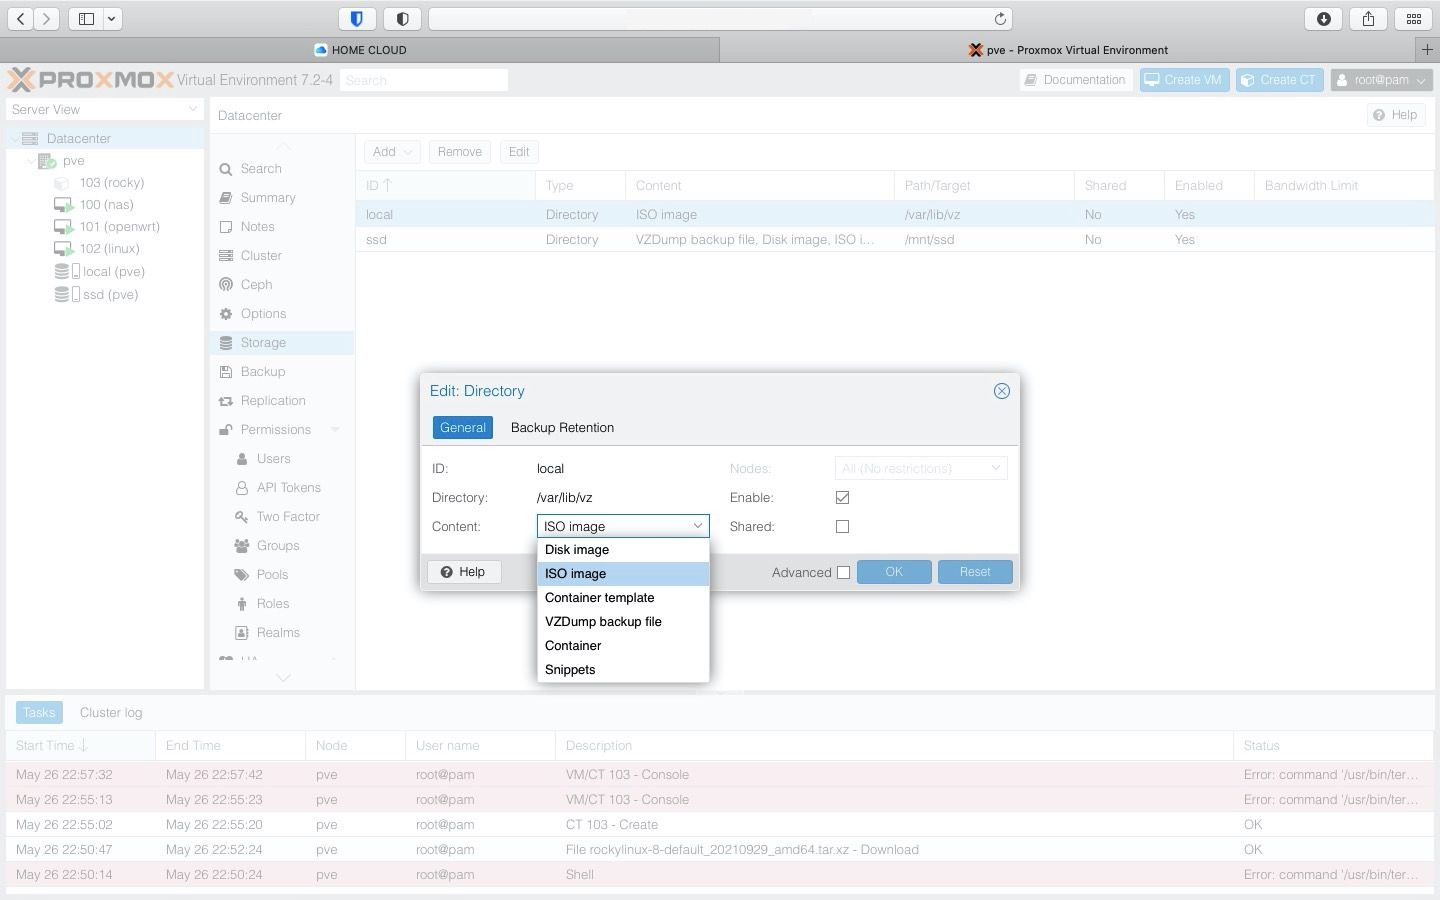
Then select the data center, storage, delete Local-LVM.
Edit Local and tick if necessary. My personal suggestion is to only choose IOS, so as not to choose the wrong disk location when creating a virtual machine later. After all, the TF card is also mainly used to store the system, and it is not enough to read and write, so it is basically not used.

Add SSD directory
Hard disk partition and format
First confirm the device name of the hard disk, such as /dev/sdc, or use fdisk -l in the command to confirm.
# 分区fdisk /dev/sdd # 格式化mkfs -t ext4 /dev/sdd1 # 创建/mnt/ssd 目录: mkdir -p /mnt/ssd # 挂载分区: mount -t ext4 /dev/sdd1 /mnt/ssd # 开机挂载echo /dev/sdd1 /mnt/ssd ext4 defaults 1 2 >> /etc/fstab
PVE mount hard disk
Select Data Center, Storage – Add – Catalog
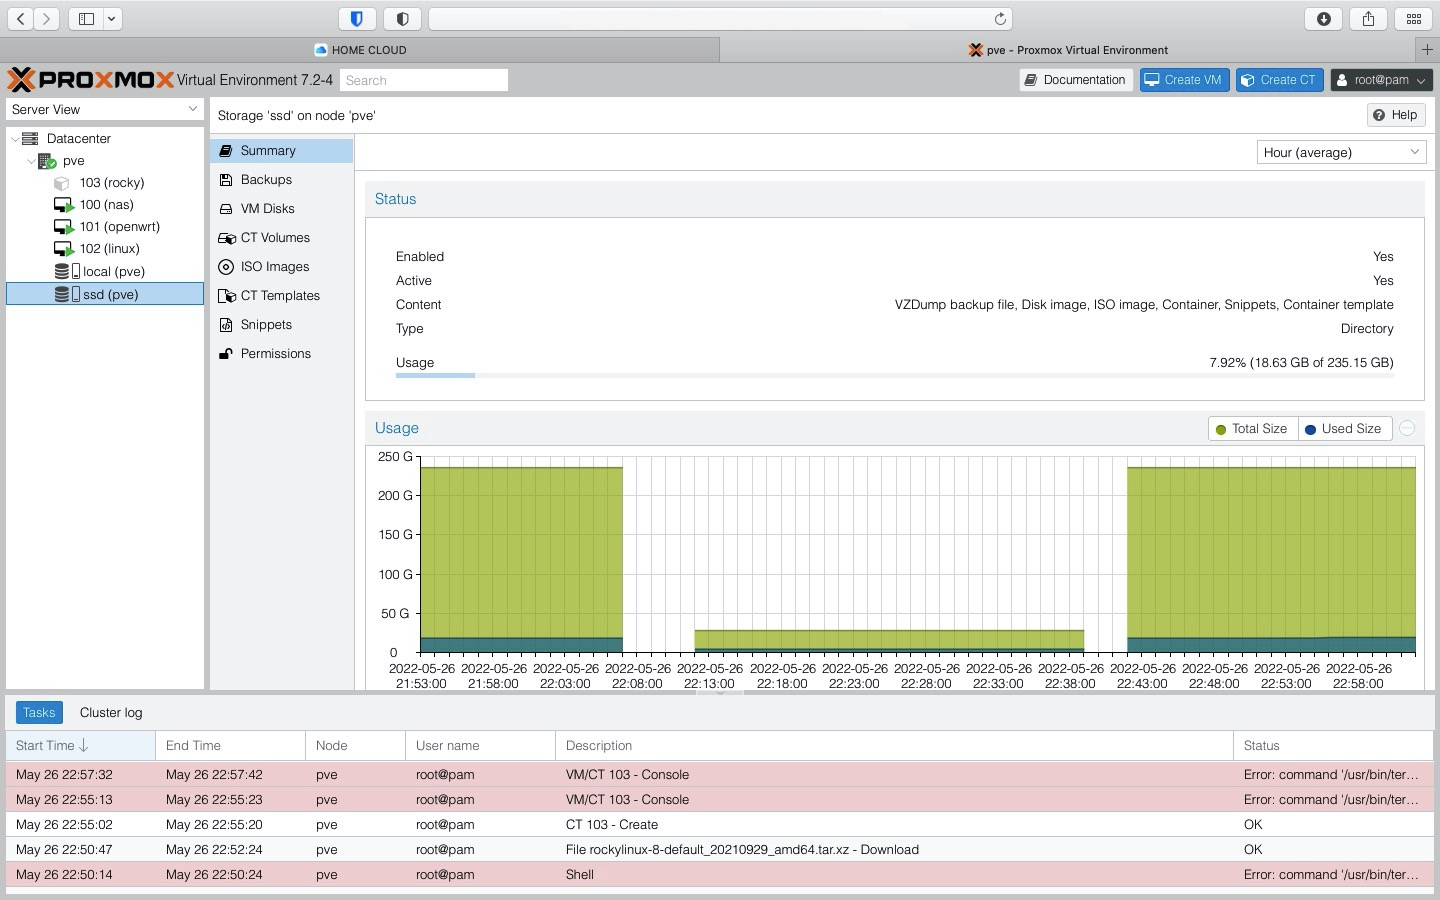
The ID can be filled in at will, which is convenient for self-confirmation. The directory is the just mounted /mnt/ssd. Select all the contents. Others are default. Click Add;
The hard drive will be visible after a few seconds

upload image file
Select the corresponding hard disk directory, select Content – Upload, select the prepared ISO file, and upload it. After uploading, you can choose when creating a virtual machine.
Associate UPS
# 安装apcupsd apt-get install apcupsd -y
# 编辑配置文件/etc/apcupsd/apcupsd.conf # UPSNAME改成UPSNAME XXX(起个名字) # 设置为30表示,切换到ups电源30S后开始关闭虚拟机,然后关闭宿主机,0为不启用TIMEOUT 30 # 每隔15s输出ups状态到日志中STATTIME 15 # 开启日志,日志文件为/var/log/apcupsd.status LOGSTATS on # 线缆类型为usb UPSCABLE usb # usb接口,自动识别UPSTYPE usb # 还要注意把下面这行注释掉,不然不会自动发现usb # DEVICE /dev/ttyS0 # 断电6s后才识别为正在使用电池,防止短时间断电导致错误+1 ONBATTERYDELAY 6 # 电池电量低于5%时关闭主机BATTERYLEVEL 5 # 预计电量剩余时间小于3分钟时关闭主机MINUTES 3
Commands for apcupsd
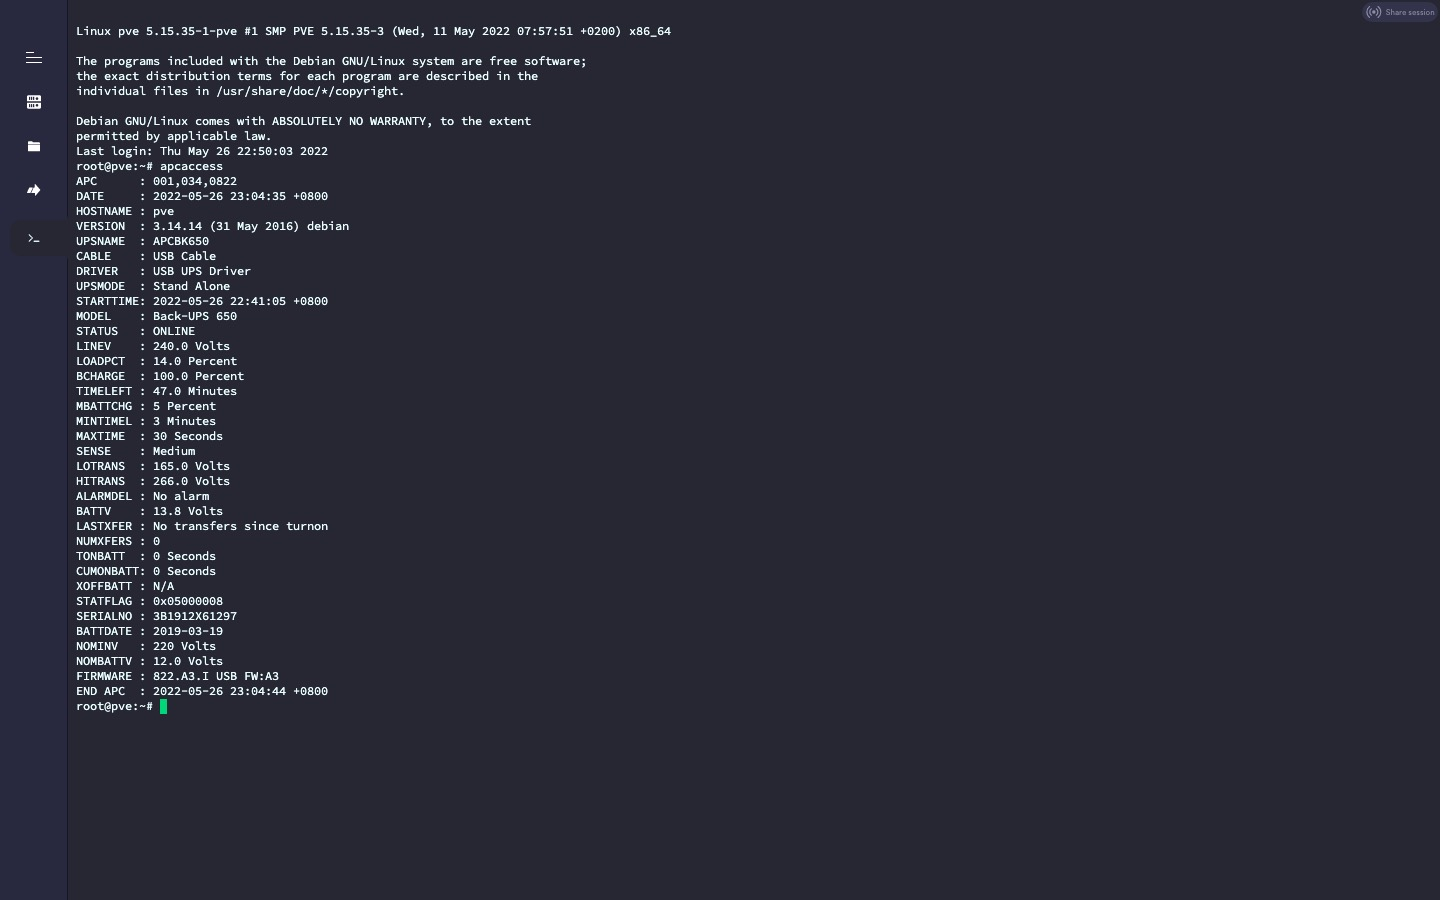
# 启动apcupsd systemctl start apcupsd # 查看apcupsd进程状态systemctl status apcupsd # 开机启动systemctl enable apcupsd # 重启apcupsd,更改配置文件后使用systemctl restart apcupsd # 查看ups状态apcaccess

Summarize
In general, the initialization configuration of PVE is mainly based on commands, and there are many online tutorials. These basic configurations are also relatively simple. You can find the answer to any problem with Google, and basically you will not make major changes to the host in the future. .
The follow-up is to build Synology 7.0.1 and openwrt based on PVE, and install a virtual machine of win10 system for some operation needs. Synology was responsible for those Docker containers on CentOS before.
This article is reprinted from:https://uefeng.com/the-road-of-tossing-based-on-pve-1.html
This site is for inclusion only, and the copyright belongs to the original author.