Install Ubuntu 22.04 (LTS), Webmin, Nginx, MariaDB, PHP8.1-FPM, Perl-Fastcgi to DigitalOcean VPS
In the first part, David Yin describes how to create a new VPS at DigitalOcean , choosing a basic Ubuntu 22.04 LTS system.
Here’s how to install Webmin, the hosting control panel, and the security settings for SSH. This is very important, security matters, and you can’t be too careful.
the second part
Initial Security Update
First of all, I use Putty, which is an SSH tool. First, use putty to log in to the VPS. You can log in to the DigitalOcean background with the IP address and see that the username is root, and the password is the one you set by yourself.
After logging in to the VPS, execute apt update to query the information of the software repository.
root@fig:~# apt update Hit:1 https://repos.insights.digitalocean.com/apt/do-agent main InRelease Hit:2 https://repos-droplet.digitalocean.com/apt/droplet-agent main InRelease Get:3 http://mirrors.digitalocean.com/ubuntu jammy InRelease [270 kB] Get:4 http://security.ubuntu.com/ubuntu jammy-security InRelease [110 kB] Hit:5 http://mirrors.digitalocean.com/ubuntu jammy-updates InRelease Hit:6 http://mirrors.digitalocean.com/ubuntu jammy-backports InRelease Fetched 380 kB in 8s (50.5 kB/s) Reading package lists... Done Building dependency tree... Done Reading state information... Done 28 packages can be upgraded. Run 'apt list --upgradable' to see them. W: https://repos.insights.digitalocean.com/apt/do-agent/dists/main/InRelease: Key is stored in legacy trusted.gpg keyring (/etc/apt/trusted.gpg), see the DEPRECATION section in apt-key(8) for details. root@fig:~#
There’s a warning here about DigitalOcean’s own Monitoring software library, ignore it for now.
Here you can see that 28 packages have been updated, then execute apt upgrade to complete the update.
root@fig:~# apt upgrade Reading package lists... Done Building dependency tree... Done Reading state information... Done Calculating upgrade... Done The following NEW packages will be installed: linux-headers-5.15.0-30 linux-headers-5.15.0-30-generic linux-image-5.15.0-30-generic linux-modules-5.15.0-30-generic The following packages will be upgraded: base-files distro-info-data git git-man libcurl3-gnutls libfribidi0 libnss-systemd libpam-systemd libssl3 libsystemd0 libudev1 linux-headers-generic linux-headers-virtual linux-image-virtual linux-virtual motd-news-config networkd-dispatcher openssl python3-software-properties python3-twisted rsyslog snapd software-properties-common systemd systemd-sysv systemd-timesyncd ubuntu-advantage-tools udev 28 upgraded, 4 newly installed, 0 to remove and 0 not upgraded. 10 standard security updates Need to get 87.3 MB of archives. After this operation, 224 MB of additional disk space will be used. Do you want to continue? [Y/n]
Select Y to continue and complete the installation, because there is an update of the Linux core, after the upgrade is completed, you will be asked whether to restart, press Enter OK, and you will also be asked which services need to be restarted. Now, just press Enter again. By the way, the restart command is shutdown now -r .
Install Webmin Control Panel, SSH Security Settings
Why install Webmin?
The main thing is that I’m used to it, and I’ve used it for many years. I have been using the Webmin management panel, which can easily update the system, install the perl package, and add the MySQL database; second, when an error occurs, check the log log, and there are many, many other functions.
Install Webmin
Refer to the official webmin installation of Webmin to the Debian system .
Install by adding the Webmin APT source. Create a new file nano/etc/apt/sources.list.d/webmin.list
deb [signed-by=/usr/share/keyrings/jcameron-key.gpg] https://download.webmin.com/download/repository sarge contrib
Then import the GPG key as follows.
cd /root wget https://download.webmin.com/jcameron-key.asc cat jcameron-key.asc | gpg --dearmor >/usr/share/keyrings/jcameron-key.gpg
Then you can install it.
apt-get install apt-transport-https apt-get update apt-get install webmin
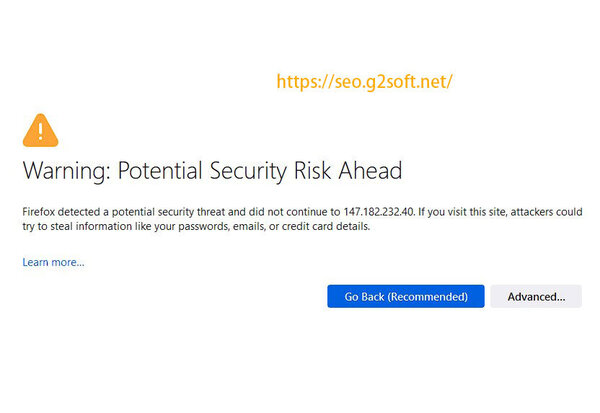
After the installation is complete, enter the following URL in a desktop browser (such as chrome) to access the installed Webmin control panel.
https://ift.tt/egsDPmQ
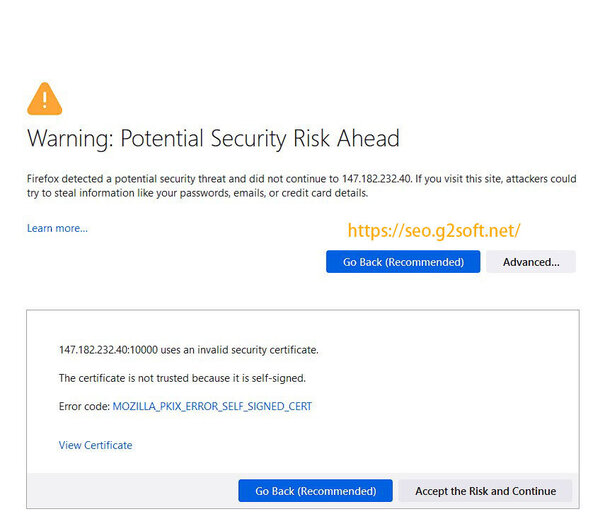
Then a warning message “Your connection is not private” will appear, click Advanced.
Then click “Accept the Risk and Continue” to continue loading the login page.
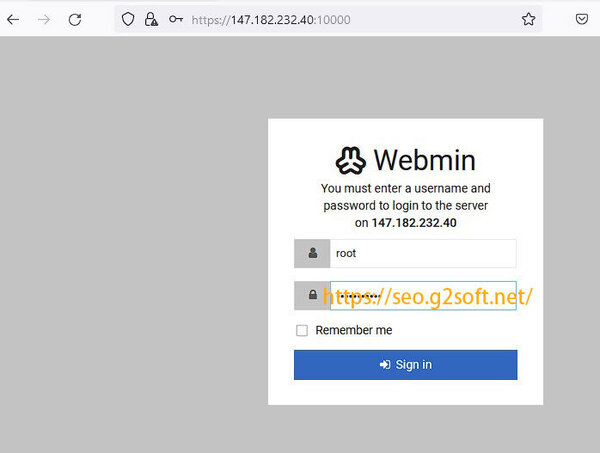
 See the login page, enter the previous root and the corresponding password.
 The user interface that Webmin installs by default is responsive, and I mostly use it on desktop computers, and prefer the traditional interface.
 The way to modify the responsive template is as follows: Click on Webmin > Webmin Configuration > Webmin Themes on the left, then select the ” Change theme ” tab, and modify the current theme to Gray Framed theme .
 Such a traditional interface loads faster.
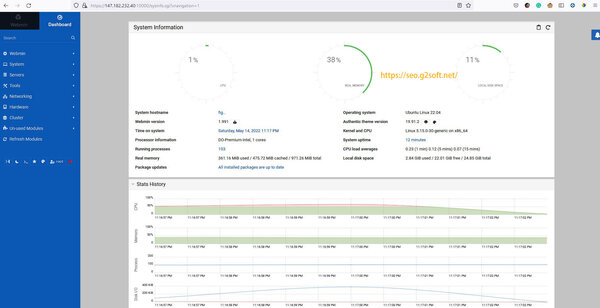
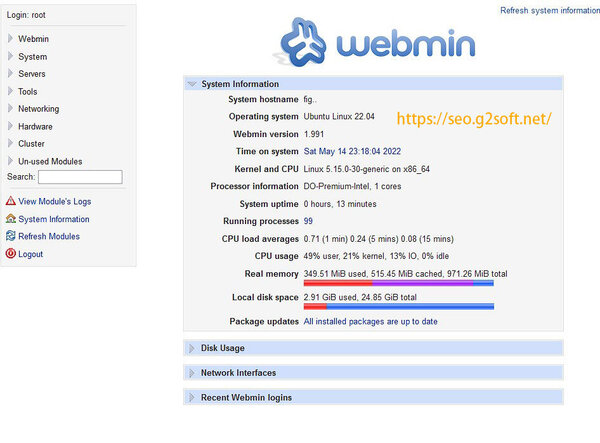
Take a look at the parameters of the VPS I currently created:
- Operating system Ubuntu Linux 22.04
- Webmin version 1.991
- Kernel and CPU Linux 5.15.0-30-generic on x86_64
- Processor information DO-Premium-Intel, 1 cores
- Running processes 101
- CPU load averages 0.24 (1 min) 0.05 (5 mins) 0.02 (15 mins)
- CPU usage 90% user, 2% kernel, 1% IO, 0% idle
SSH security settings
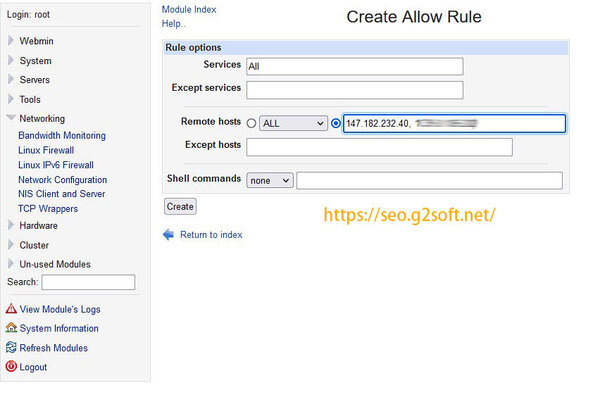
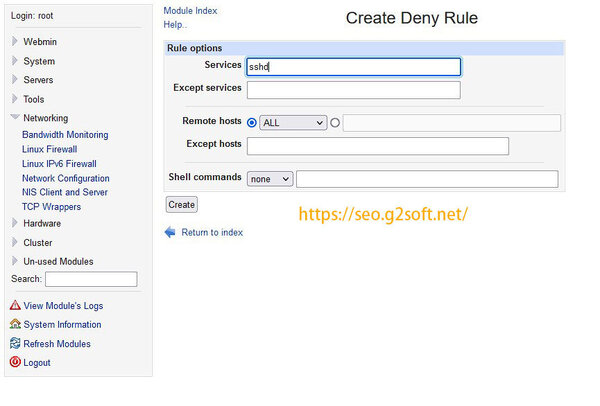
For SSH security, I will add two rules to the TCP wrappers to allow only computers from specified IP addresses to connect to the server via SSH.
On the left, Networking > TCP Wrappers .
In the Allow rule, enter the server IP and the IP specified by me in the place where ALL Services and Remote Hosts are allowed, (that is, my own IP address) in the Deny rule, fill in sshd for Services, and select All for Remote Hosts.
 After this setting is completed, SSH access from the specified IP address will not be affected, and other IPs will be directly rejected if they access the SSH service. For example, the following records can be seen, in just one hour, there are inexplicable IPs trying to connect to SSH as root, using different ports, trying passwords, of course, errors are returned, but they will consume VPS resources, most of which are tools for automatic scanning , After setting up TCP Wrapper, I refused directly, and I won’t even give the opportunity to try the password.
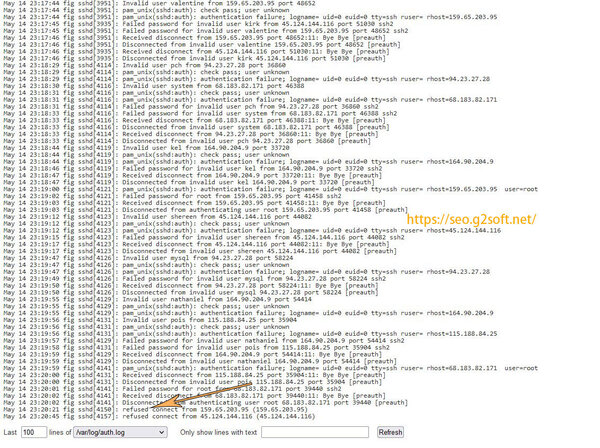 View the log records: System > System Logs > File /var/log/auth.log Yes auth,authpriv.* > Click View on the left, and you can see so many failed login attempts.
Add new user
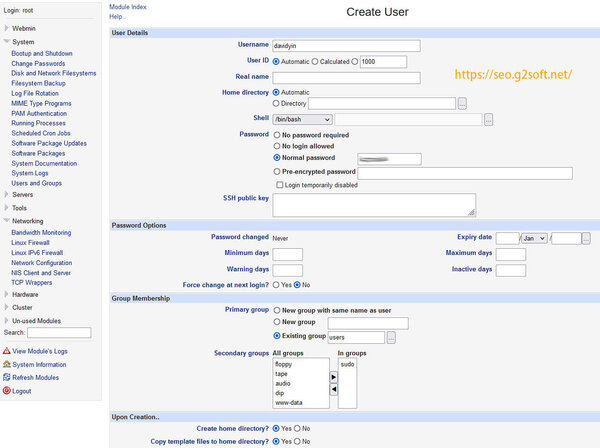
In Ubuntu system, it is not recommended to log in directly as the root user, but as an ordinary user. If you need to execute the root user’s authority, use the sudo method. The following is to add new users in Webmin’s admin panel.
On the left, select System > Users and Groups , then select Create a new user , for example, enter davidyin for the user name, select Normal password and enter the password you set. For Shell, I will select /bin/bash , and then in the primary group local, the default is to select the existing user group users . In the Second group , I will add the sudo group, so that I can only use this user to log in in the future. Even if I perform operations with higher privileges, I only need sudo.
Why is the FTP server not installed?
Many years ago, I used proftpd as an FTP server on a VPS, but then I thought that since SFTP can be used directly, it is the SSH File Transfer Protocol. In short, it is the way to use SSH to transfer files. Why install an FTP server? ? First, ssh is more secure; second, fewer services can be installed on the server, saving memory and reducing a possible security hole.
set time zone
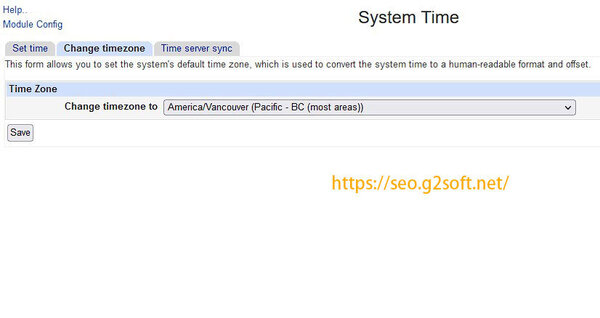
Setting the time zone will automatically synchronize the system time to my local time.
On the left, Hardware > System Time , select the Change Timezone tab, change the drop-down menu of the time zone modification to America/Vancouver (Pacific -BC (most areas)), and click Save. Now the time displayed by the VPS is the Vancouver area where I am located.
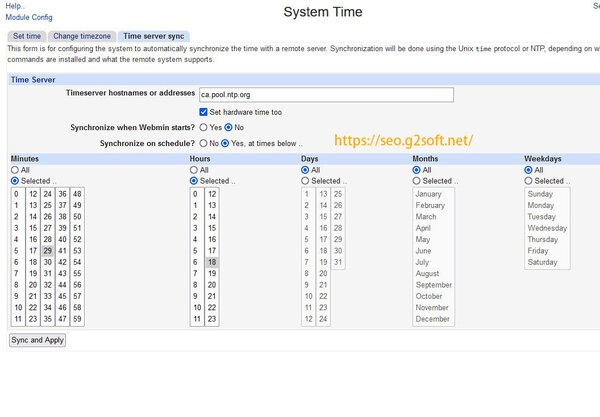
 The next step is to set up the Canadian NTP server , so that the time of the VPS can be synchronized with the world atomic clock regularly.
On the left, Hardware > System Time , select the Time Server sync tab, fill in ca.pool.ntp.org in Timneserver hostnames or address, and see the figure below for other settings.
 If the following error message appears
NTP time synchronization failed : Missing ntpdate and sntp commands
Then you need to install the following packages:
apt install ntpdate sntp
This setting is to allow the system to synchronize the clock every day at 18:29.
At this point, Ubuntu 22.04 LTS, Webmin control panel, time zone settings, and SSH security settings are all completed. Next is how to install Nginx web server, MariaDB database server, php and more.
- The first part installs the DigitalOcean VPS bare system
- The second part installs the Webmin control panel, SSH security settings
- The third part installs the Nginx web server, installs the MariaDB server
- The fourth part installs php8.1-fpm, sets up the host, and issues a free SSL certificate
- The fifth part configures the https host and installs perl-fastcgi
This article is reprinted from: https://seo.g2soft.net/2022/05/14/ubuntu-2204-lts-webmin-nginx-part2.html
This site is for inclusion only, and the copyright belongs to the original author.